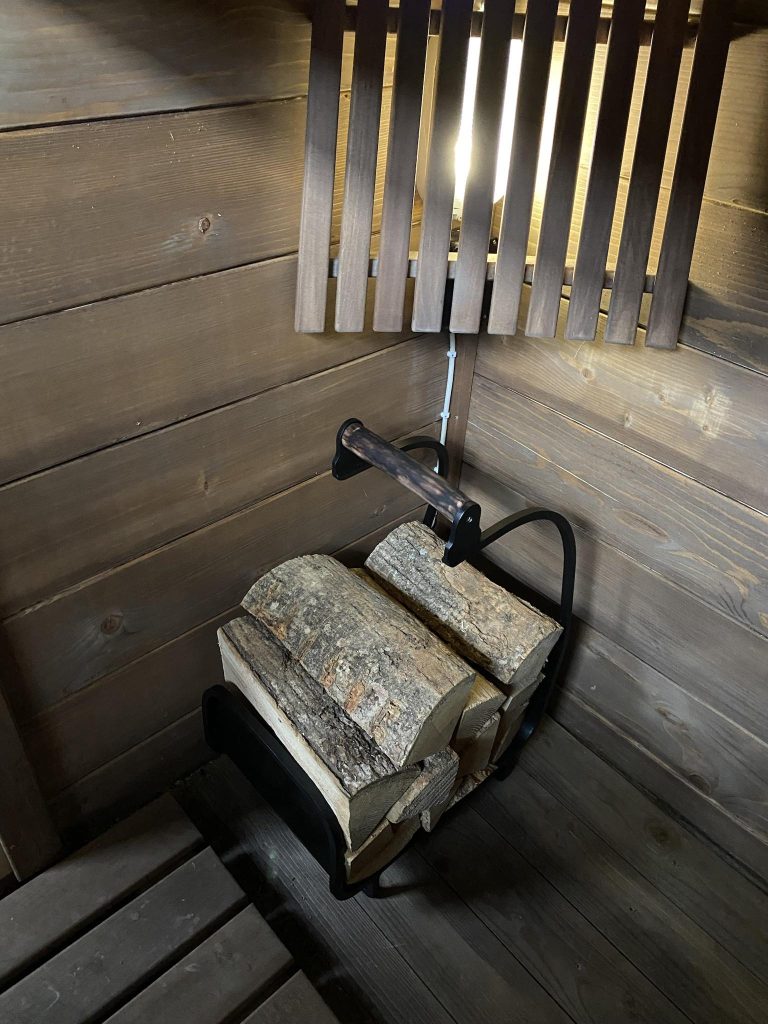
I made a hanging firewood holder some time back for my sauna, and I’ve started the bad habit of taking the firewood inside in small batches and placing it on the floor. This had to be corrected as I could easily stumble over them while moving inside.
I got the permission from the chief (read: my wife) to spend a whole Sunday afternoon in the garage, so I decided to make a smaller sibling for the large firewood holder. I didn’t have a 3D modelled plan as I usually have, so this one was totally made up on the spot.
I used around 3 meters of 10mm x 10mm mild steel stock, a small piece of 1mm sheet metal, and a branch from my cherry tree for the handle. So the total cost was around 8€/$ + paint. The build took about 5 hours + paint.
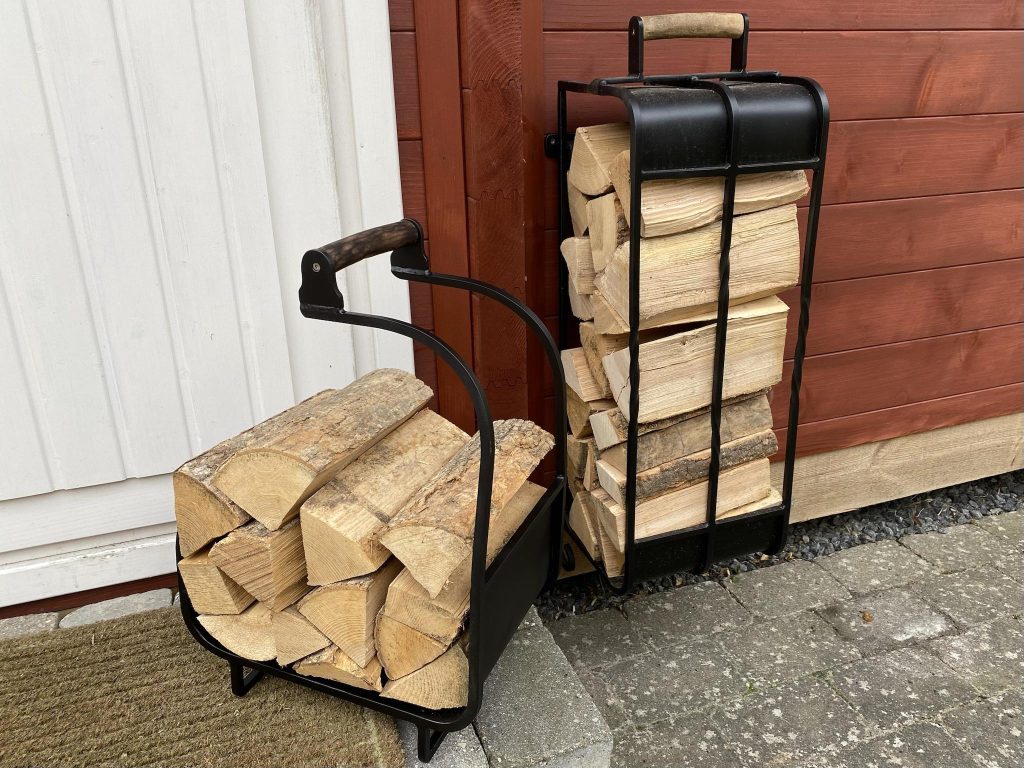
The final result. This is how it looks with it’s larger hanging sibling.
Build Log:
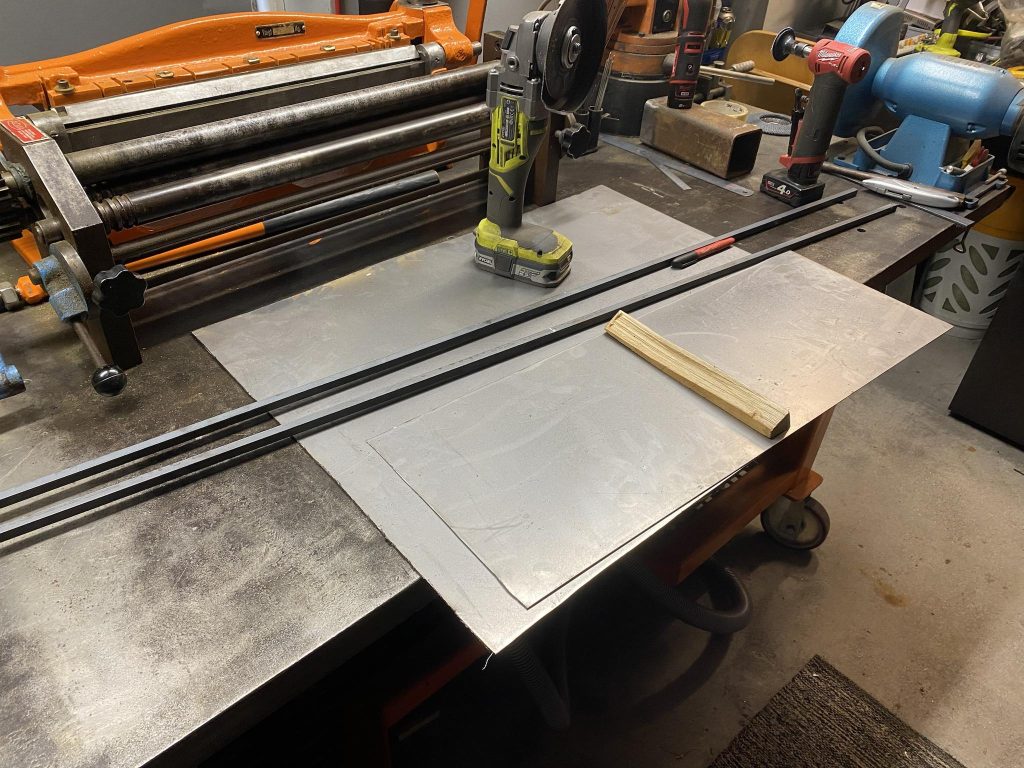
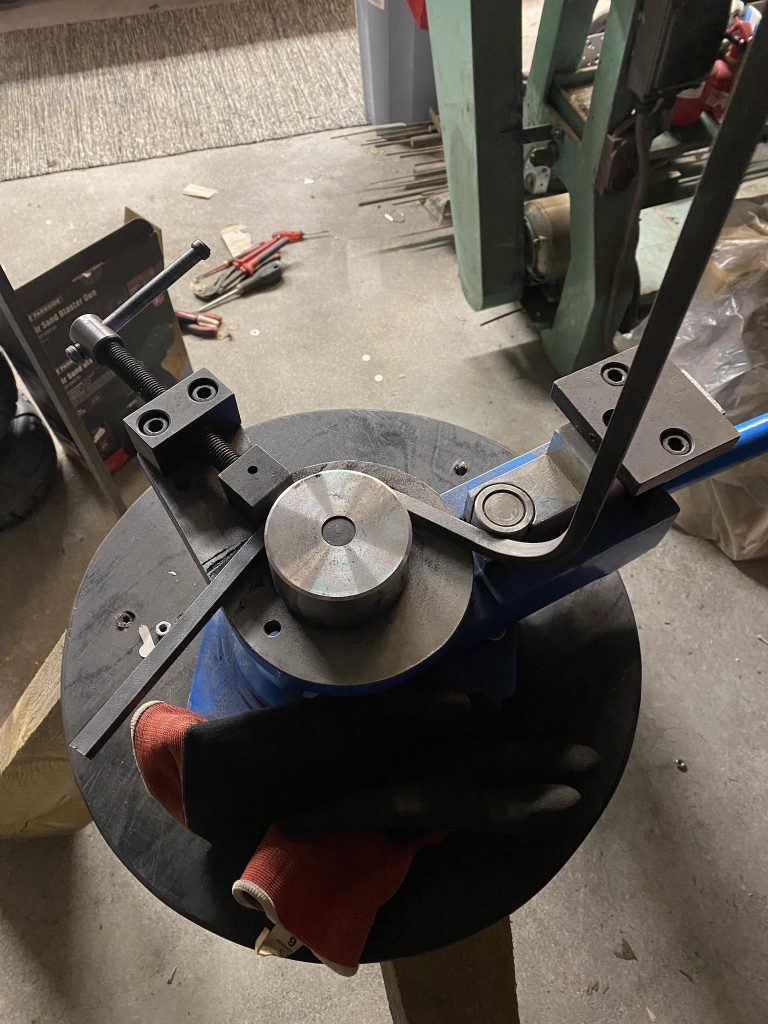
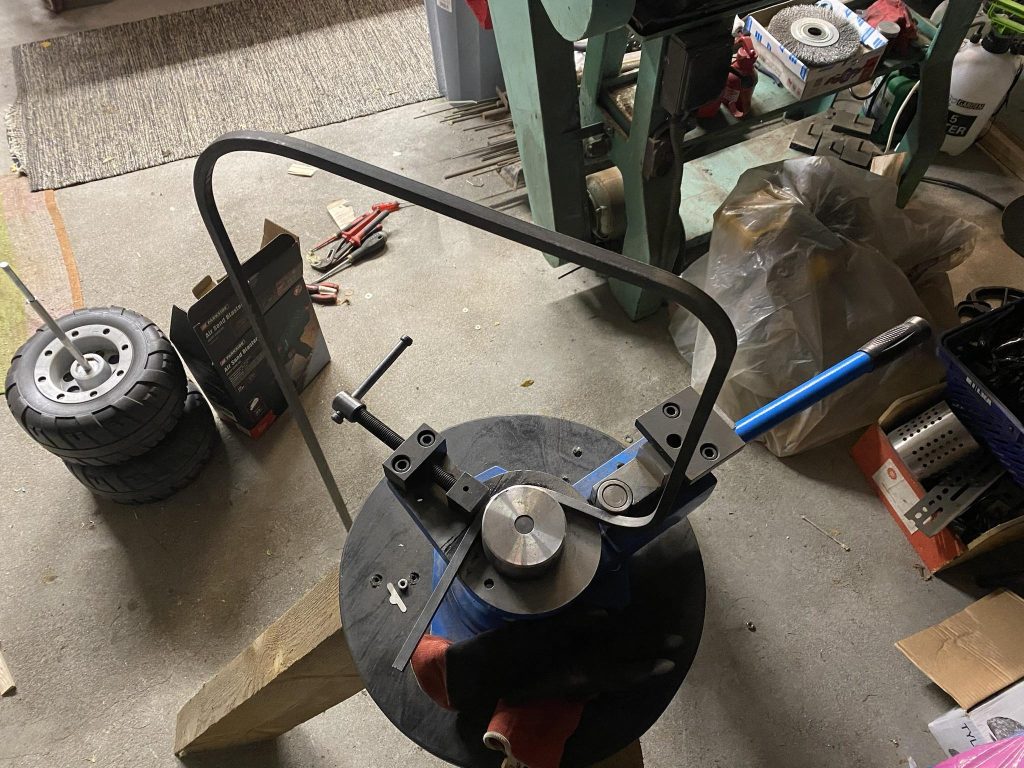
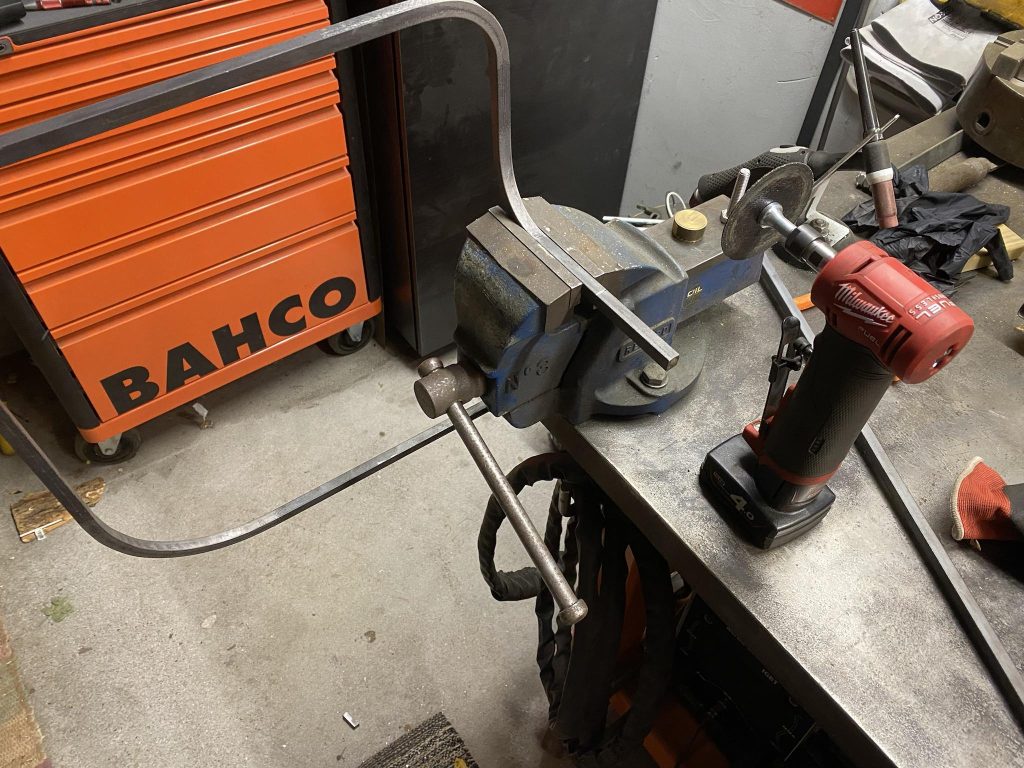
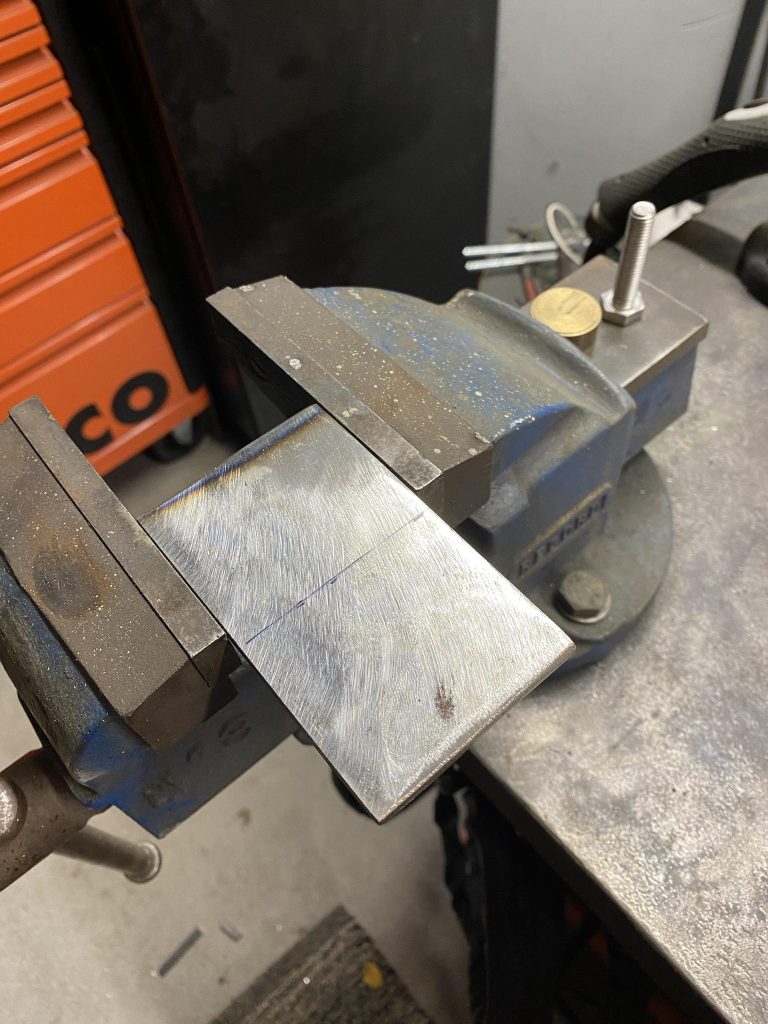
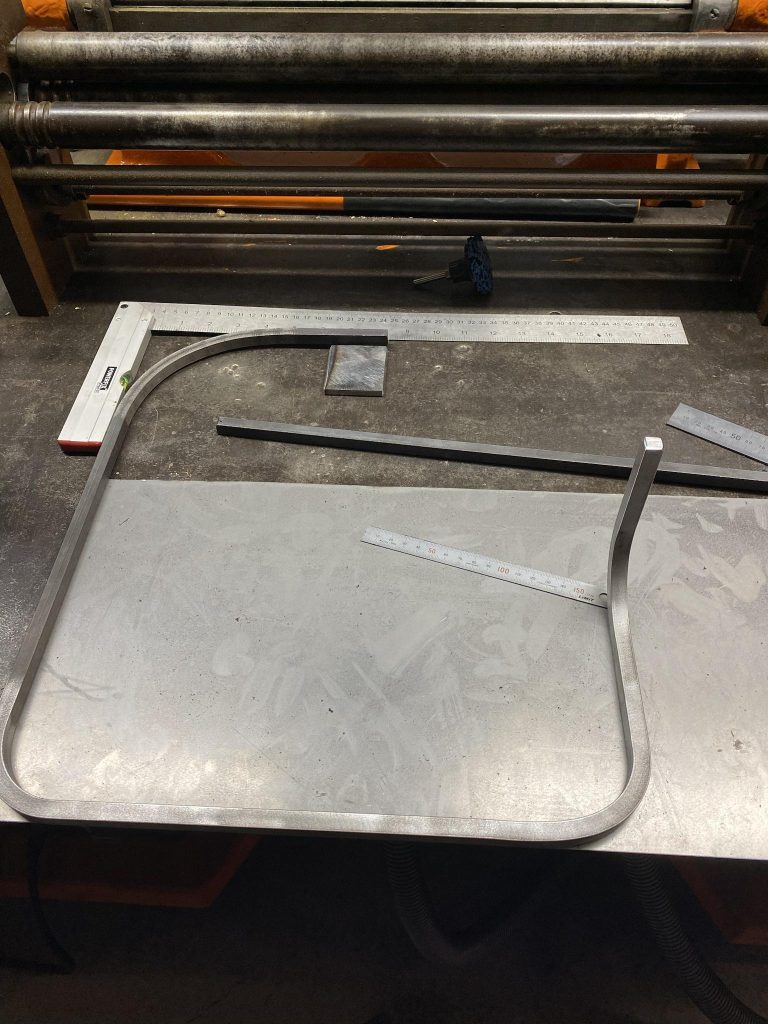
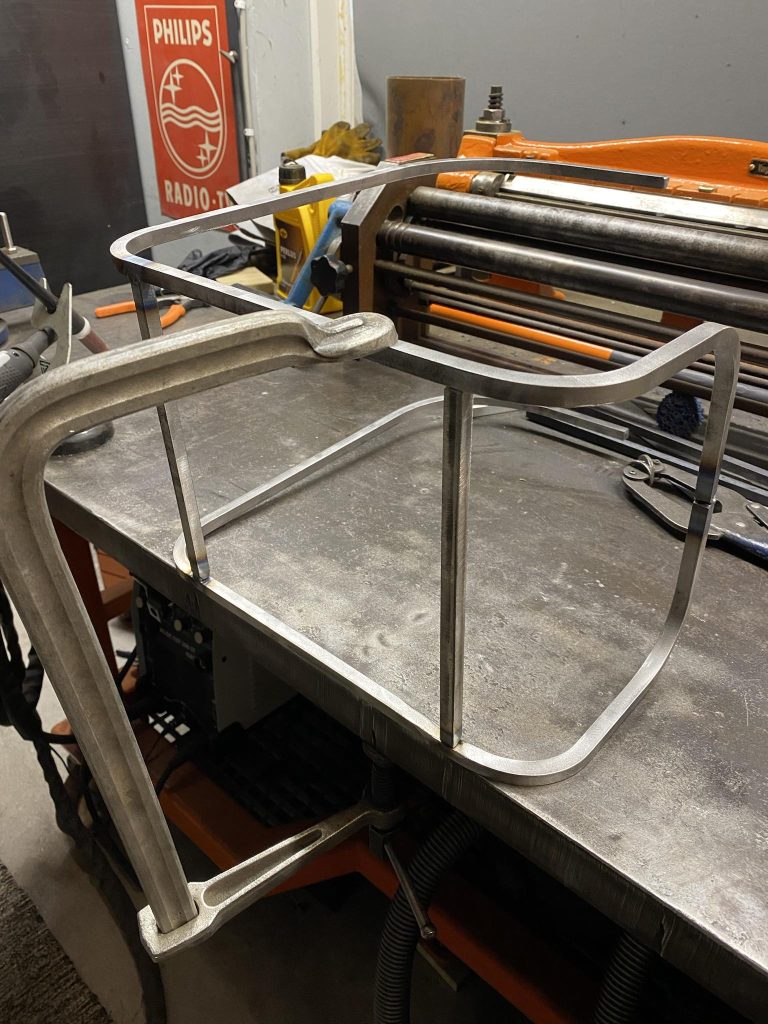
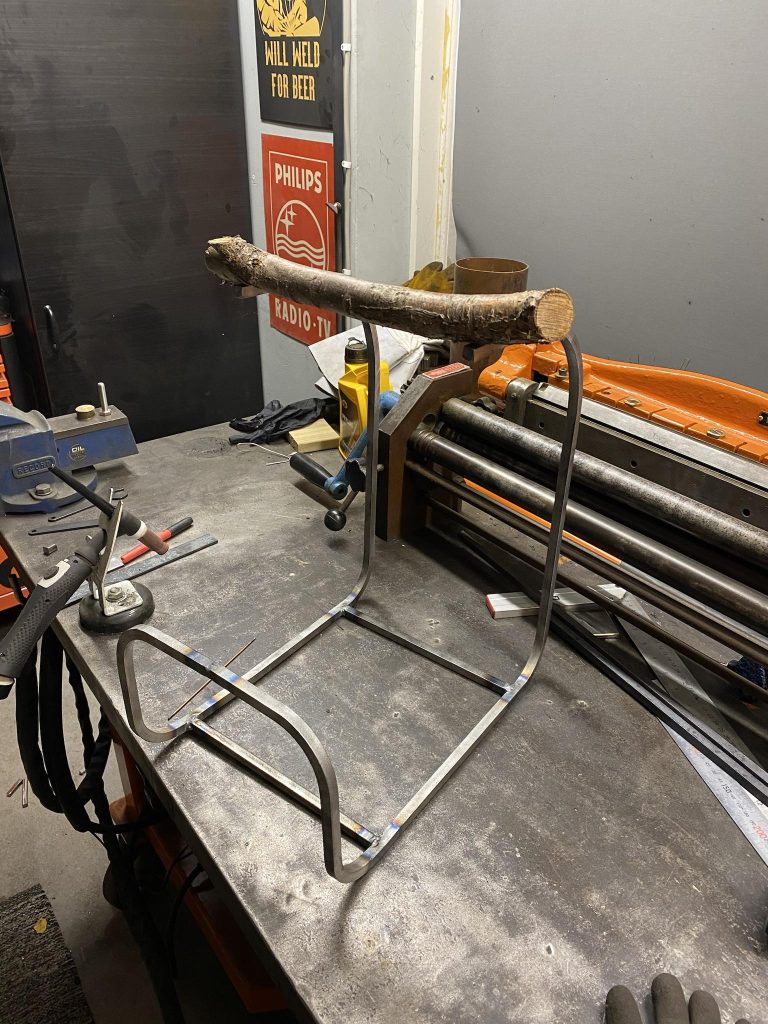
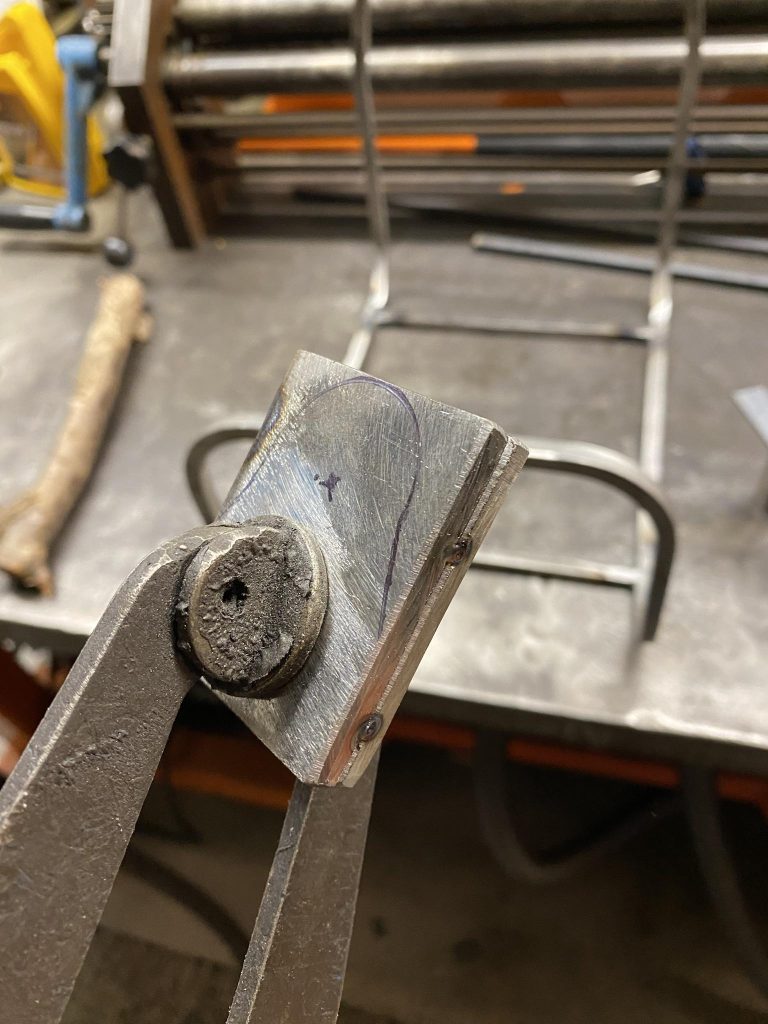
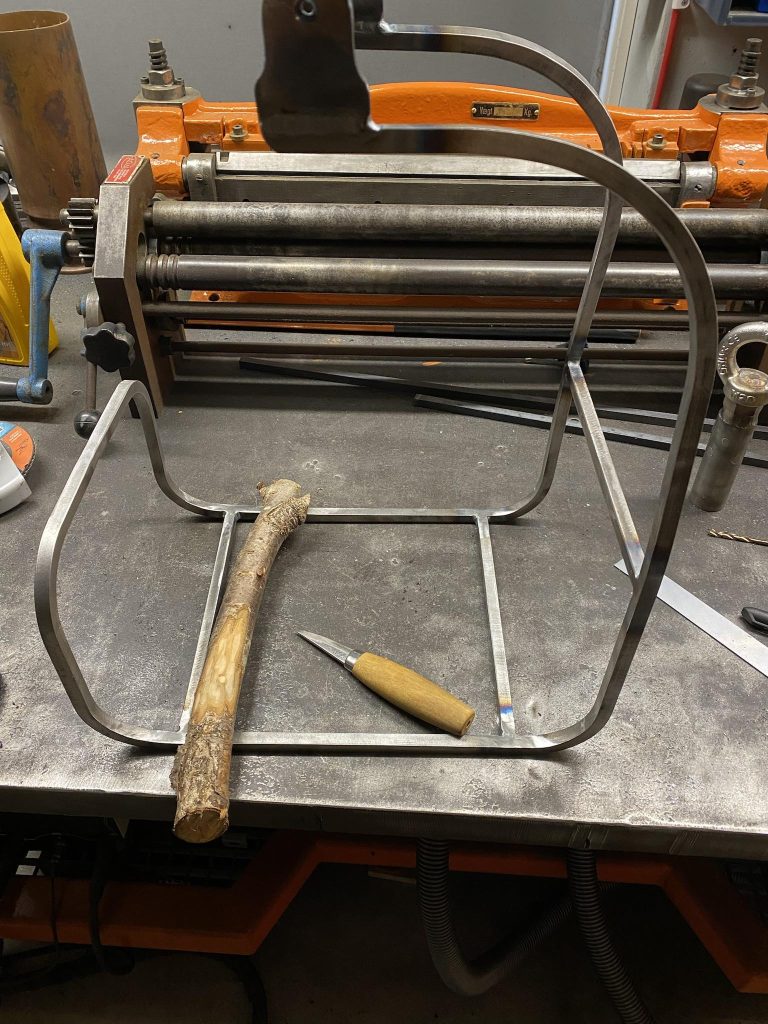
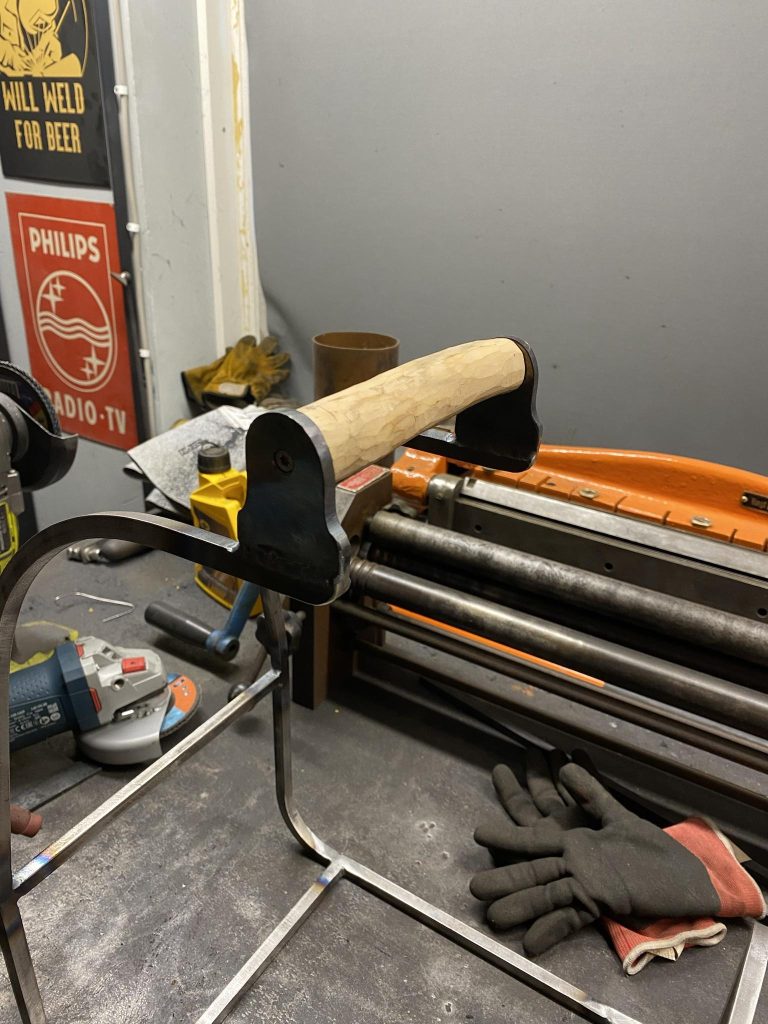
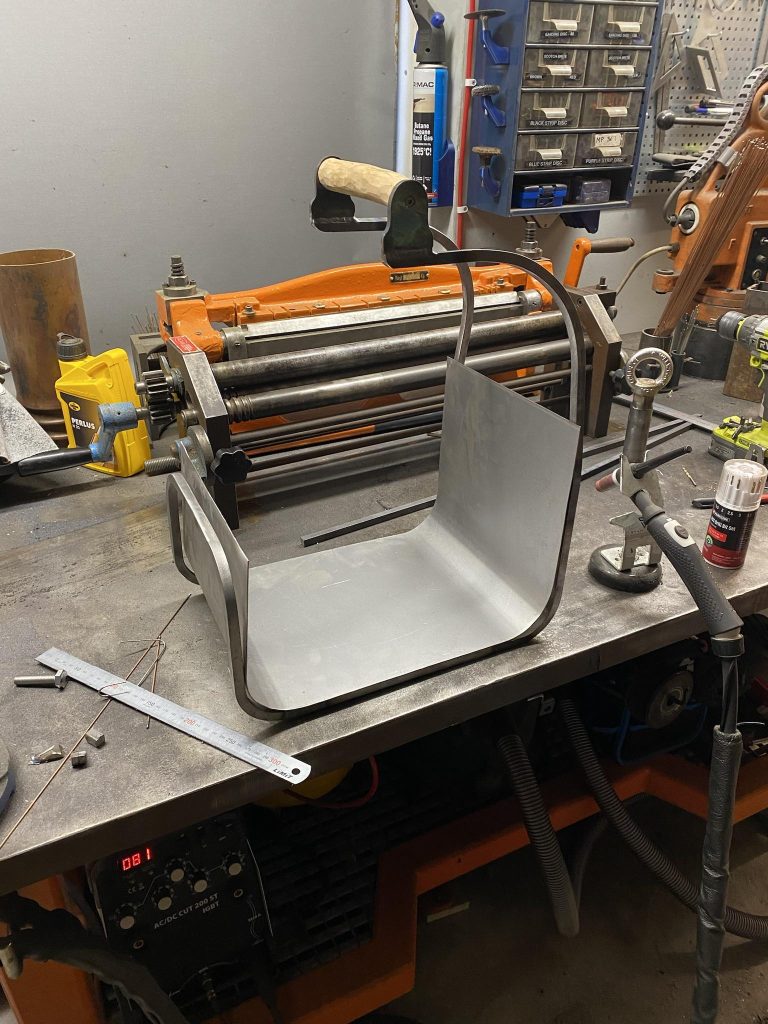
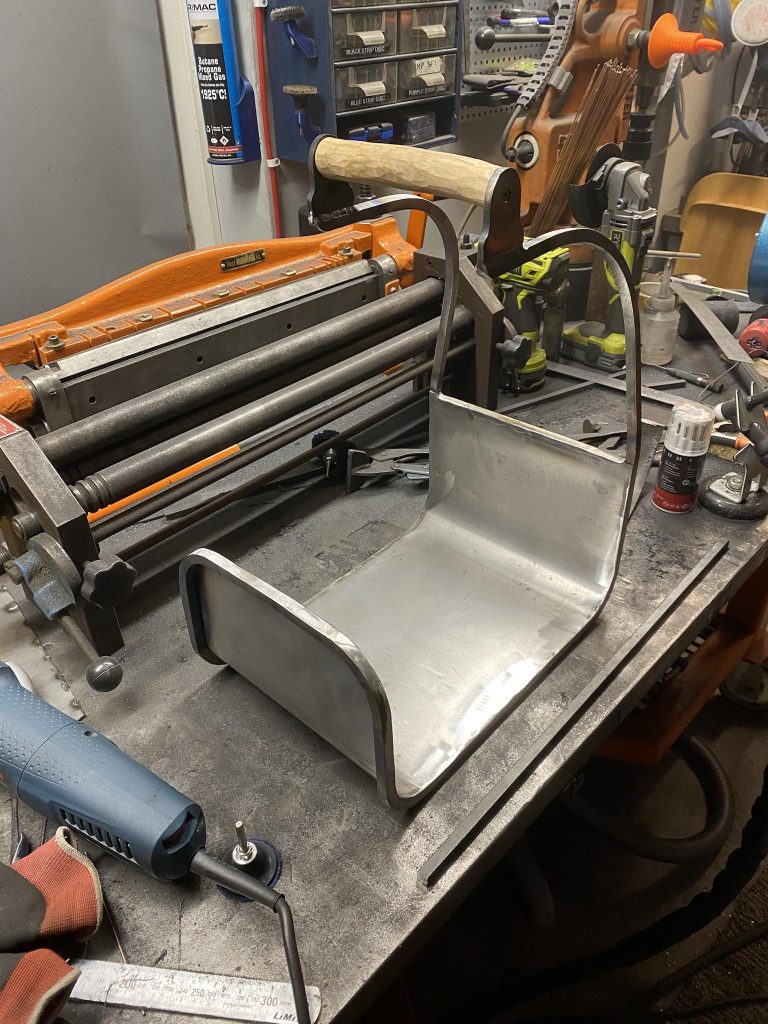
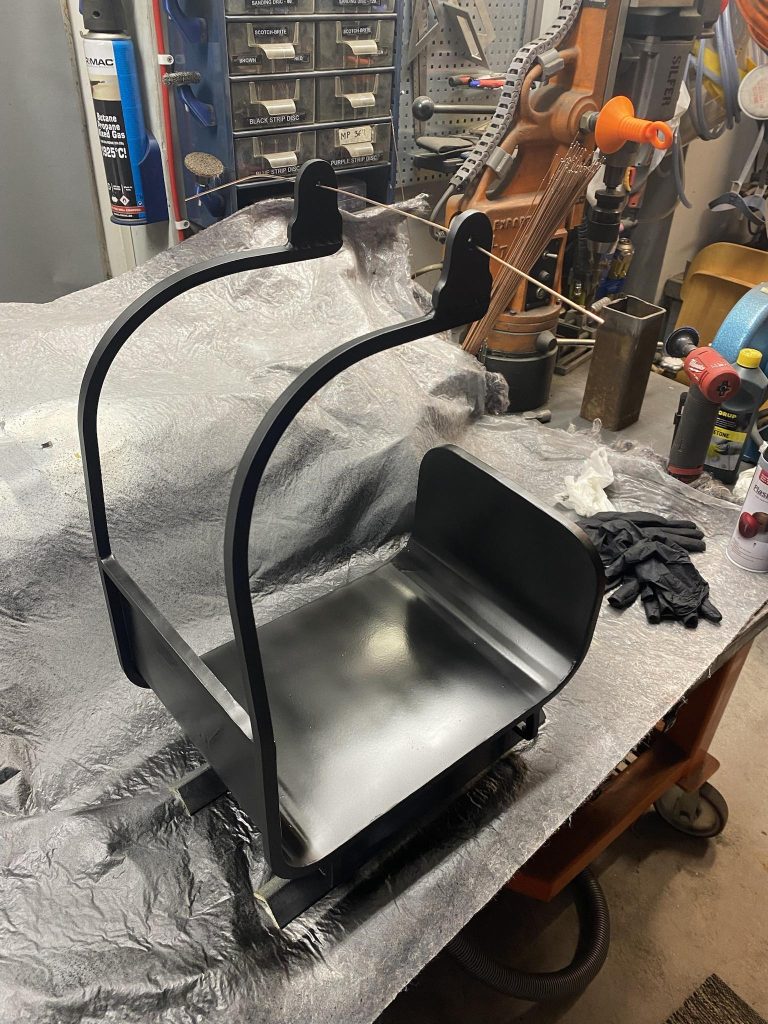
Starting point. Some 10mm x 10mm mild steel and 1mm thick sheet metal.I have no plan beside the rough final dimensions of 35cm width, 40cm height, and 25cm depth so it fits to the location I’m planning to keep it + it has to be open on one side so I can easily pick up the firewood when I’m sitting in front of the stove. -> I will just start bending the 10mm x 10mm stock and let’s see what happens.Ok, I have a basic design in mind and I will do it in two parts: right and left side are done separately as mirror image of each other, and then finally welded together on one side and the top will be held together by the wooden handle.I have the two sides bent, so I will cut the excess off from the part which will be welded. The total depth should be exactly 25cm. At this point I’m starting to work on the connection points where the wooden handle will be screwed on. I’m using a 4mm thick scrap piece of mild steel for it. The dimensions are not that important beside it has to be wide enough for the handle for aesthetic reasons.Now when I have the plates cut for the handle, I will use the width of that to measure the center point of the top of the holder. If this is off, the holder will be wonky when it is carried.Now the rough shape is in place, so I clean the metal with a rough cleaning disk and get rid of all millscale. I also bevel the central connection point so it’s ready for welding.We have a frame! Almost… I also added 23cm wide supports on the bottom to make it more rigid. Those are the same 10mm x 10mm bar I’m using for the rest of the frame. I used a TIG welder to join the two halves.The other sides of the support bars required some convincing before welding.For the handle I’m using a piece of cherry tree from my property. I’ve been saving some good pieces for years just for this reason. I also saw that the width of the handle feels way too wide…Better! I bent both sides a bit inwards by attaching it to a vice and using my very musculous and round beer belly to negotiate it to the correct angle. The “correct” angle is a total guess as I’m just winging this build.Time to focus on the connection points for the handle. I tacked the two parts together so I can shape them simultaneously, and drew an approximate shape I’m going for.Looks much better. I used a bench mounted belt sander for the shaping.Now when the connection points are in place, I use my trusty carving knife to make the handle look a bit nicer.Much better. When the appropriate amount of bark was removed, I just sawed it to length with a handsaw.Right, so now we come to the finicky part: the sheet metal. I used the sheet metal roller you see behind the frame to roll it to the correct shape.Here my Argon for the TIG turned sour and I had to switch to MIG. (I had a very interesting talk with the gas distributor and I ended up getting a new bottle for free).After I had laid a bead all the way around, I took my angle grinder and ground it flat all the way around the frame. On some spots I had to re-weld it and ground again to make sure there are no gaps.Spray primer.Matt black from a can as well.Let’s make the handle even more rustic. I used a blowtorch to char it a bit and afterwards wiped it with teak tree oil.The holes for the handle were countersunk with a countersinking bit to make the heads nicely embedded to the frame.The paint has tried and I’m very happy with the result.Ready and next to it’s sibling.Here you can see the narrowed handle.Fits really well to the spot where it will be kept. It ended up being 3cm longer than planned but the dimensions are not that crucial as you can see.