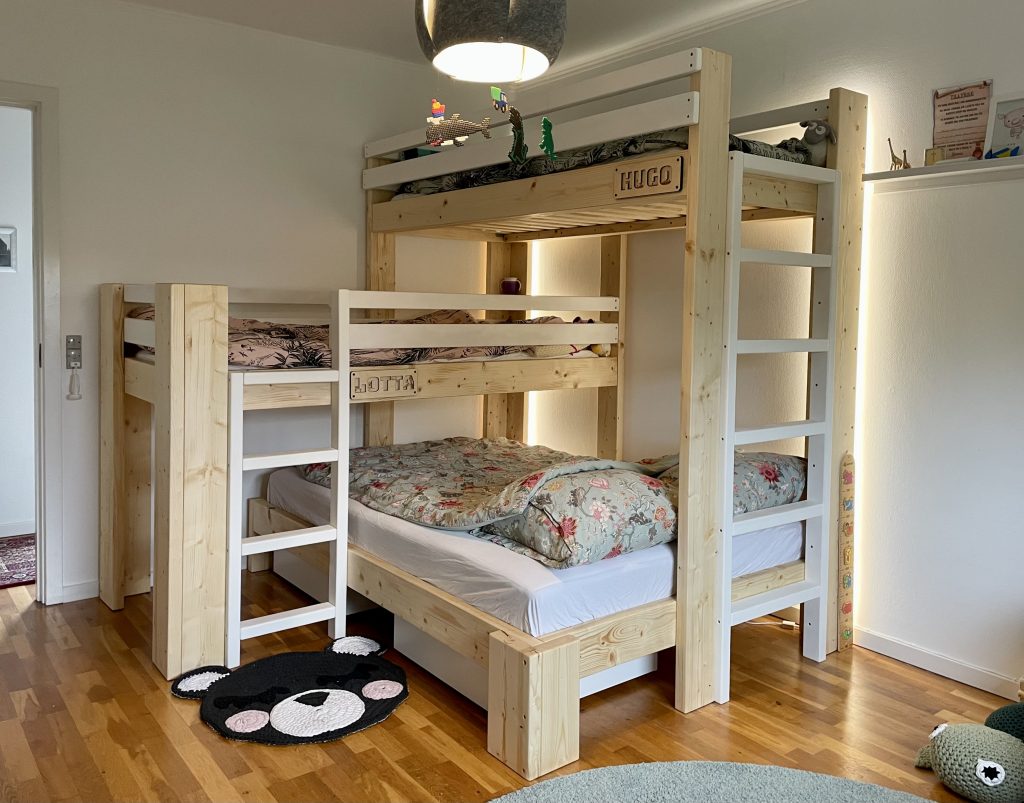
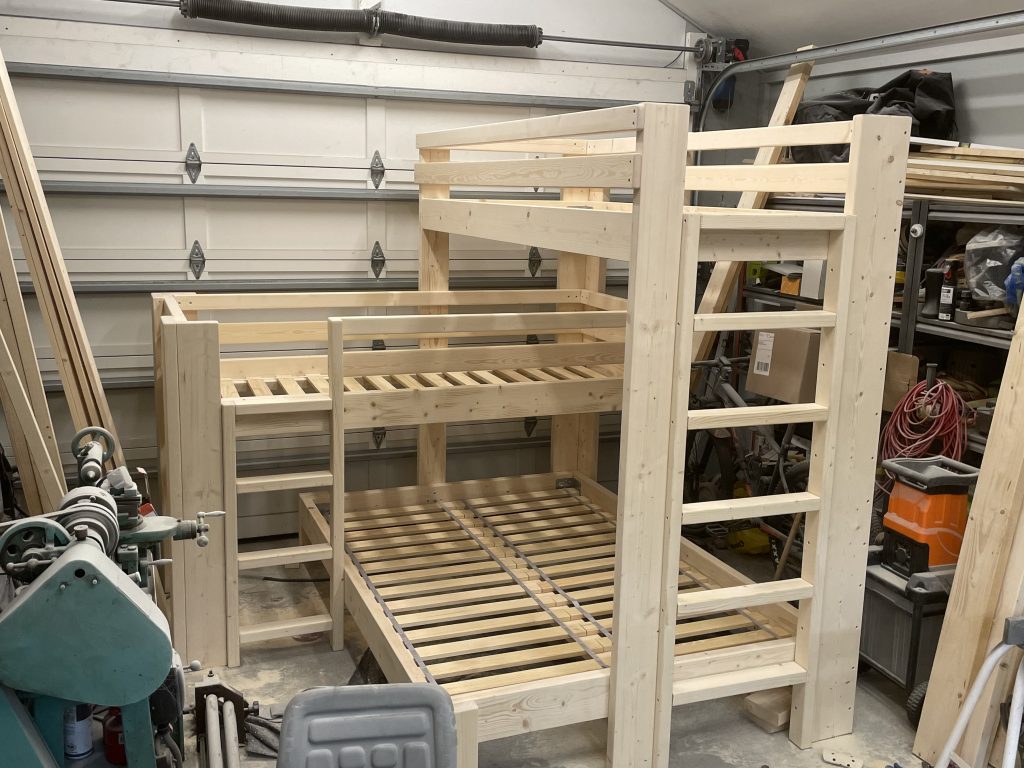
I made a design for a Triple Bunk Bed in January 2023. Since then my kids have been asking when the bed will be done as they really look forward to it. As the kids were growing out of their current smaller sized beds, I decided that it was time to get it over and done with. I spent three weeks building it, and it turned out to be exactly as the original plan with some very minor changes. The top and the middle beds are 80cm x 200cm, and the bottom bed is 140cm x 200cm. The frame is very strong and can easily hold a proper sized adult on all beds.
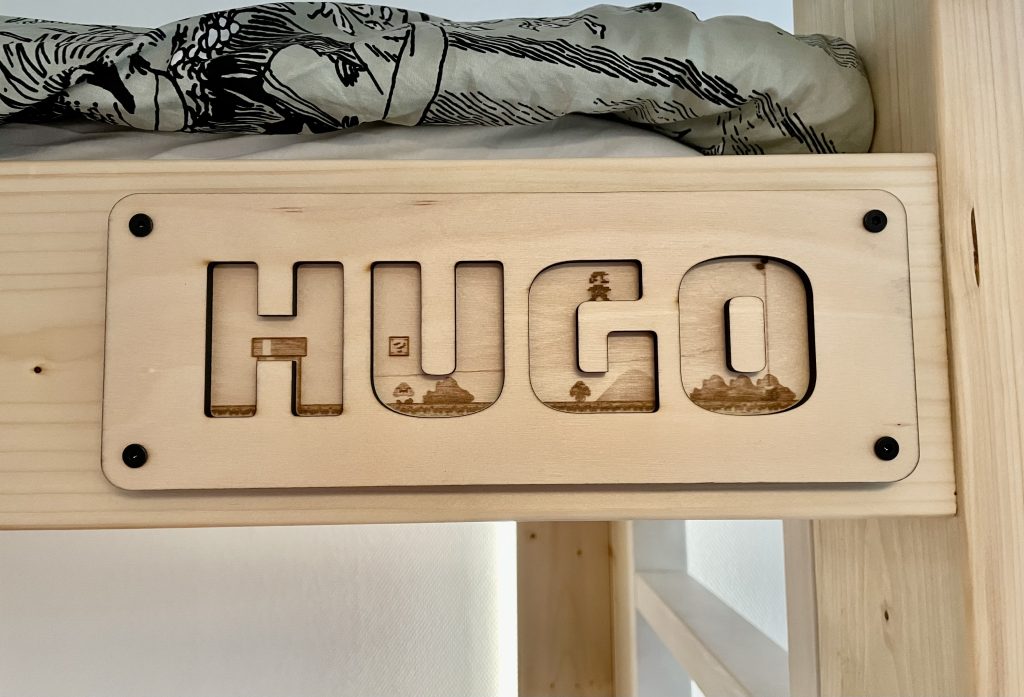
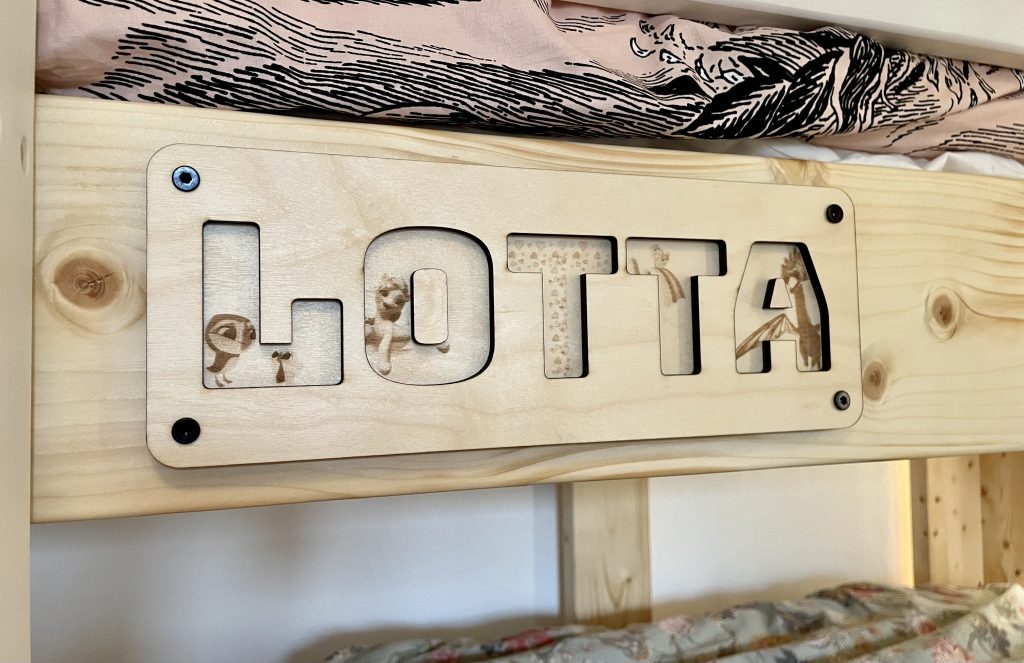
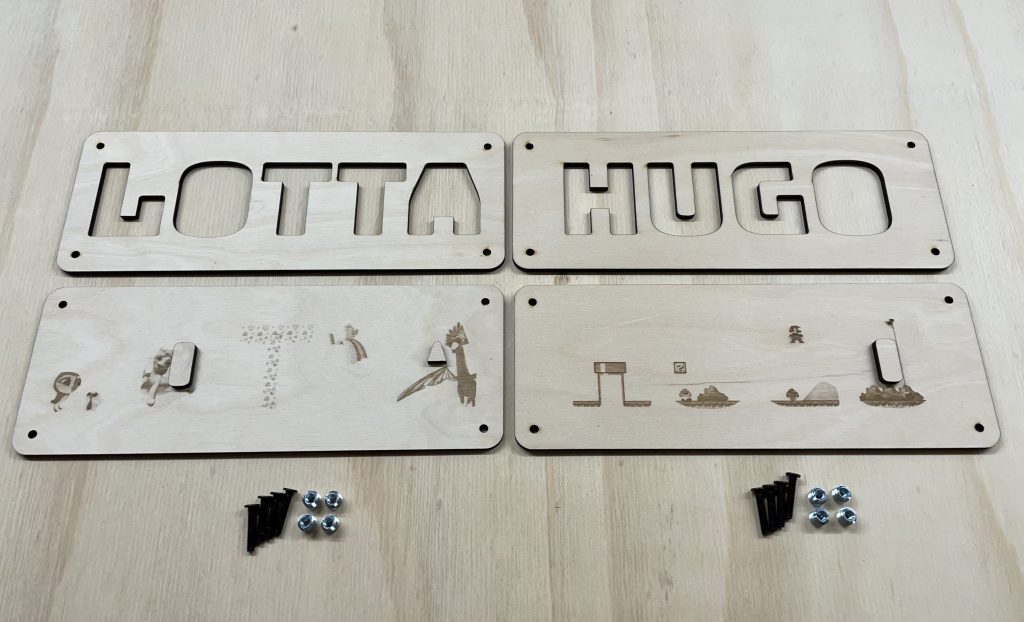
The final product. The differences from the original design were: ladder added for the middle bed as my daughter doesn’t need steps anymore, 5cm higher overall to give a bit more space to the middle bed, and instead of slag bolts I used screws all around due to simplicity.Top bunk.Middle bunk.Bottom bunk.Hugo’s name plaque. A custom Super Mario Level.Lotta’s name plaque. Puffin Rock, My Little Pony, hearts, Carebears, and of course the Singing Dragon from the Rescue Riders.
Build Log
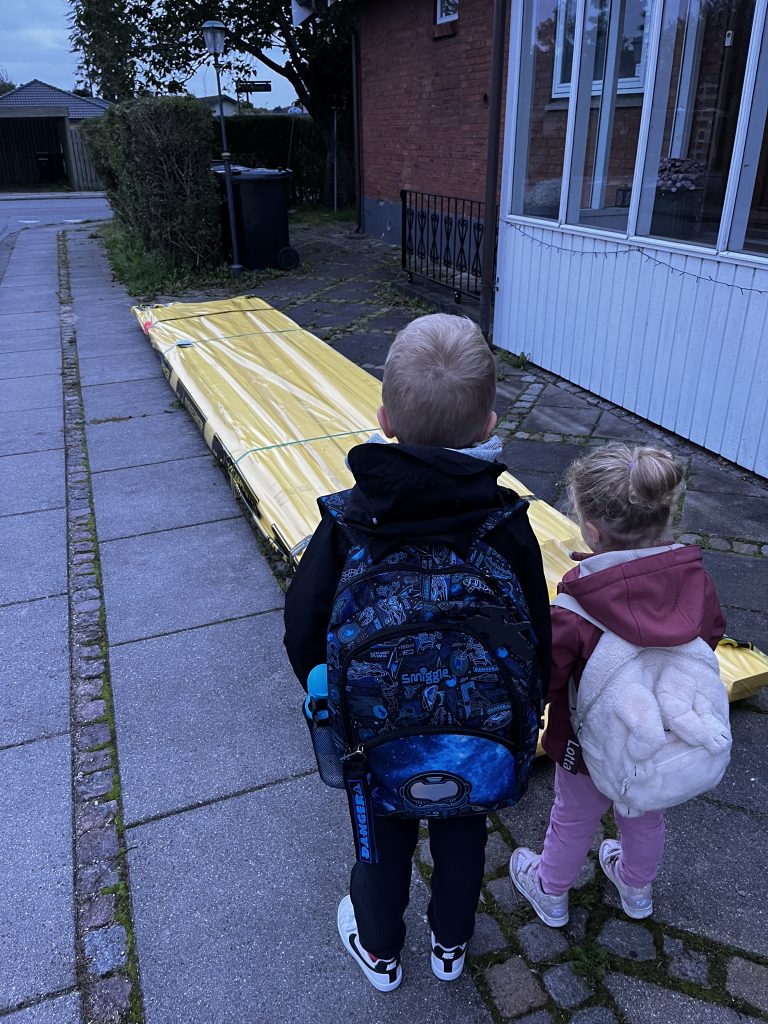
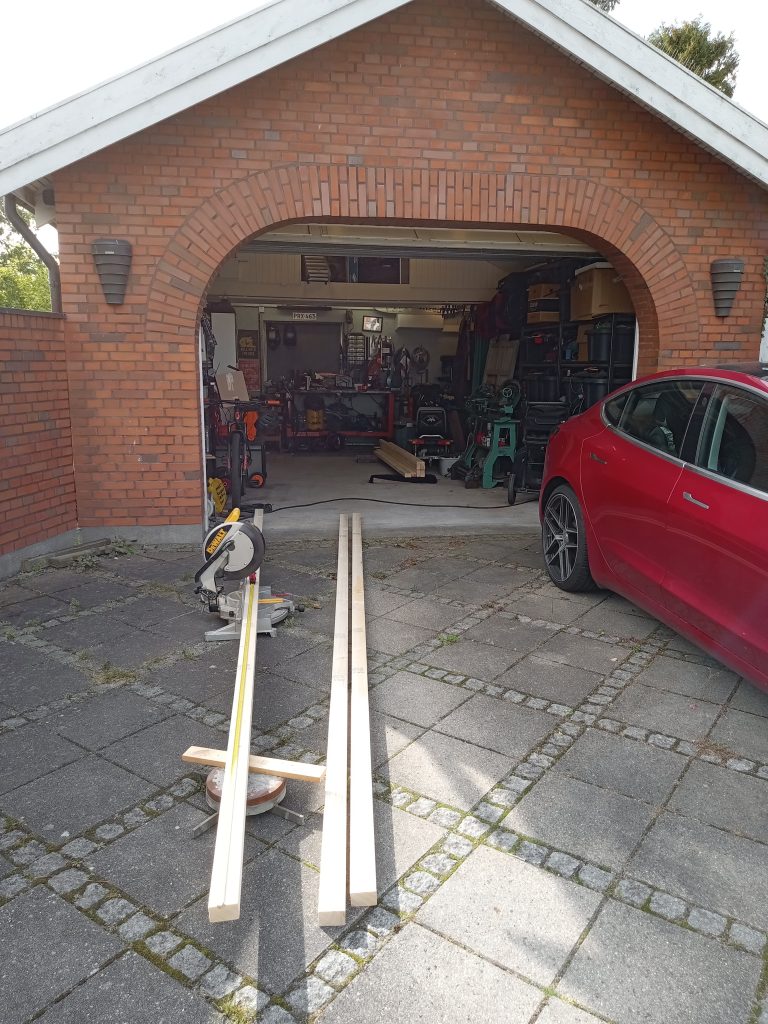
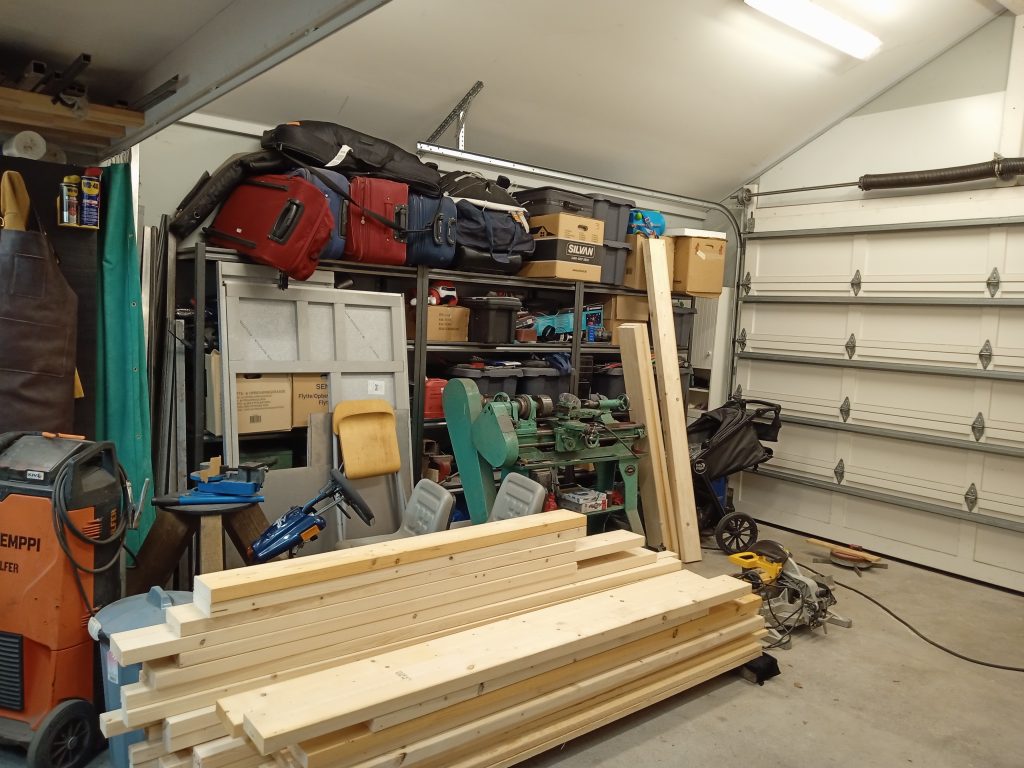
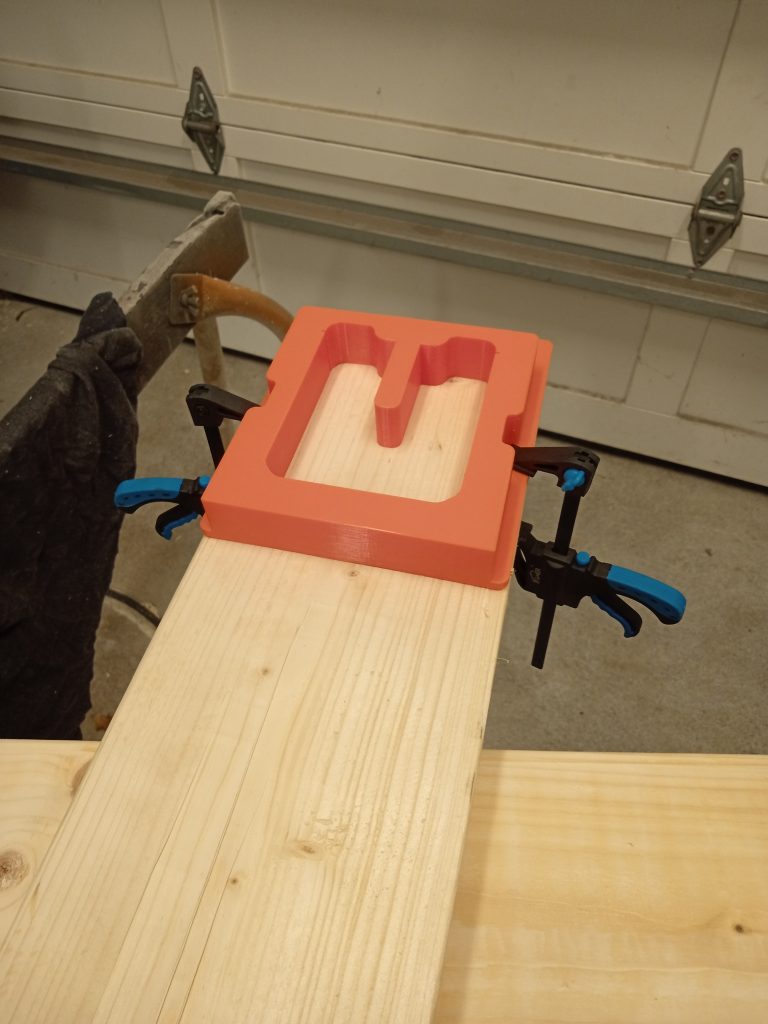
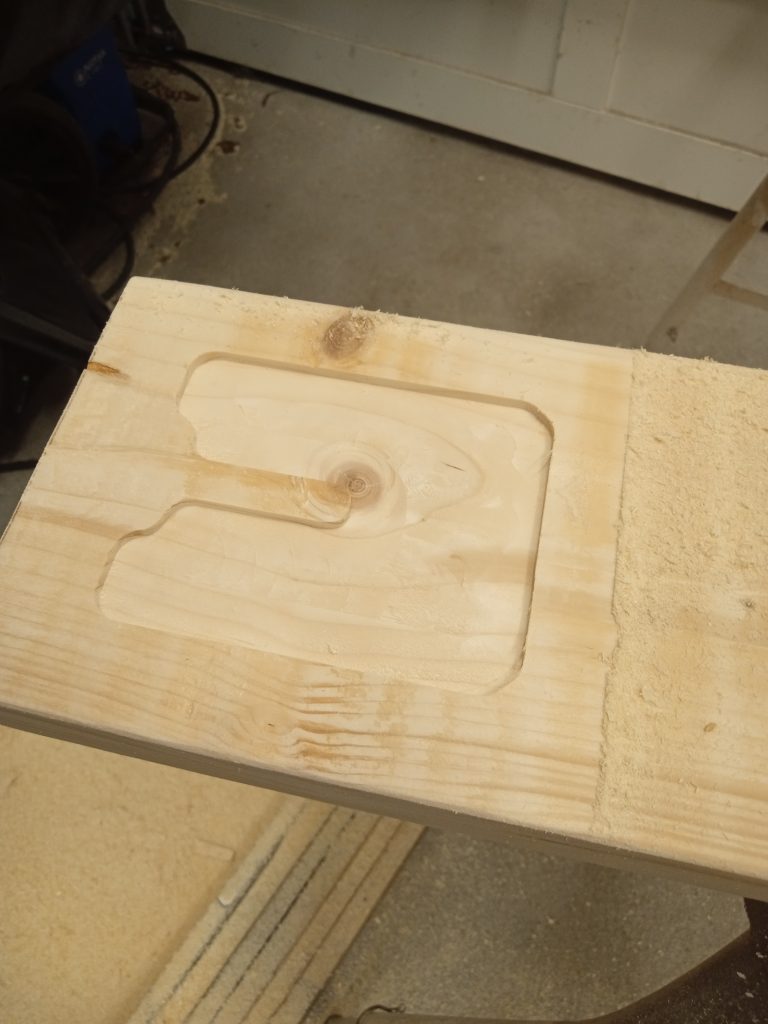
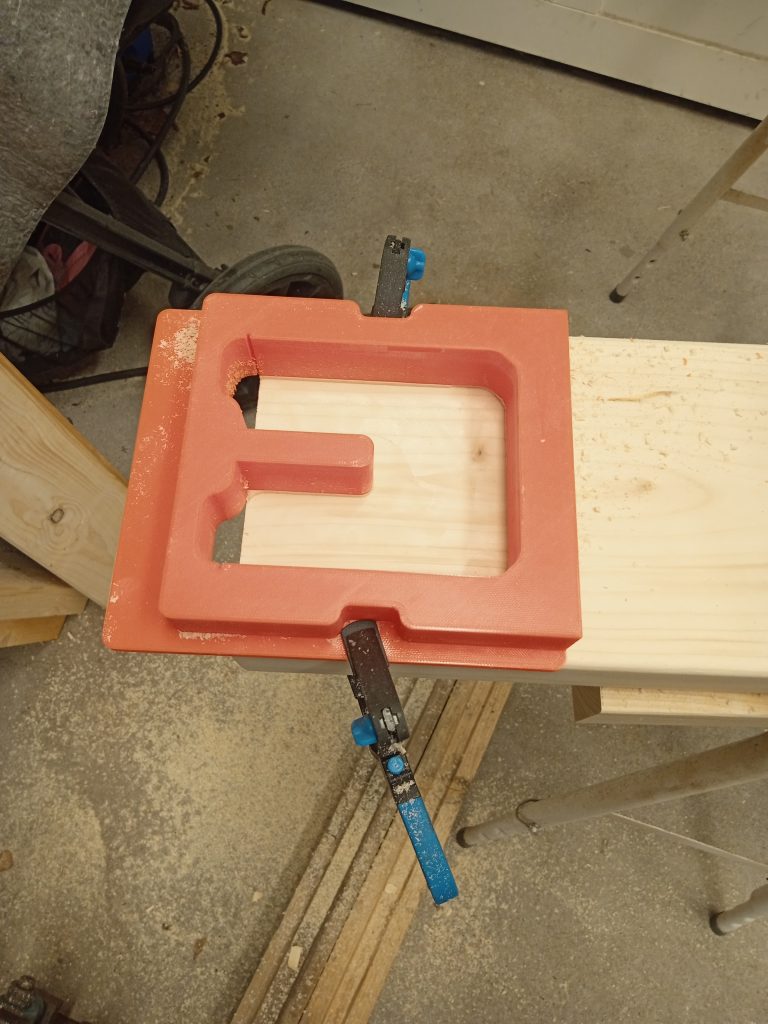
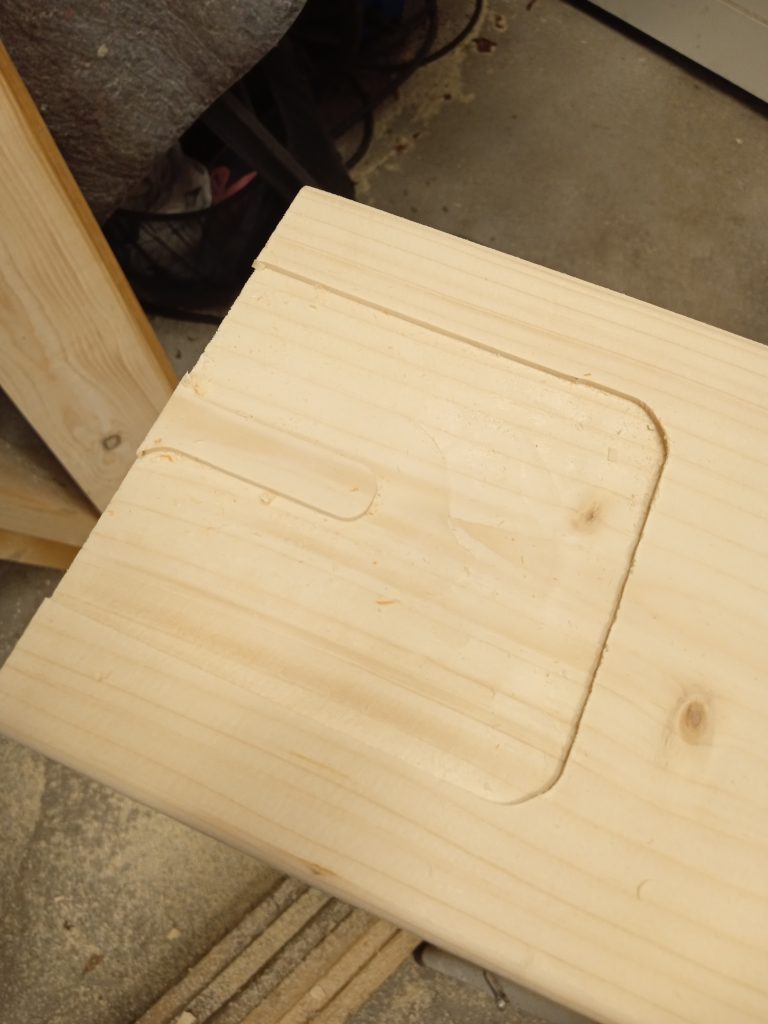
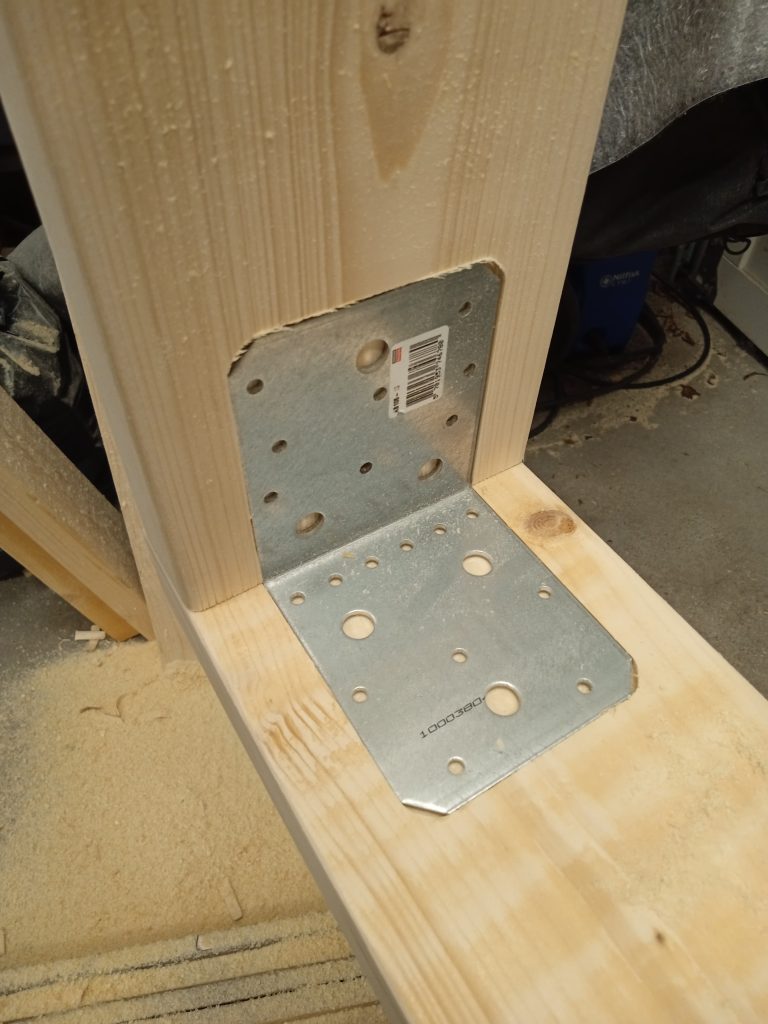
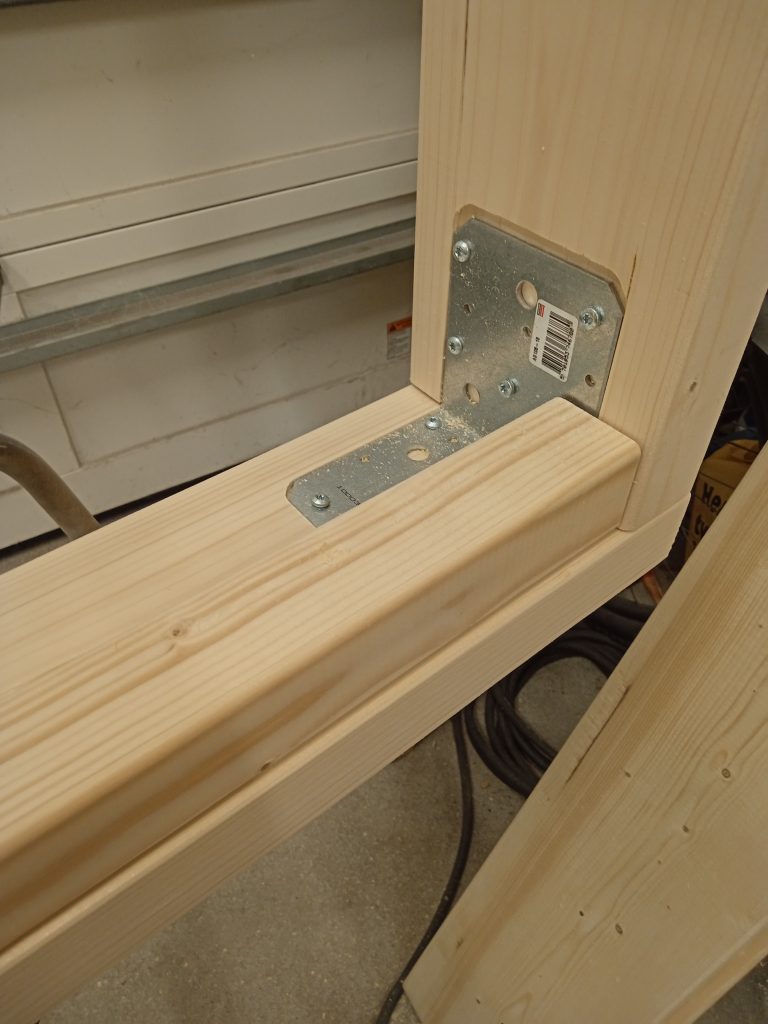
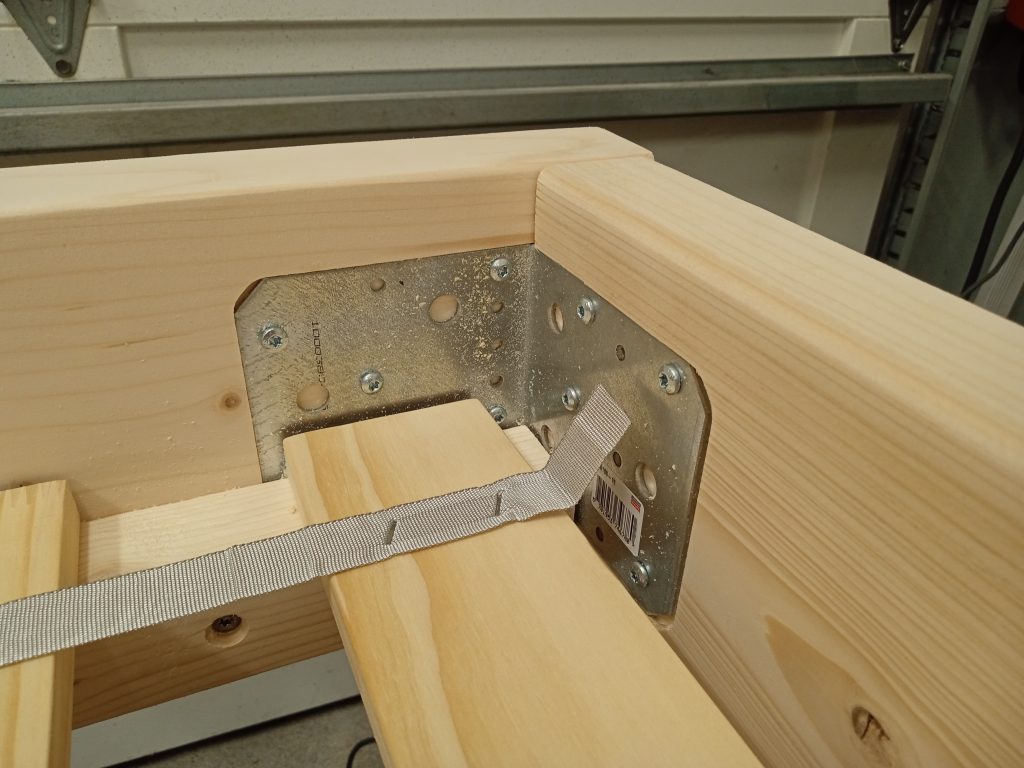
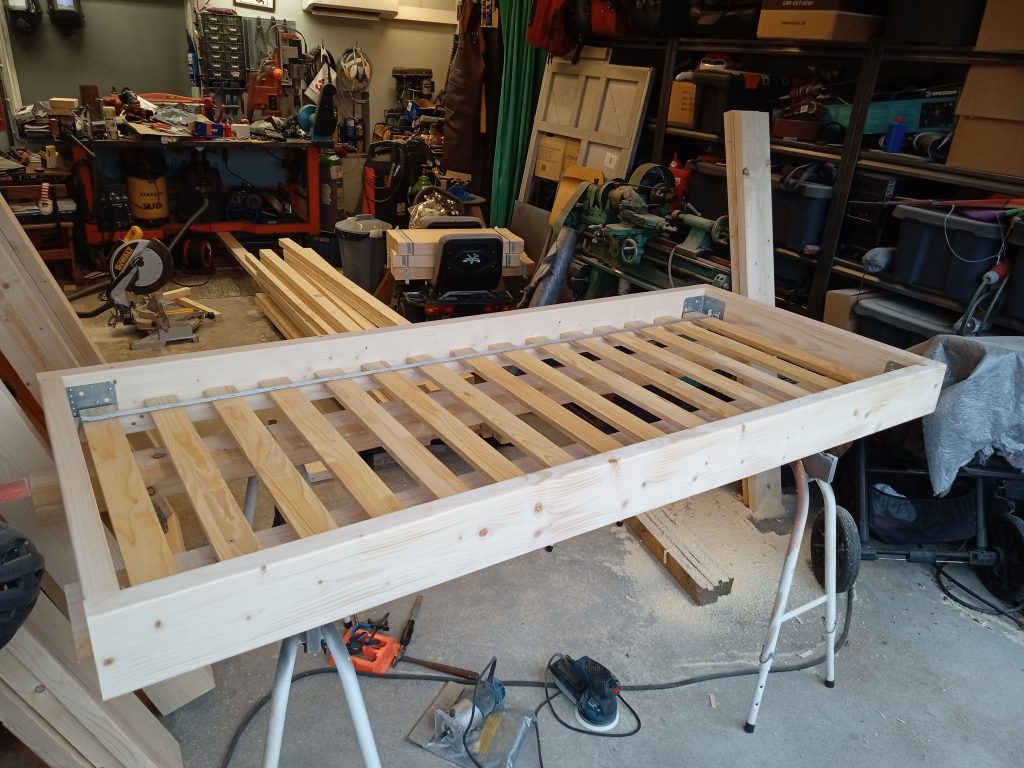
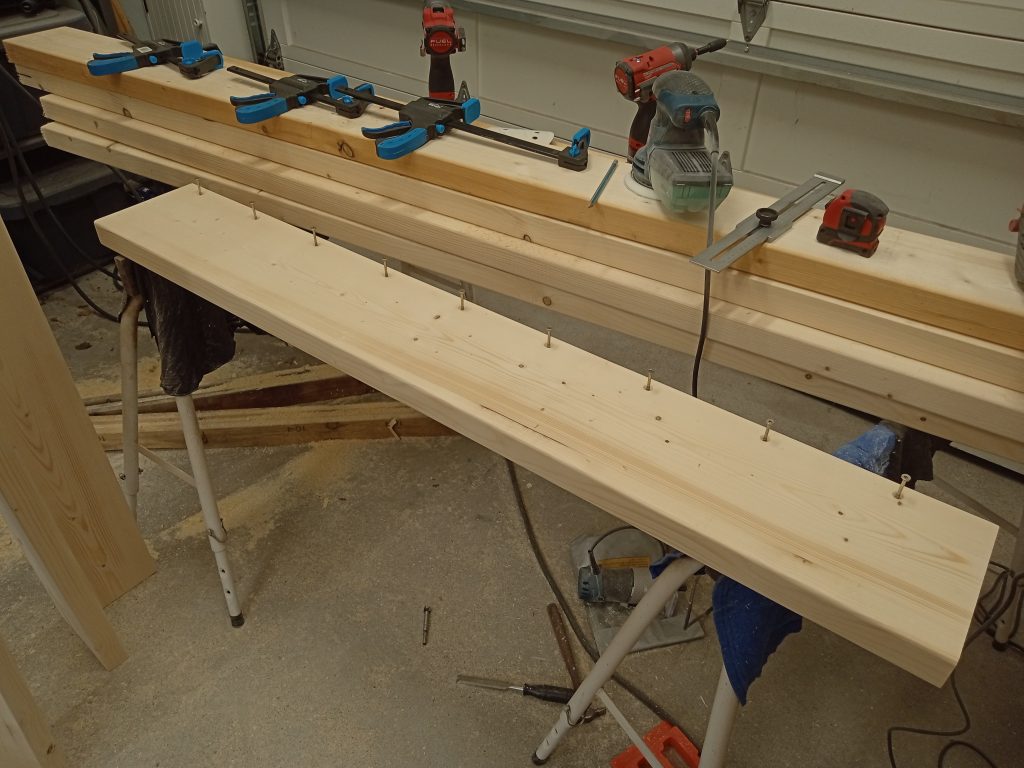
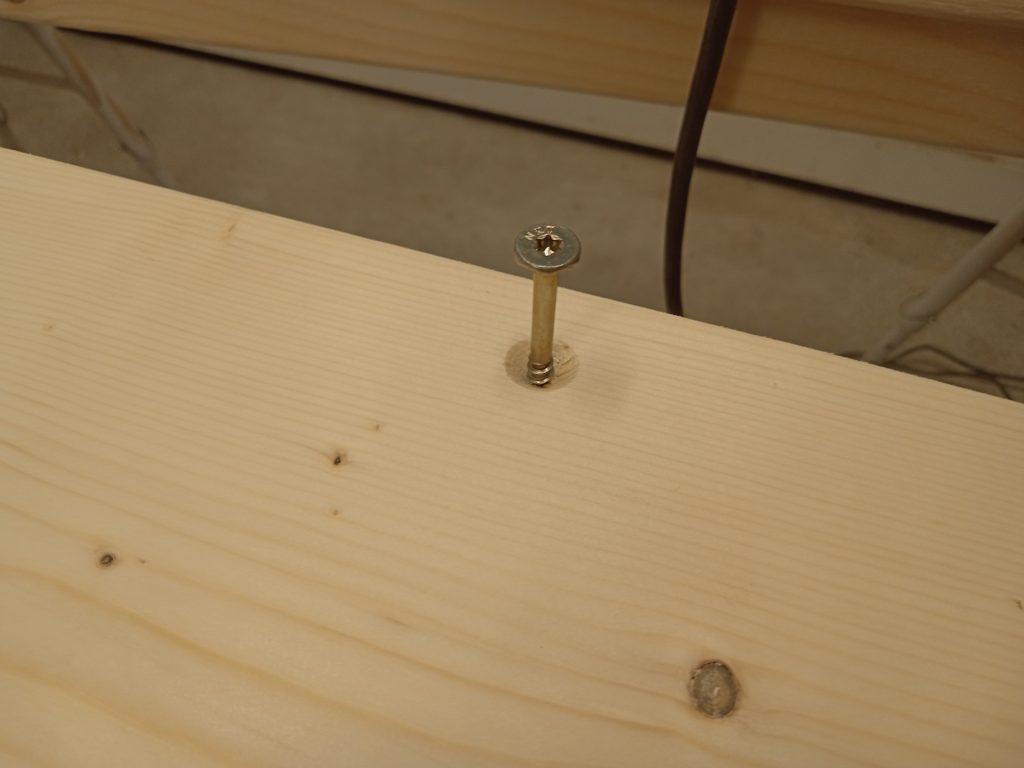
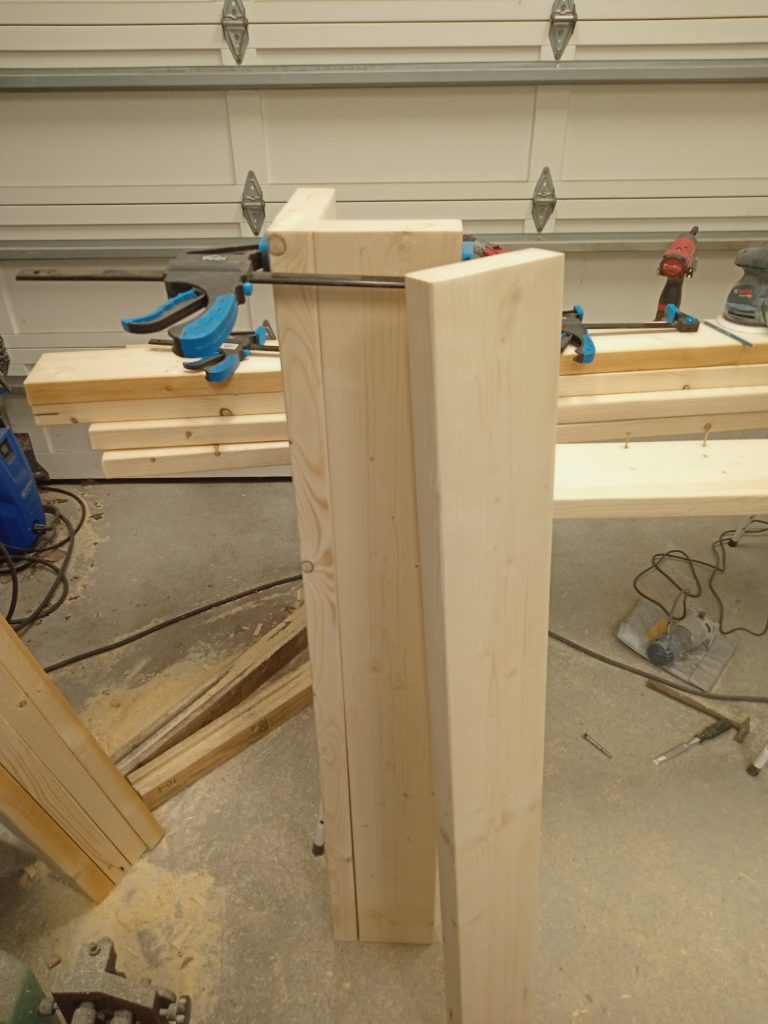
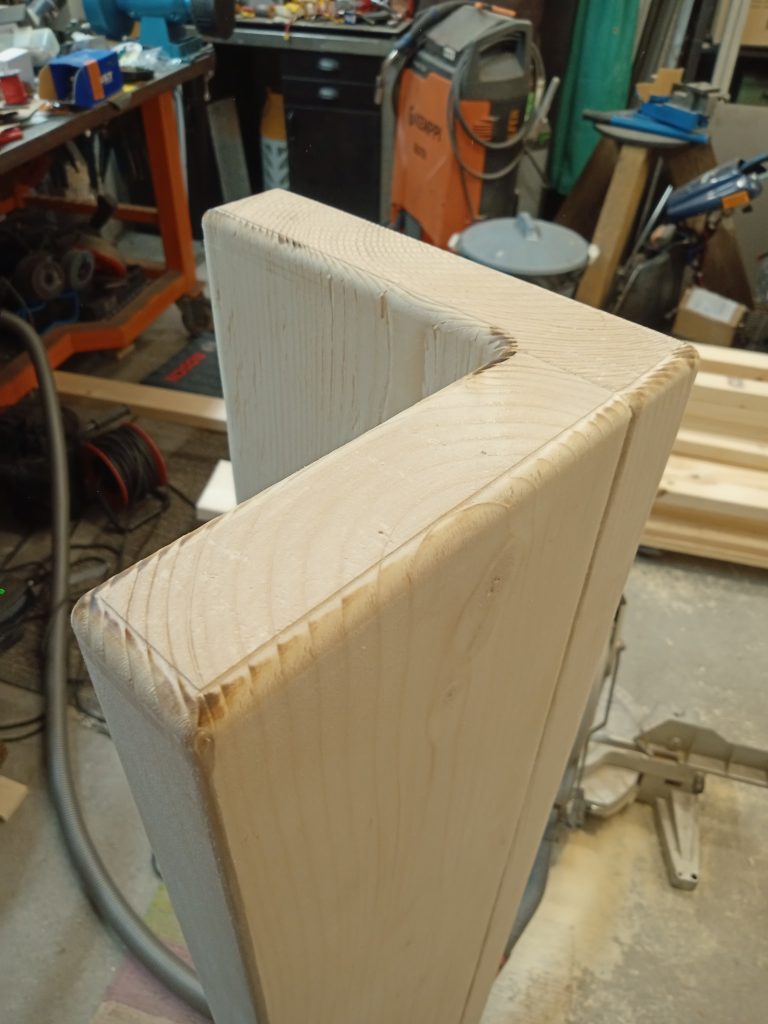
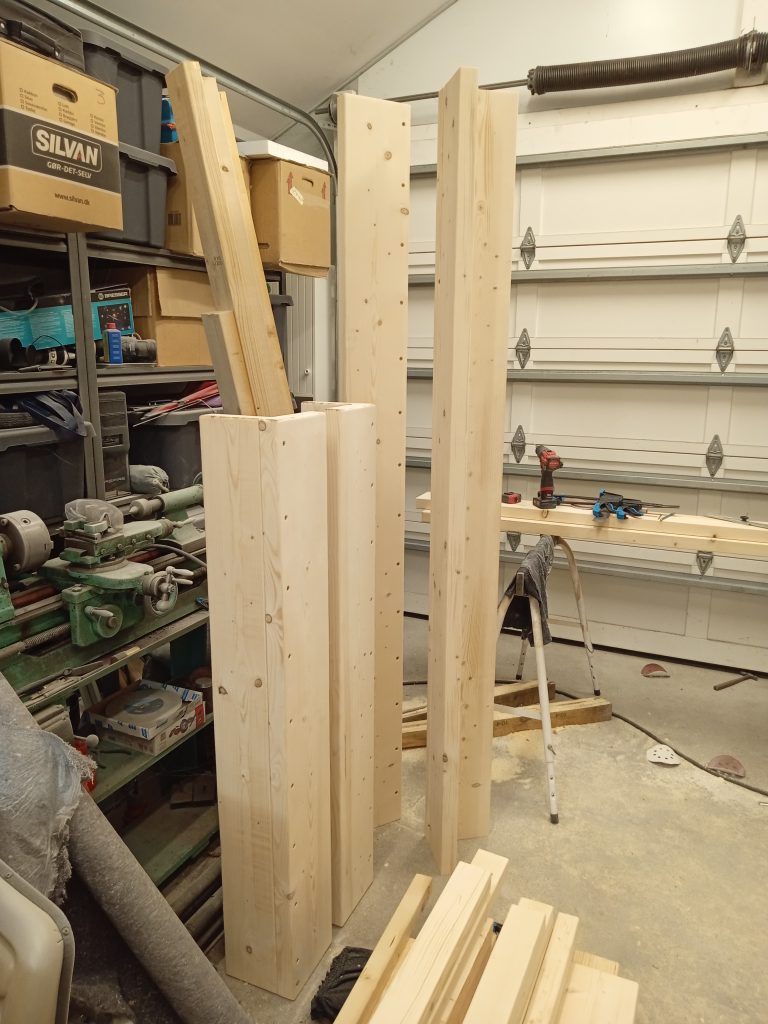
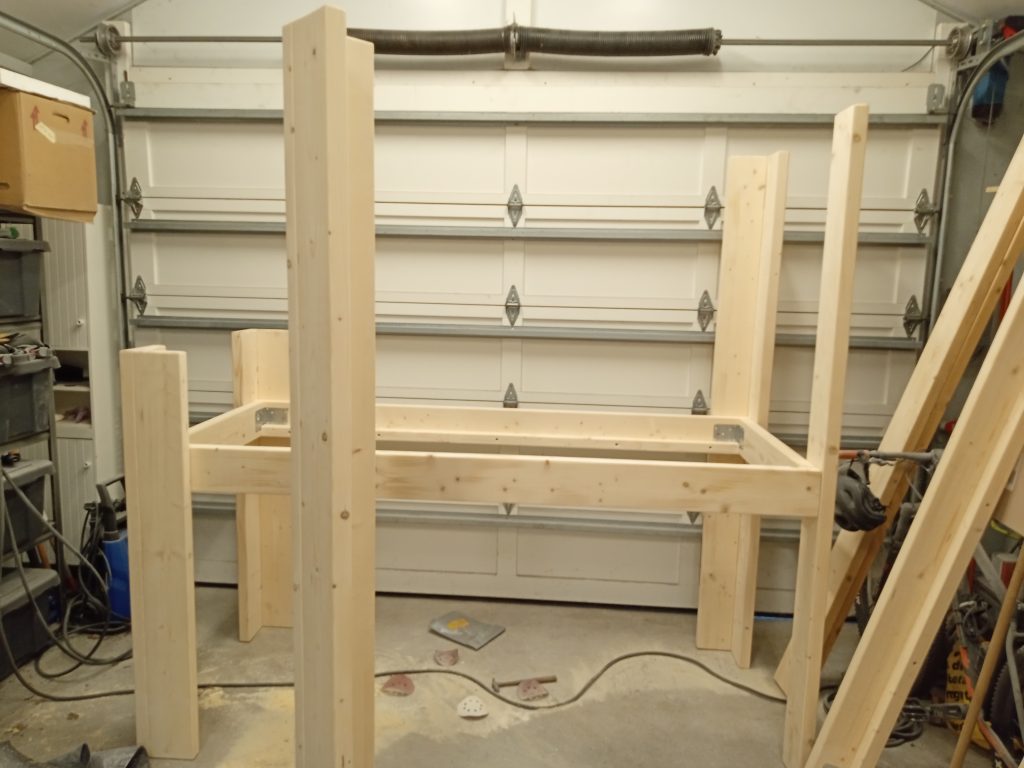
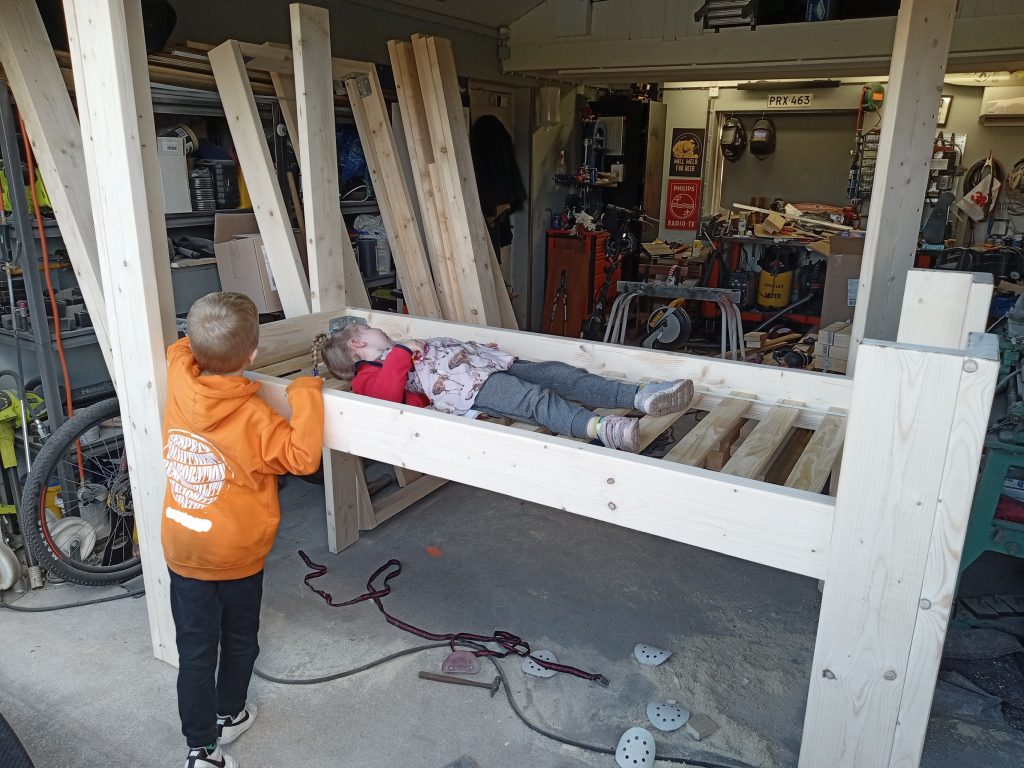
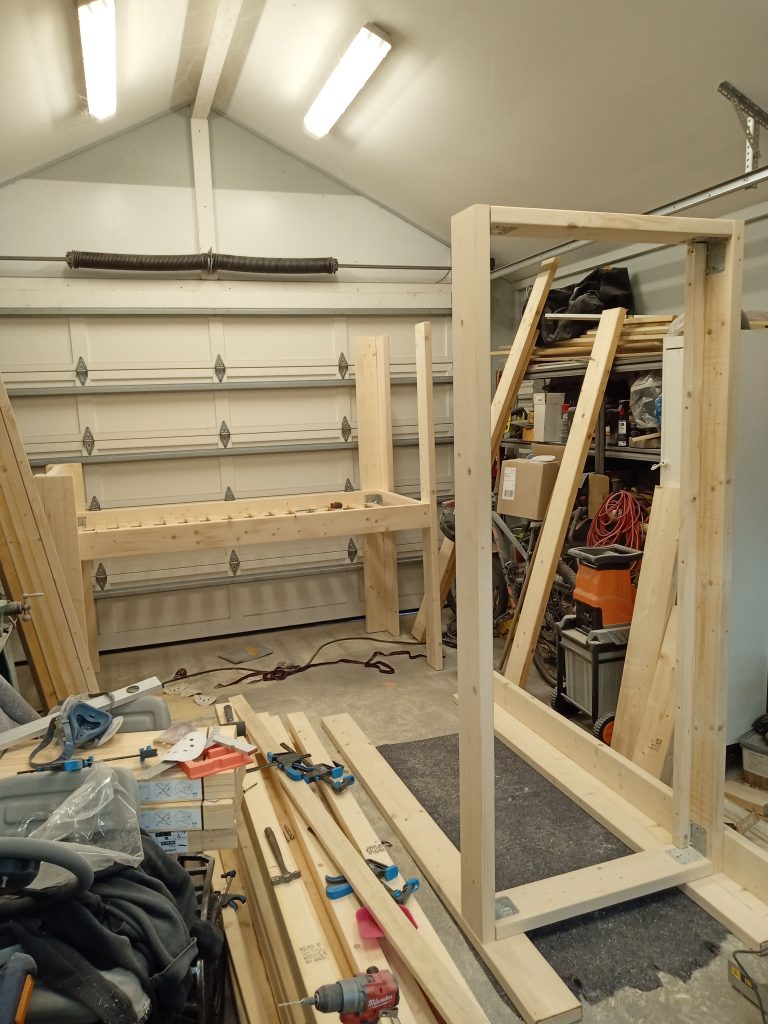
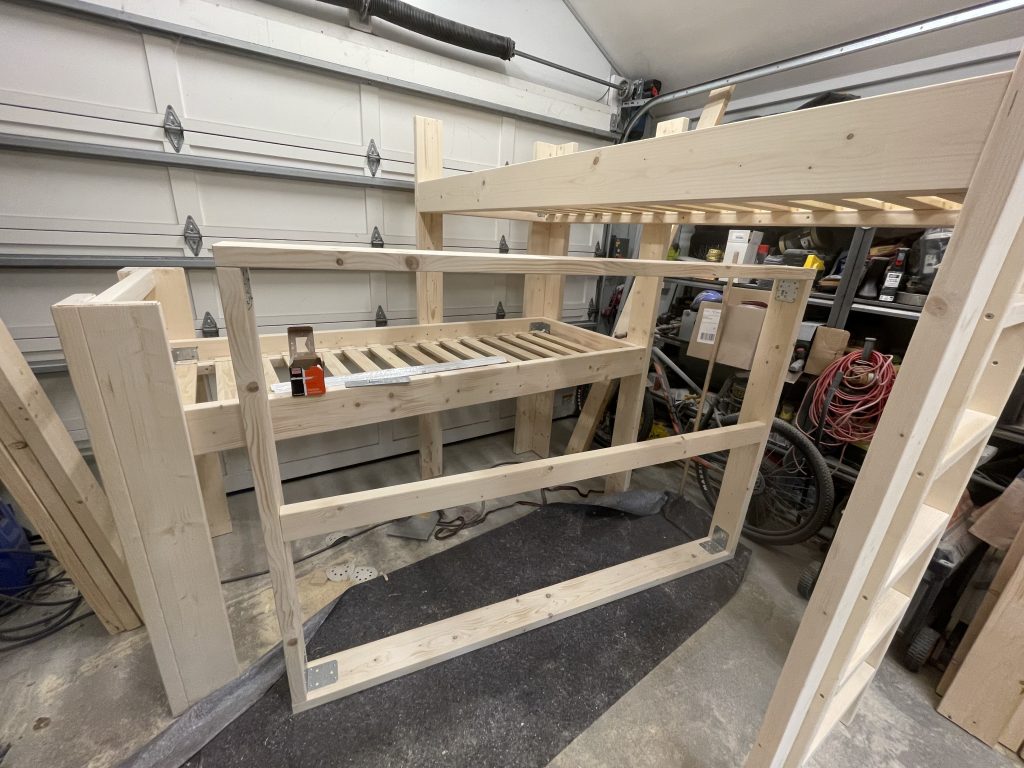
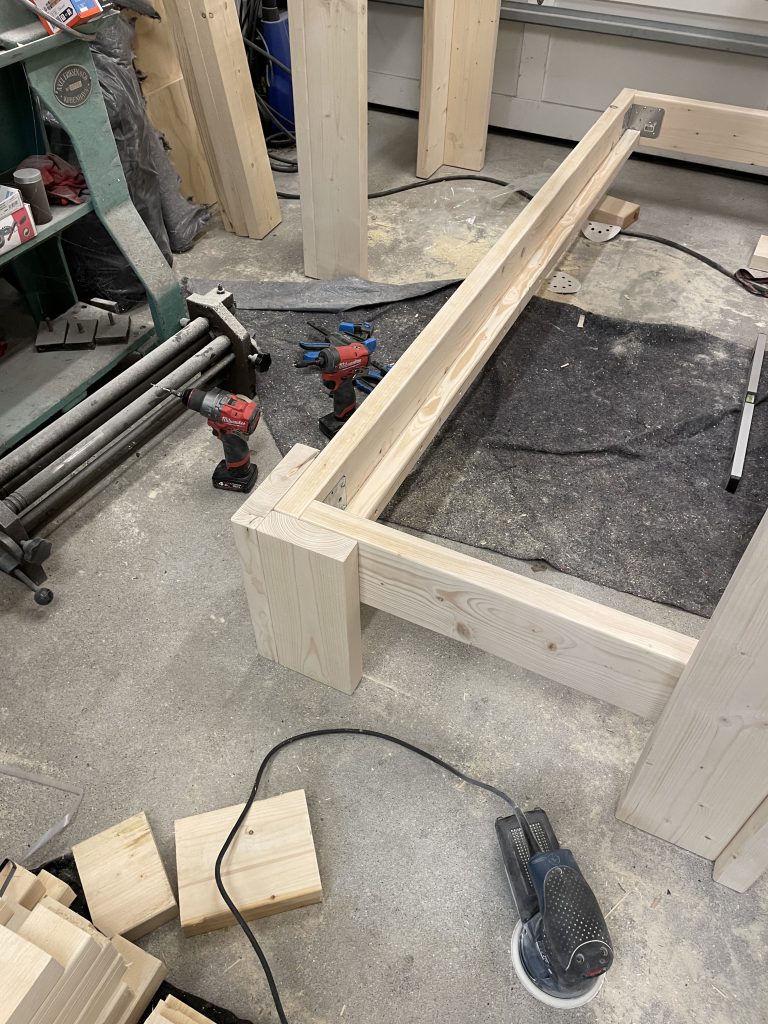
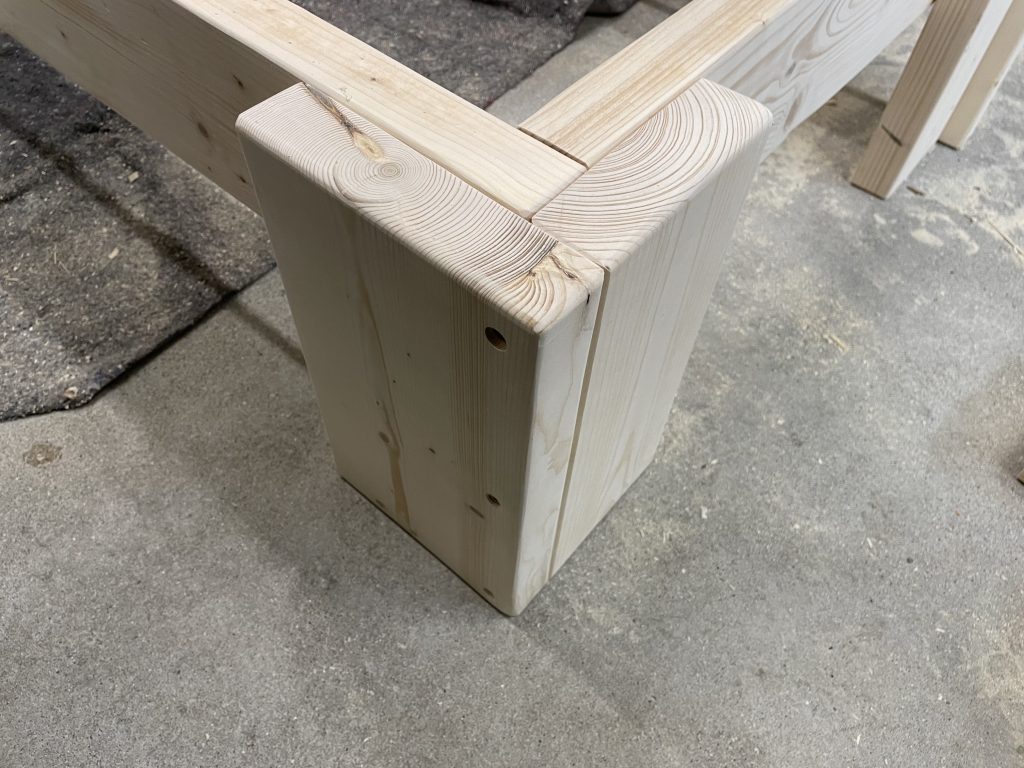
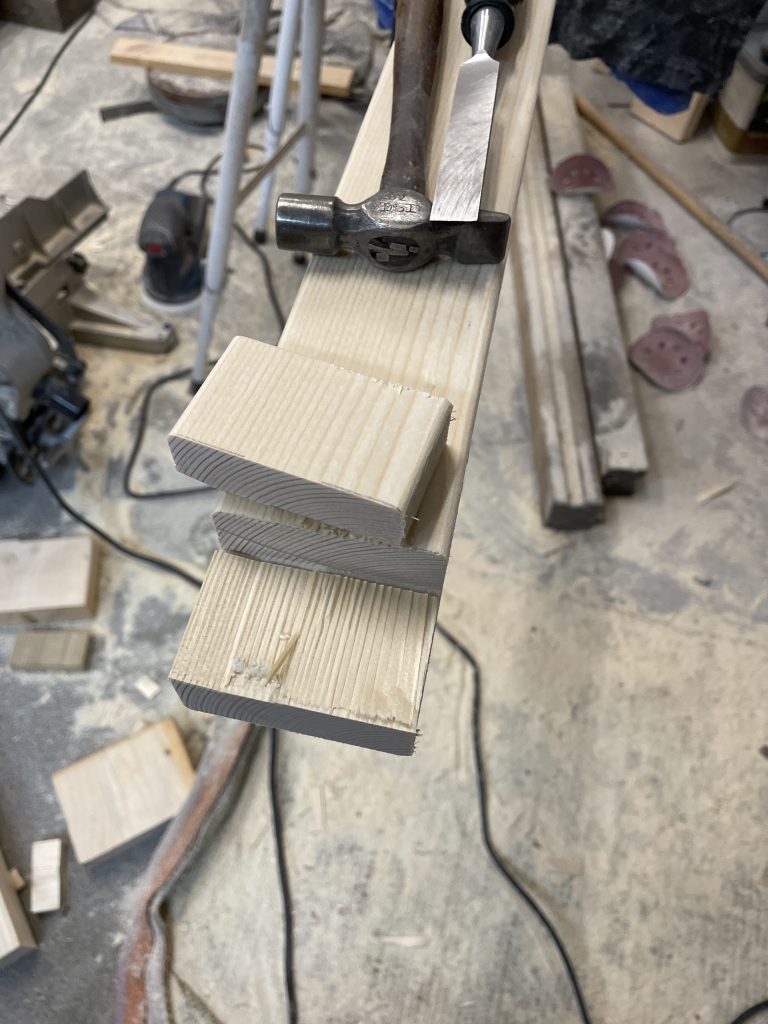
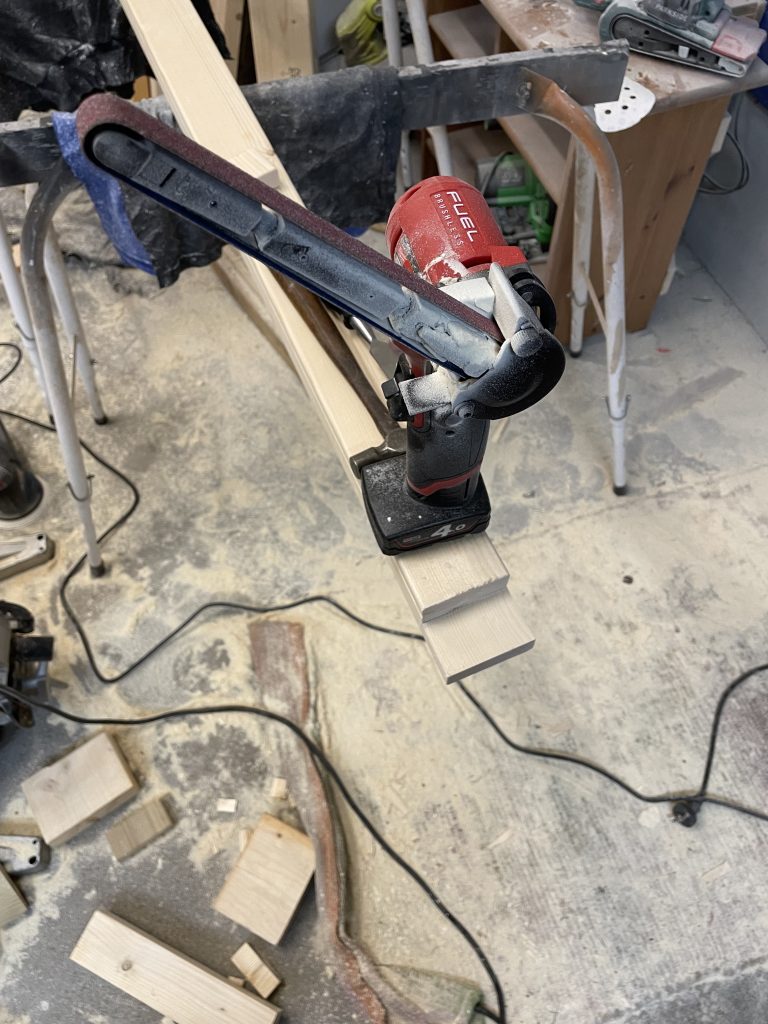
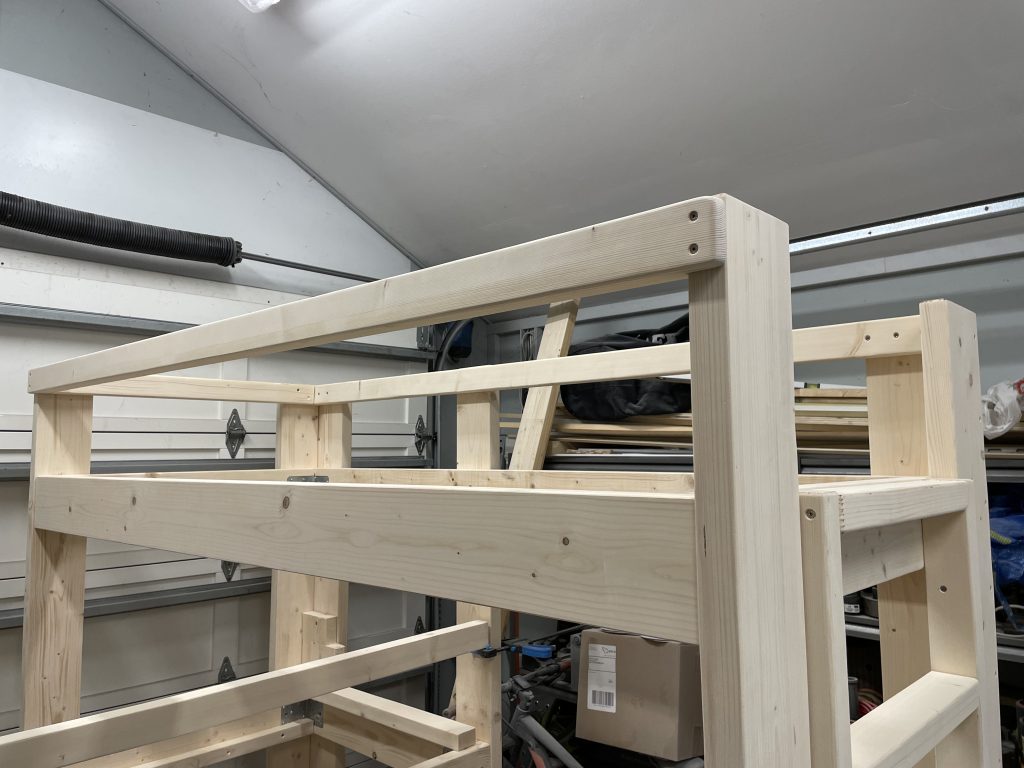
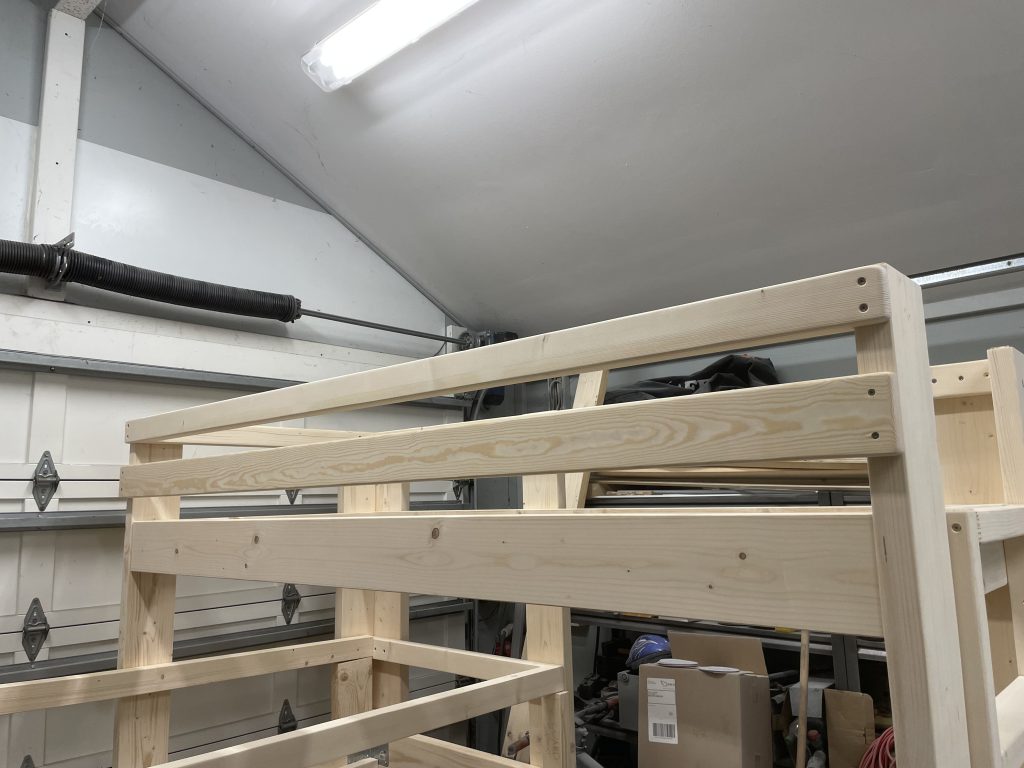
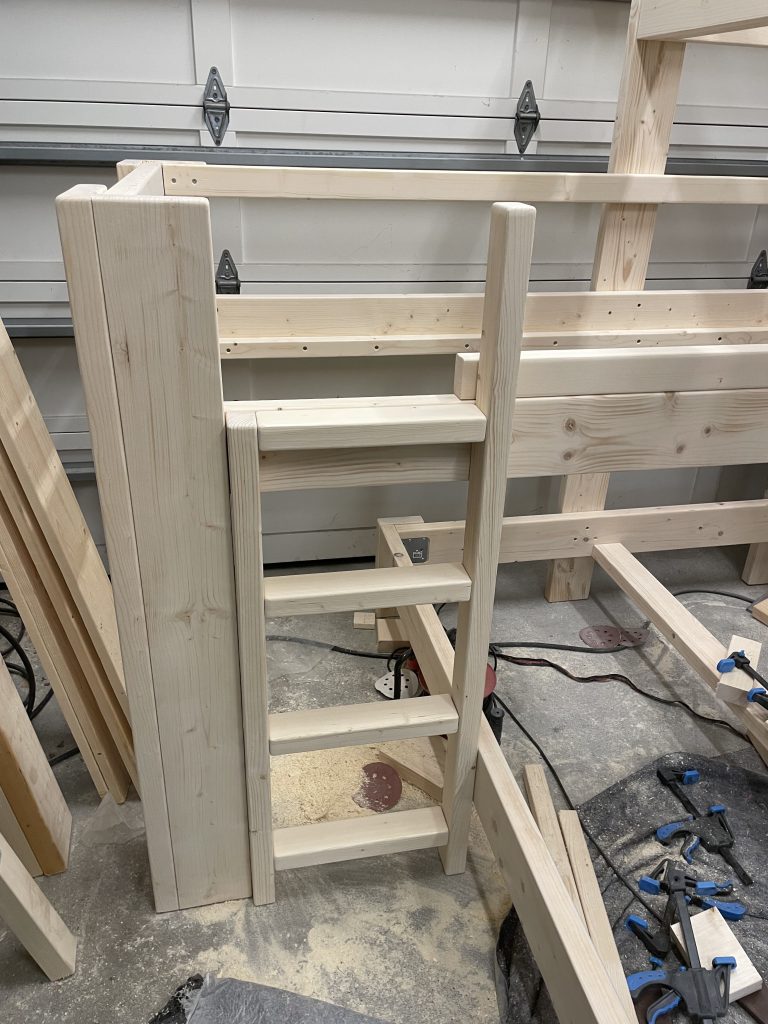
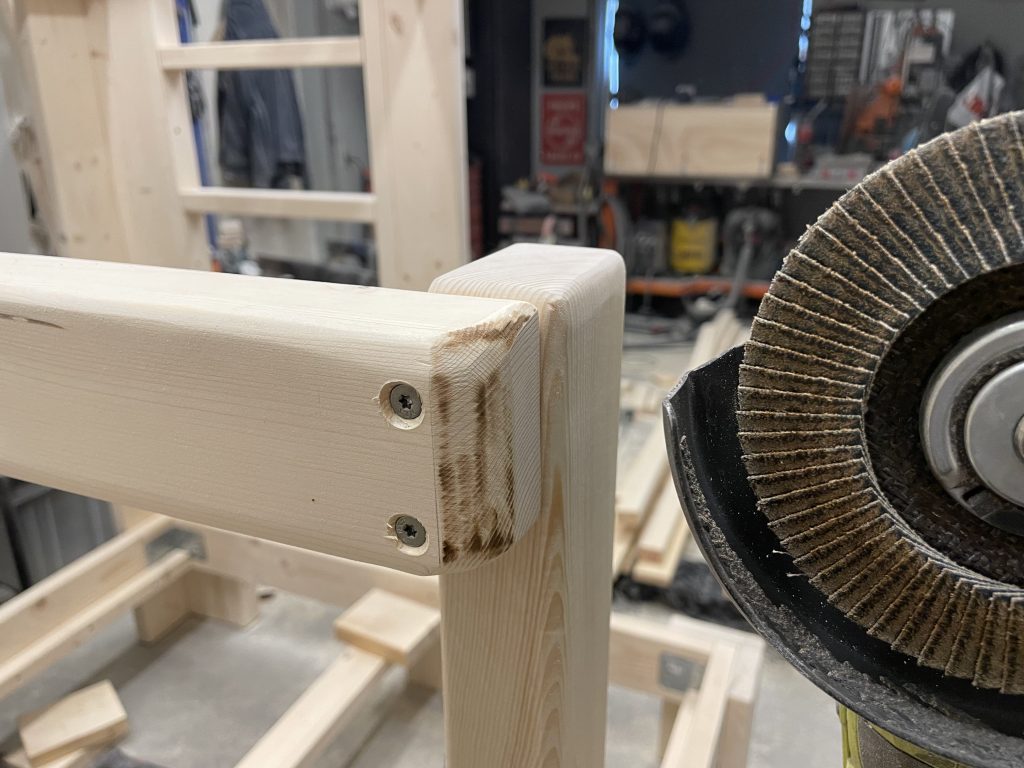
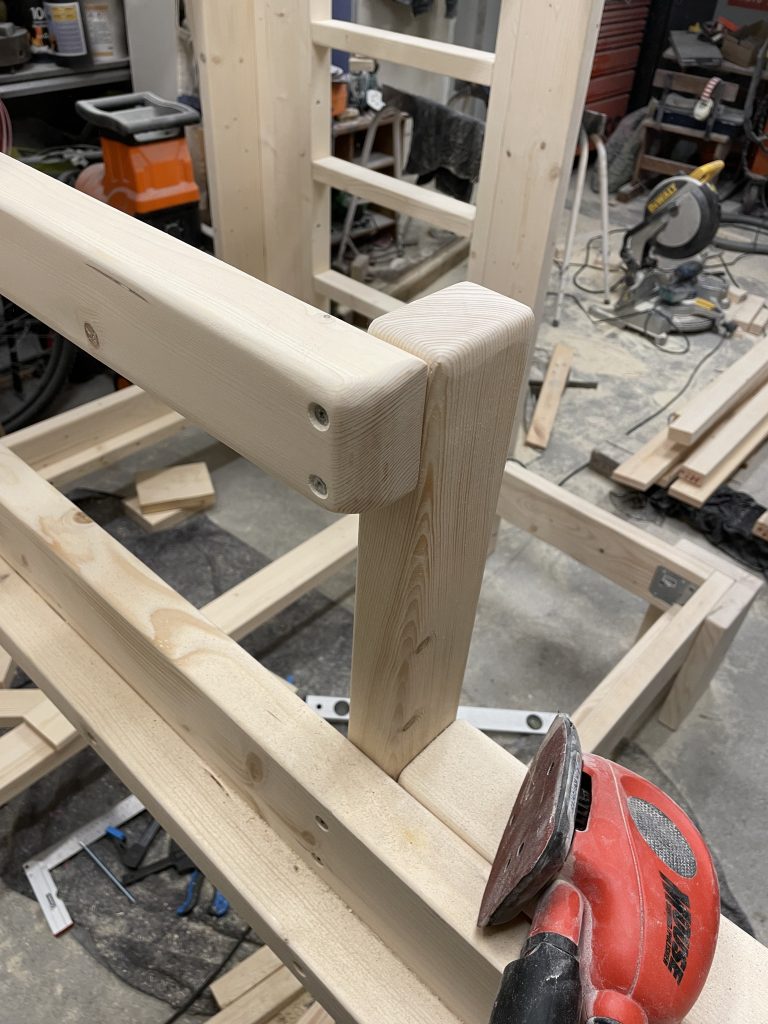
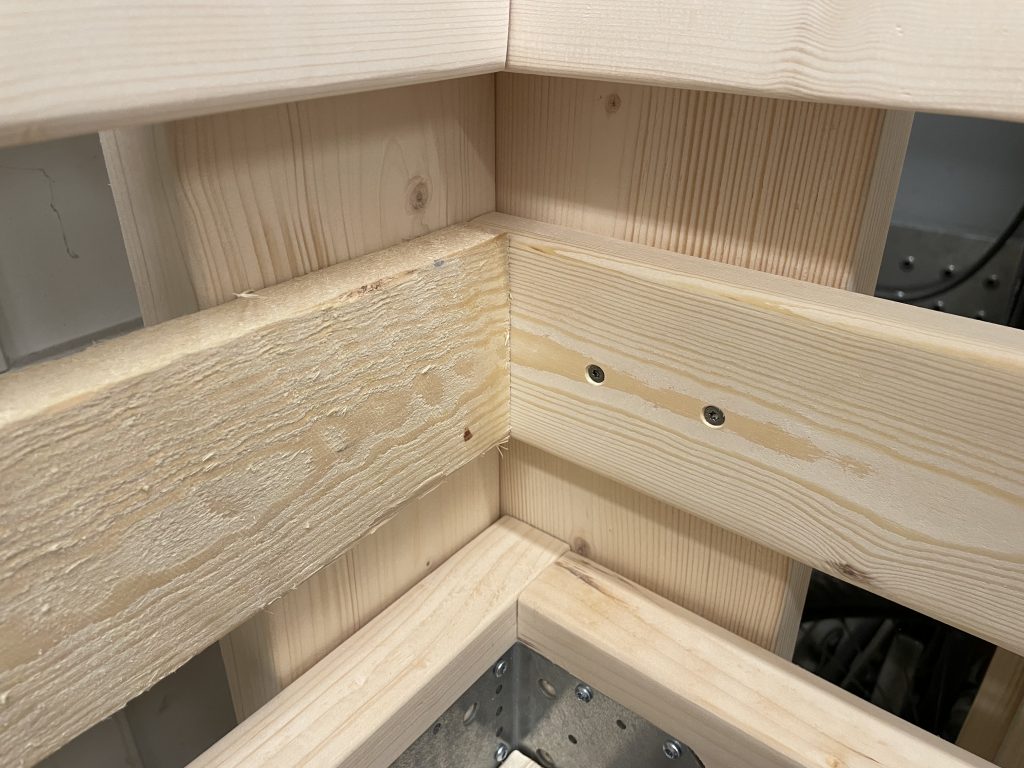
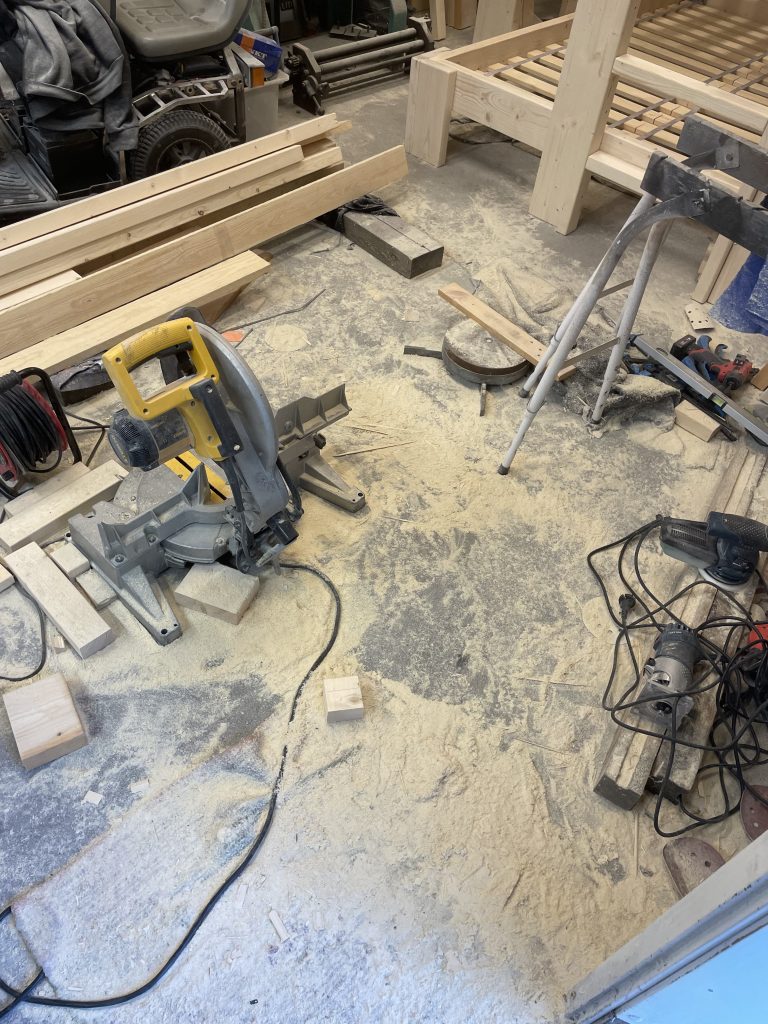
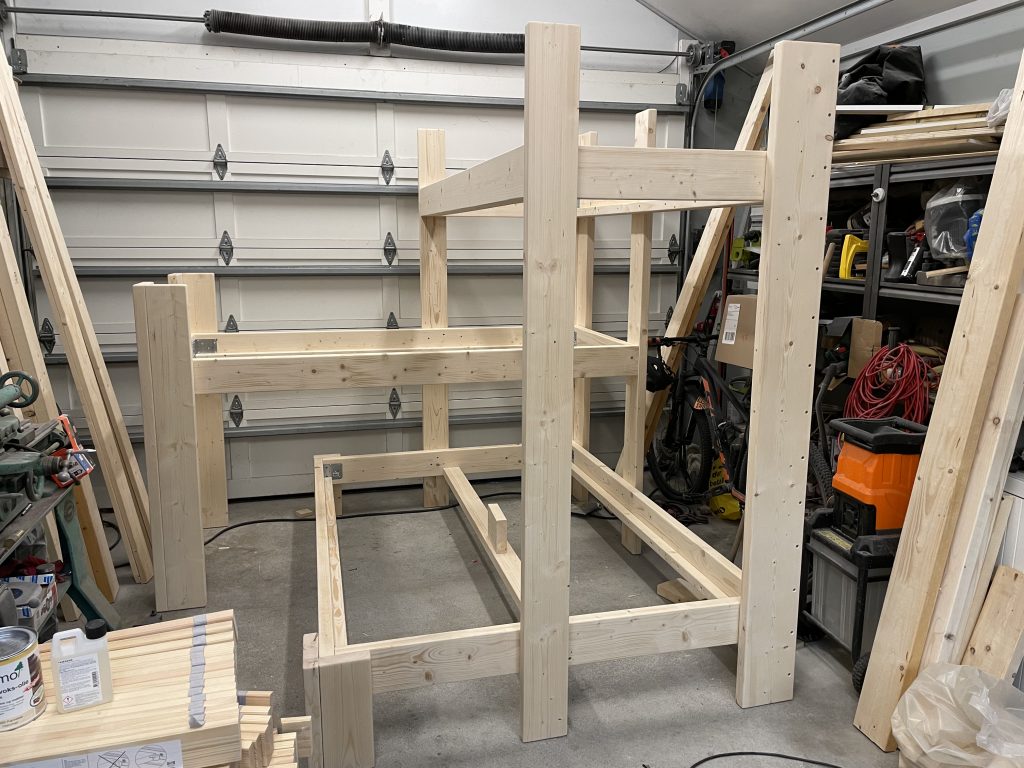
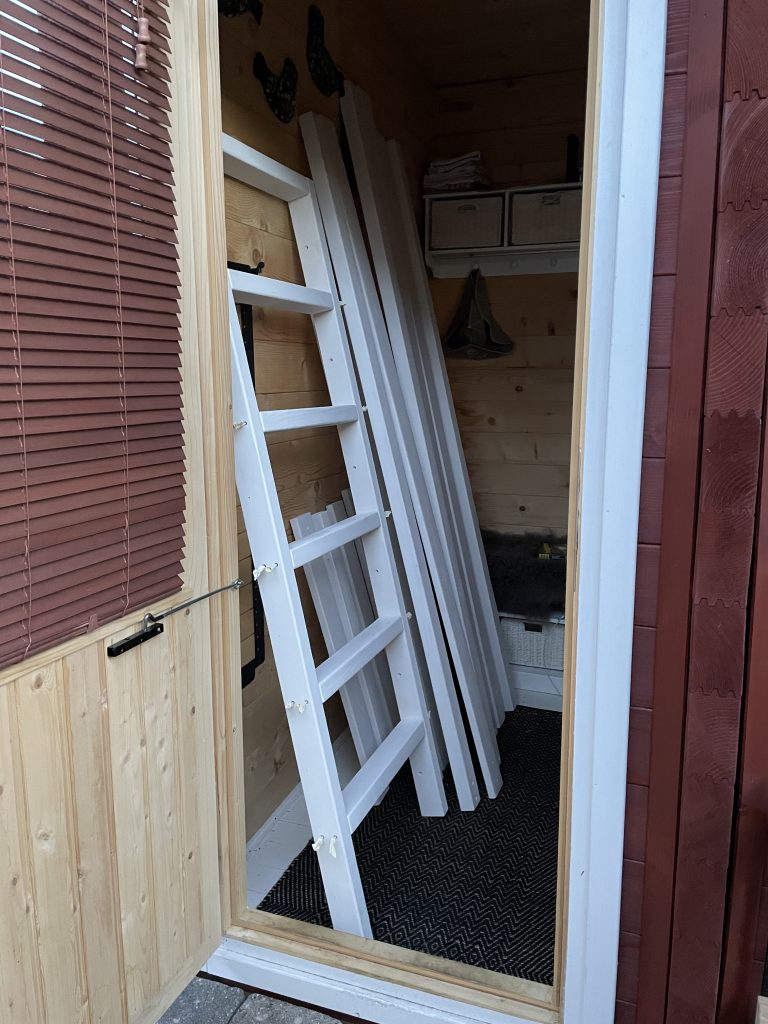
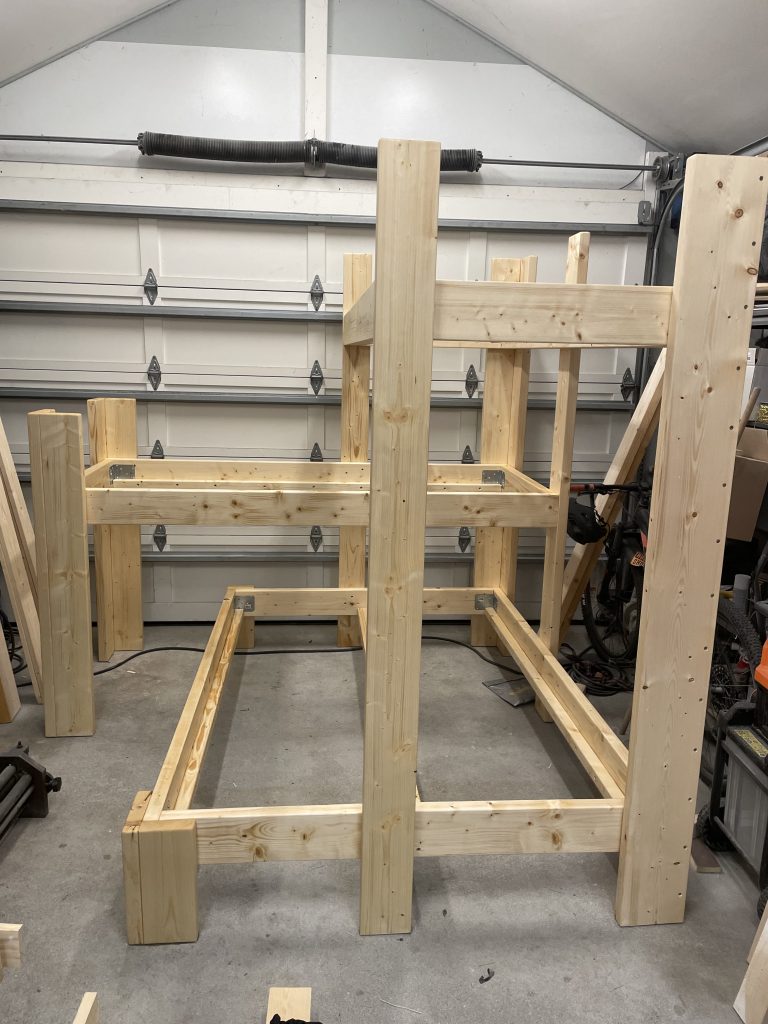
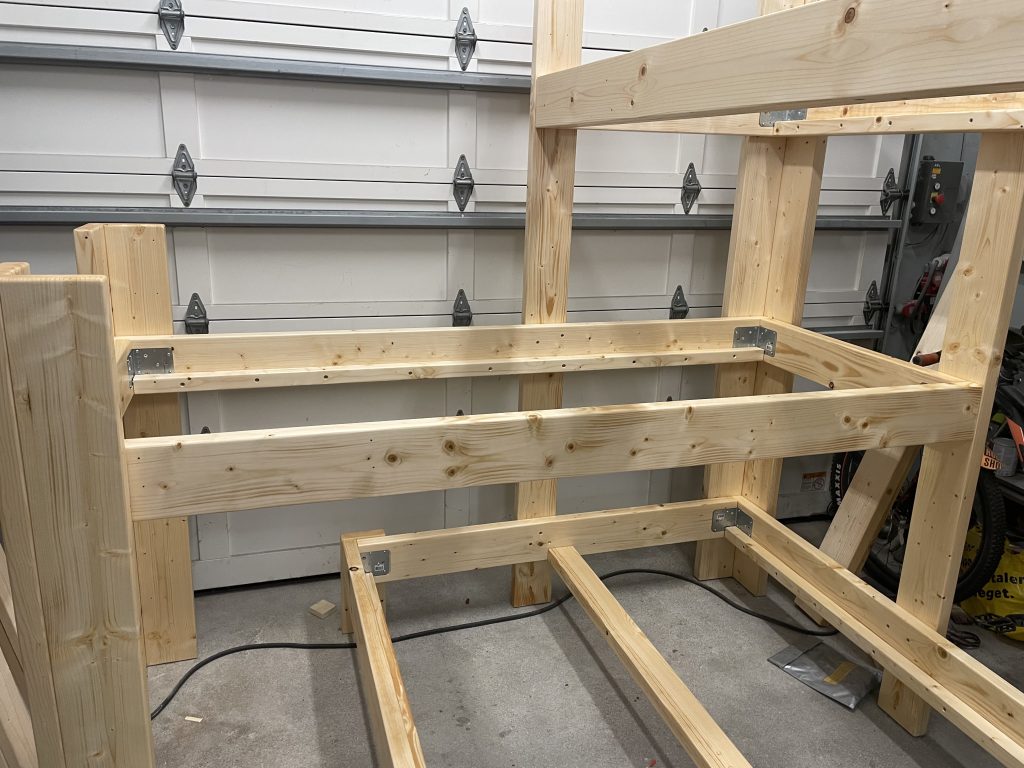
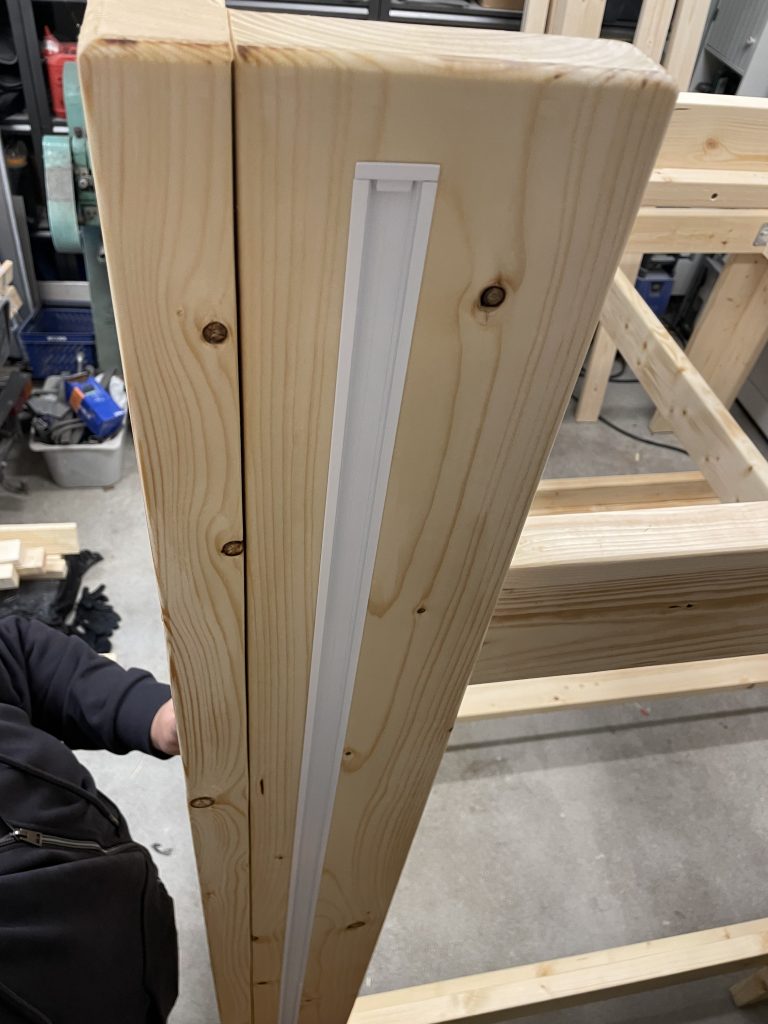
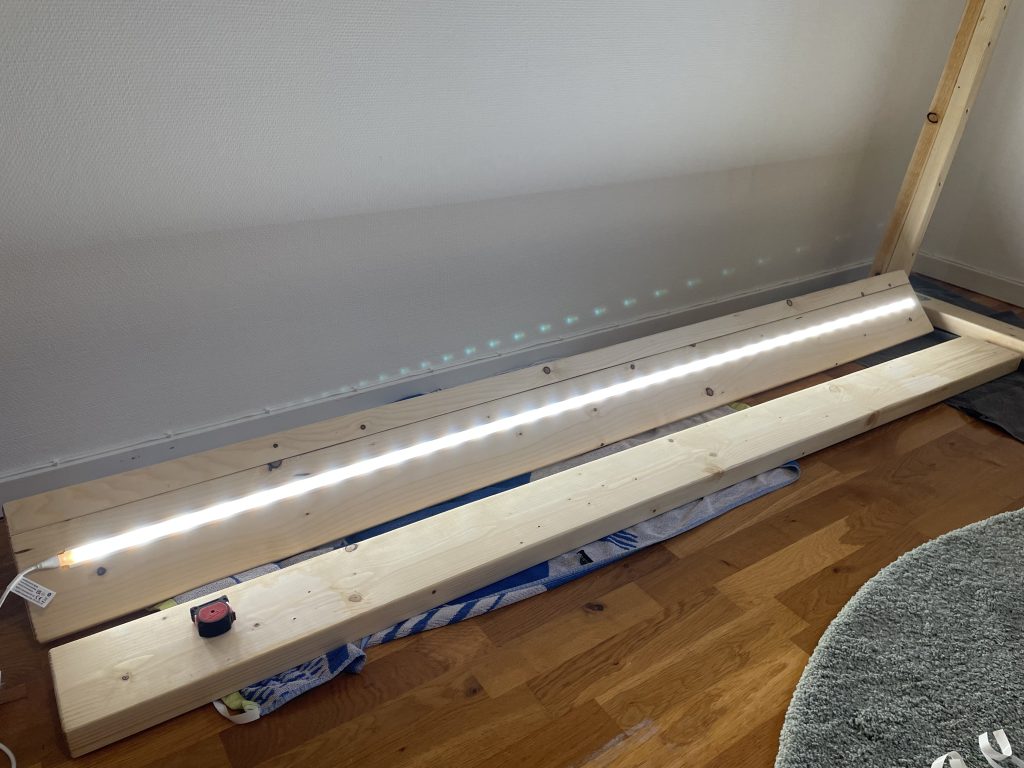
The wood has arrived. The kids are a bit confused when I tell them that it’s their new bed.I need to fit the lumber to the garage somehow, so I cut them outside to manageable sizes.It’s all inside. Let’s hope that my calculations about the required amount of wood were correct.The starting point will be the two smaller bed frames. Before I can start doing anything, I need a router template for the brackets I’m using for the frames. After some designing and 3D printing I have a ready template.For the side pieces, the template will be mounted flush with the end of the lumber. That gives a recess further away from the end.For the end pieces the template is aligned with the small notch I designed into it.That gives a recess all the way at the end of the lumber.These two put together gives a perfect fit for the very heavy duty bracket.A 2×2 is added for holding the slats.Perfect fit.First bed frame is done. What I haven’t shown is the huge amount of sanding to make sure that the wood is smooth. The same process is repeated for the other smaller frame as both of them are the same size.First corner leg. There is a total of four corner legs which wrap around the bed frames. Two short ones, and two long ones. The corner is held together with screws.The screws are recessed to the wood to give a nice finish.Two different widths of wood is used to create an even look for the corner: 145mm and 195mm.Both the top and bottom of the all legs are routed round, and of course sanded afterwards.All four corner legs are ready.I start the assembly from the middle bed. All the other parts can be referenced from that position.The kids are doing the first functional test of the bed.I will embed two meter long Philips Hue LED strips to the two tall corner legs. Those will be inside an aluminium channel which has a diffused transparent cover on it. To embed the aluminium channel, I’m routing a place for it on the center of the legs. The lights will illuminate the back wall and give a nice glow behind the bed.Testing the fit for the channels. Fits like a glove. The upper bed frame has to be attached to the legs on the floor and then tilted up to the right position.This was a bit tricky to do alone.Ladder for the upper bed is made next. This is also very useful to make sure that the legs are totally parallel.Then it is the large bed frame’s turn to be made.The frame has a support on the center for the slats. To make it extra sturdy, I added metal supports on it as well. Later I will also add a short center leg to make it possible for me to stand on the bed when I want to give my daughter a good night kiss.It was also very tricky to lift the frame to the right location alone. There is only 5cm space on both sides when it is slotted in from the side. (I was not able to replicate this feat when I was assembling it in the bedroom. This was truly a miracle!)The large frame needs some legs. I made a mini corner leg on the most visible side.I think it looks very nice for being such a simple construction.Starting with the side guards which prevents the kids from falling out from the bed.The longest guard on the top bed will be recessed to the frame. I borrowed some of my metalworking tools to make it the right dimensions. Ended up looking very nice in my opinion.Perfect fit.All the surrounding top guards are completed.I did A LOT of sanding for the center guards. Funnily enough I found out that the wood is coming from my home town from the UPM Kaukas Sawmill. This is 1400km from where I’m living now.The center guards are in place as well.Preparing for the center ladder. I originally planned to make steps to this bed but now my daughter is old enough to climb a ladder.Done. I will attach the guard directly into the ladder instead of creating a separate support as I had originally planned.Upper guard attached for the middle bed.More metalworking tools to rescue. The corner is rounder with a flapdisk on an angle grinder to make sure no one is hurting themselves while climbing past it.After some additional sanding the corner looks nice as well.Here is another reminder about how much sanding I ended up doing…The center guard was rounded as well to make it safe to climb past it.The bed is fully assembled for the first time!My garage was a mess! I spent few hours getting rid of all the sawdust as I soon needed to treat the frame.The garage is clean and all the guards and ladders are removed again. Those will be painted white, while the rest of the frame will be treated with Osmo Hard Wax Oil.The guards and ladders are primed and painted white. I was very lucky with the weather as I got it done on two consecutive days.The rest of the drying will happen in my sauna’s dressing room while I wait for the rest of the frame to be ready with the Hard Wax Oil treatment. I spent nearly 5 hours treating the frame but it was worth it. The result is fantastic!The hard wax oil really makes the details of the wood stand out.Before I can start the assembly, I have to more things to do. Firstly I need to add the aluminium channels for the Hue LED lights…… and then I laser cut name plaques for both the kids. Custom Super Mario track for my son, and Puffin Rock, My Little Pony, Care Bears, and Singing Dragon from the Rescue Riders for my daughter.It was done in two levels so I can change the design later when their interests change.
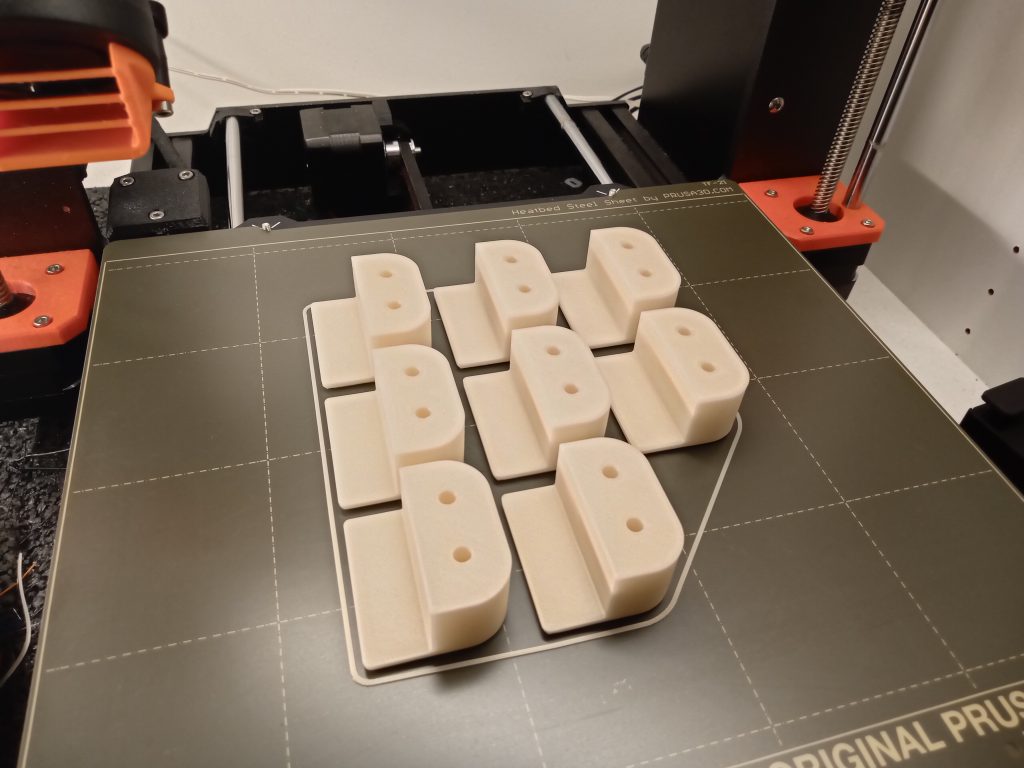
Assembly time! First the Philips Hue lights go in.The diffused covers gives a very nice light.Me and my wife spent the whole day clearing the kids’ room and carrying the frame in. It’s finally assembled and the lights are also connected.To make sure that the slats don’t move, I designed and 3D printed some end stops for them.It’s a simple design, but works perfectly.Finally ready. Top bed.Middle bed.Bottom bed.Custom Super Mario level.Selection of the favourites.
I’m very happy how the bed ended up. The endless sanding paid off as everything is super smooth. One of my main goals was that it had to be sturdy enough that I don’t have to worry about breaking the bed even if I climb up to the top. The frame could carry an elephant so I don’t have to worry about that.