I love to make very large pancakes on a traditional cast iron pan from Finland called Muurikka (or Muurinpohjapannu as it is officially called). I got the pan few years back and it came with a large gas heater. This was not good enough, so I decided to design a rocket stove inspired wood burner for it.
Pretty much the only material used on this build was a stainless steel plate with 3mm thickness. On top of this I used a very small amount of 8mm stainless steel bar and some cherrywood for the handles.
The plate was a leftover what had been behind my garage for years, so for me the cost was minimal. Although, it wouldn’t be minimal if you would buy that plate as new.
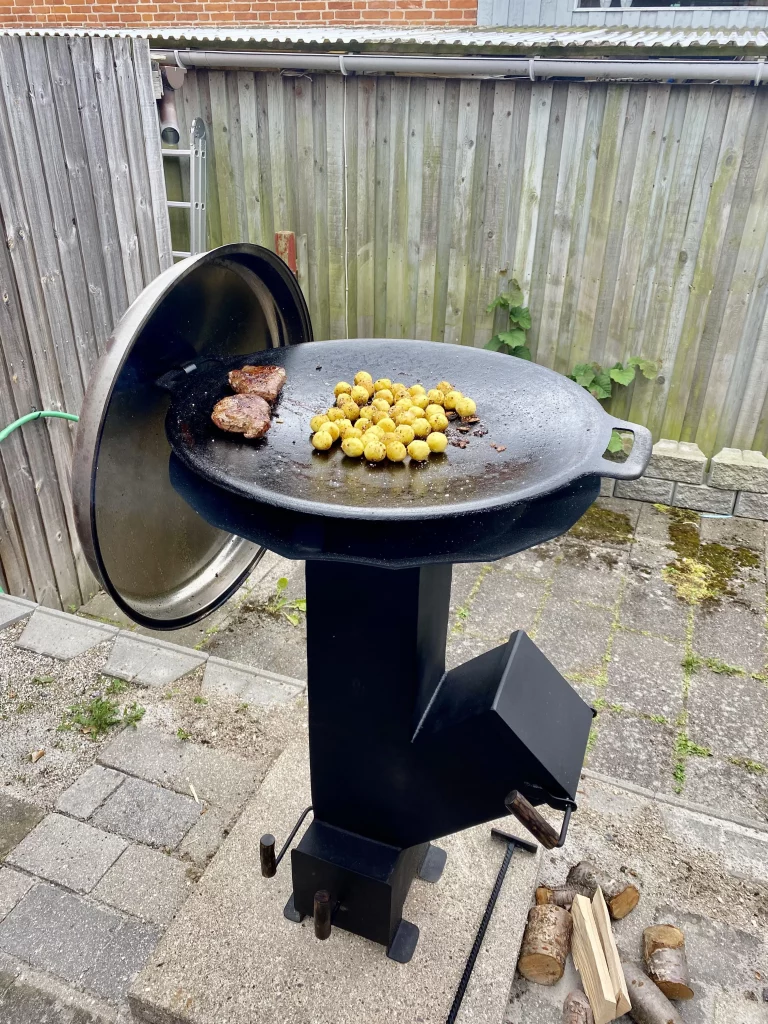
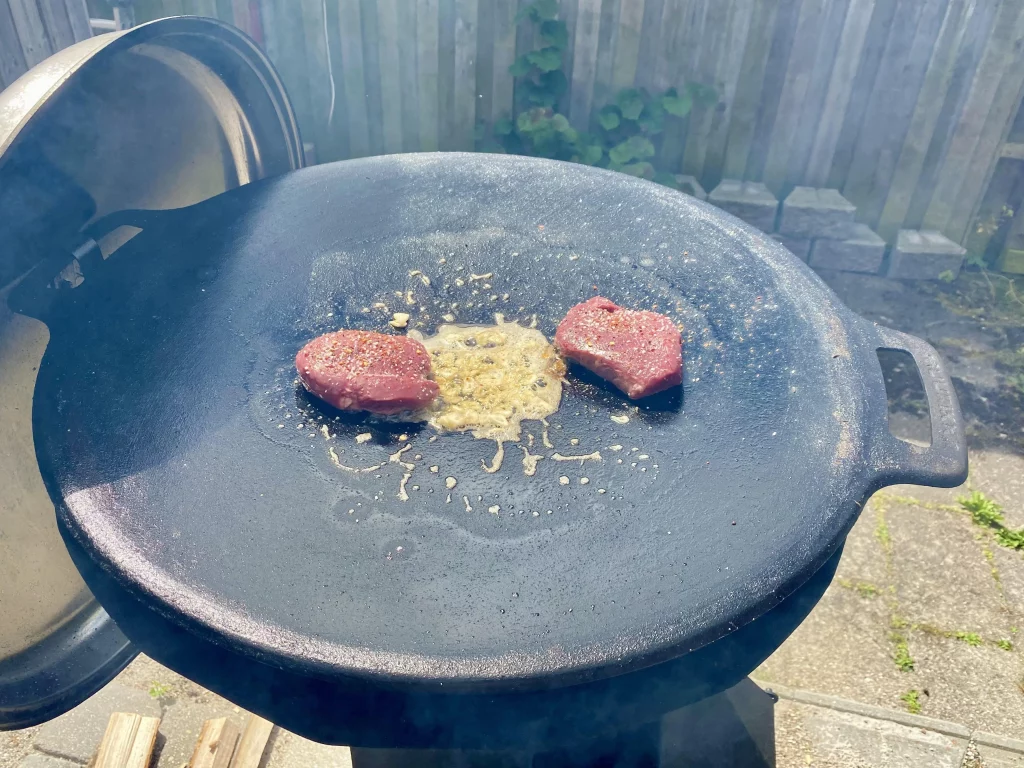
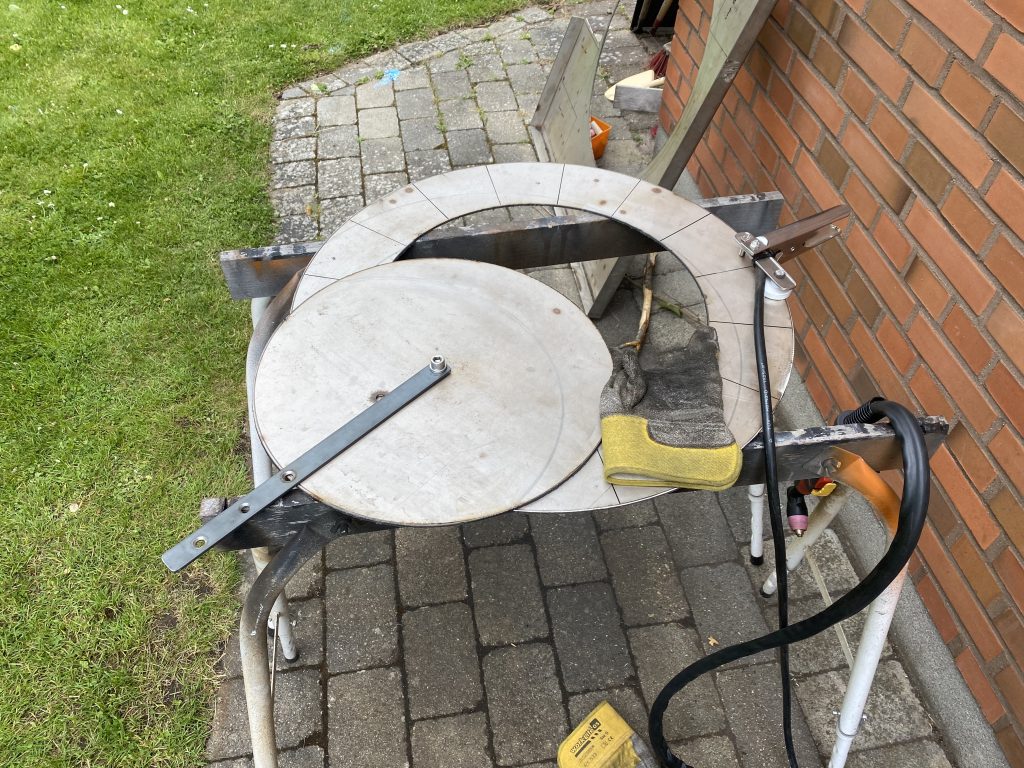
The final result.Perfect for pancakes, steaks, burgers etc.The heat is fully adjustable. It easily handles low temperature for pancakes or high temperature for steaks.
Build Log:
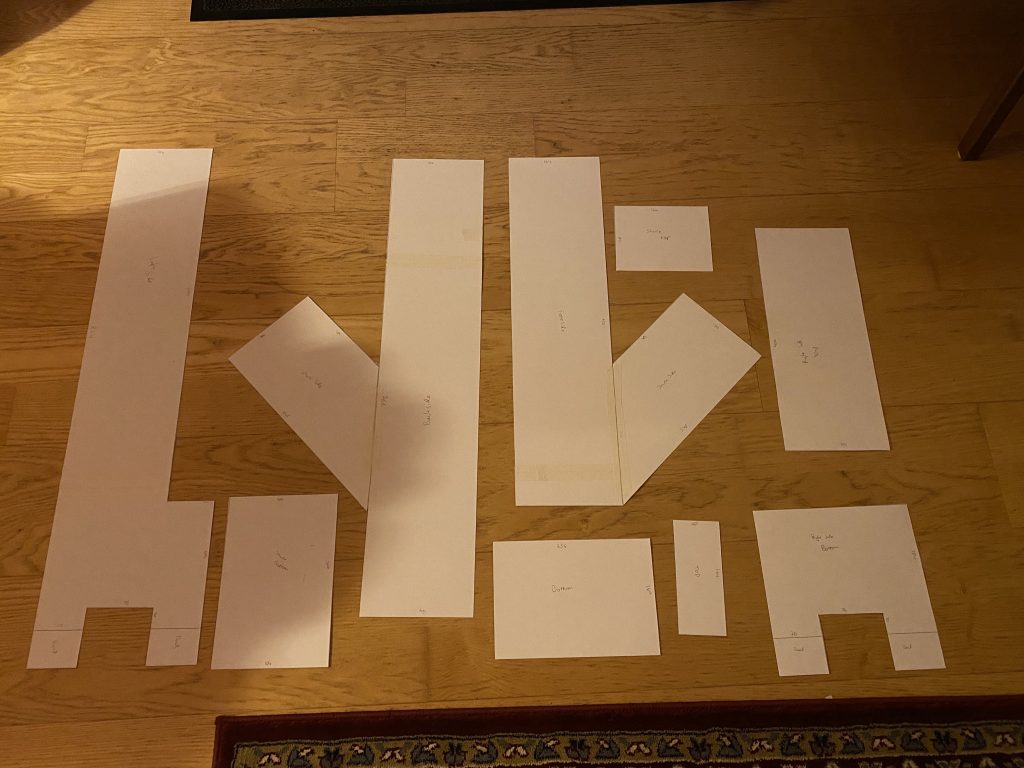
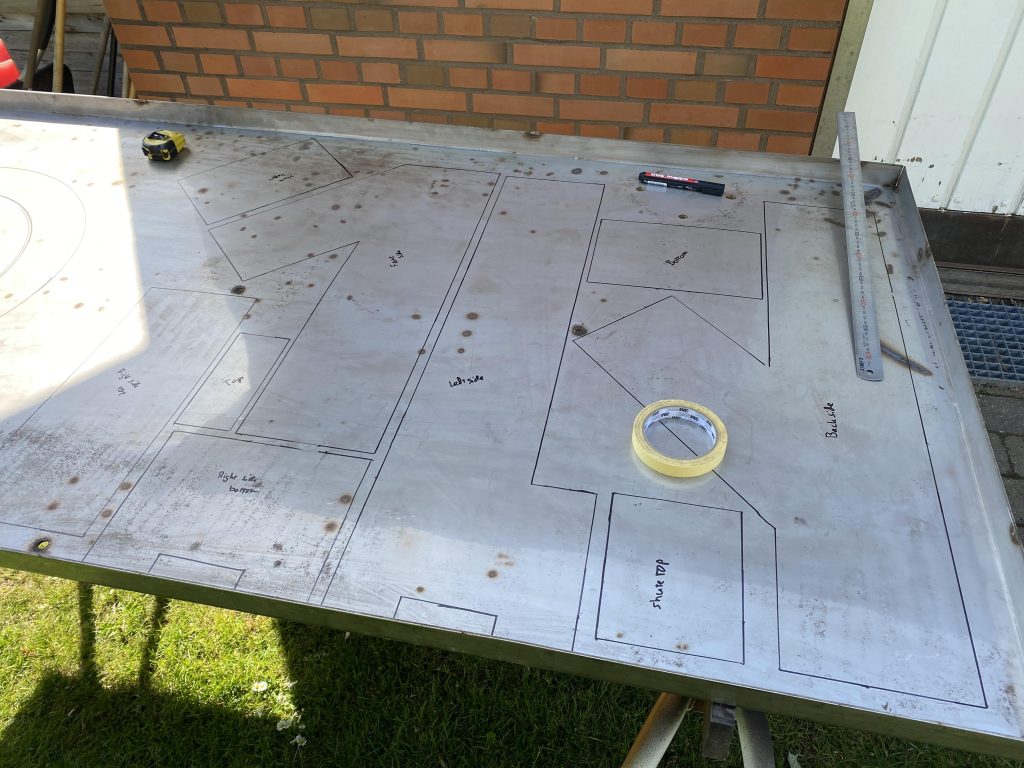
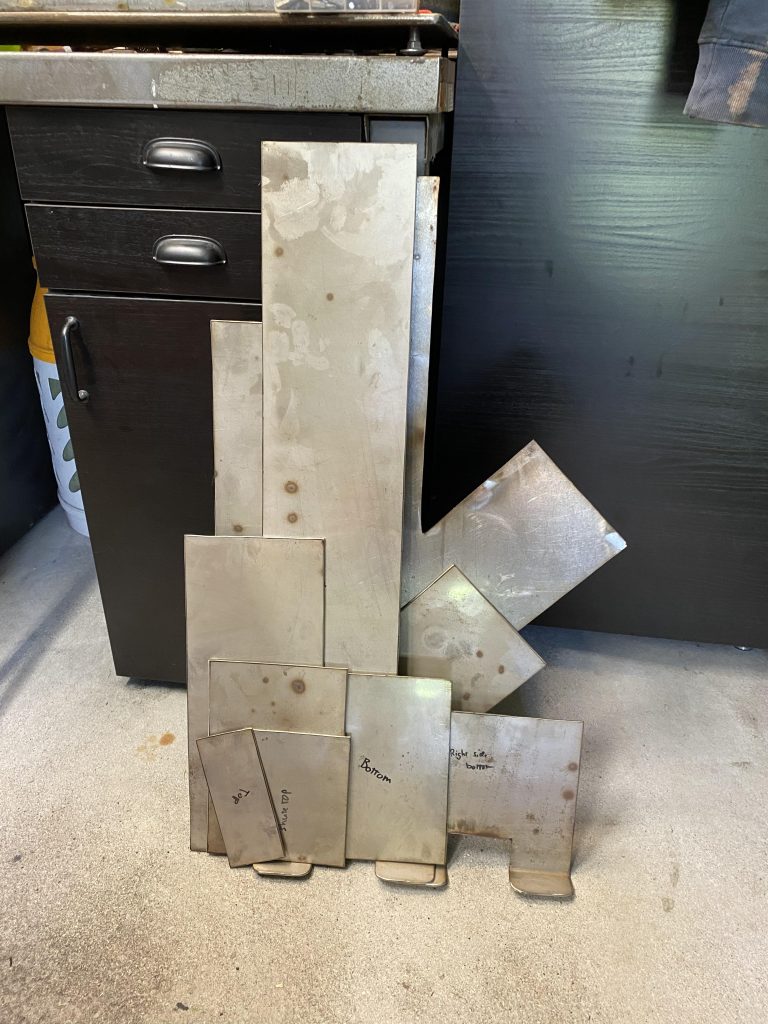
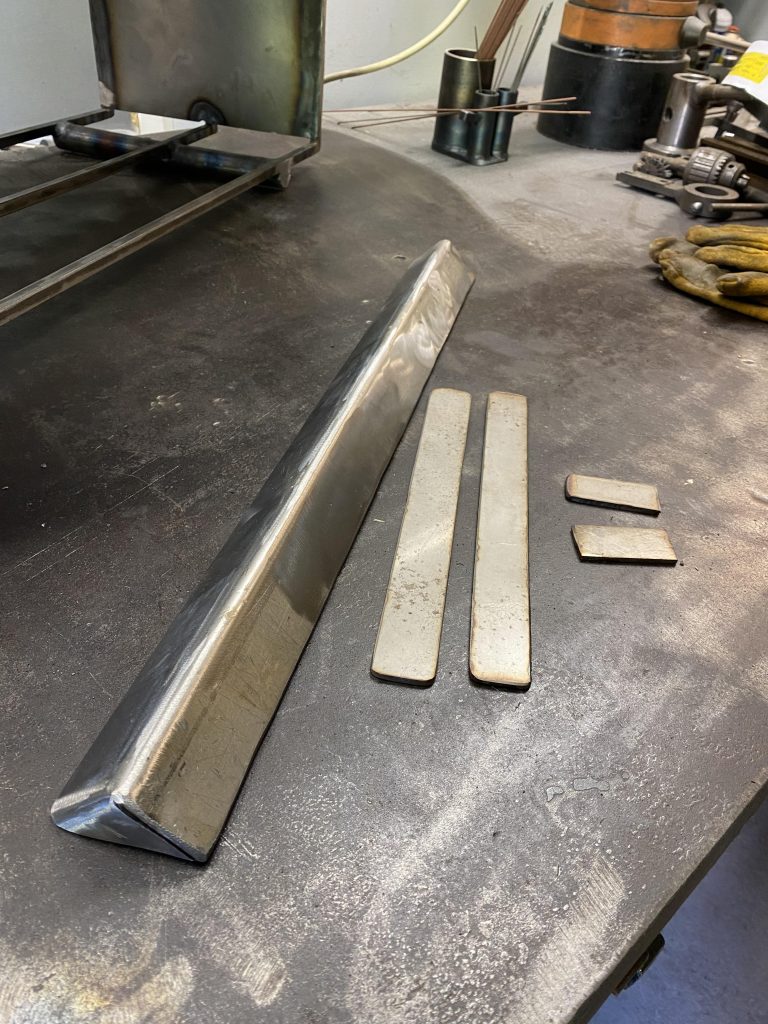
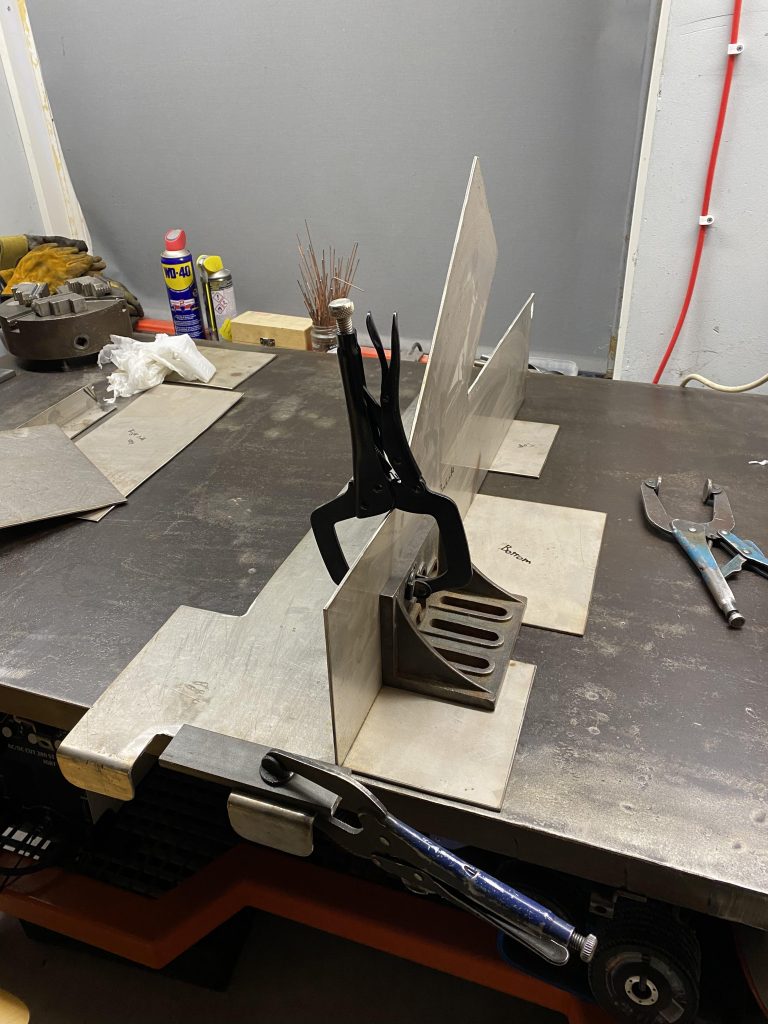
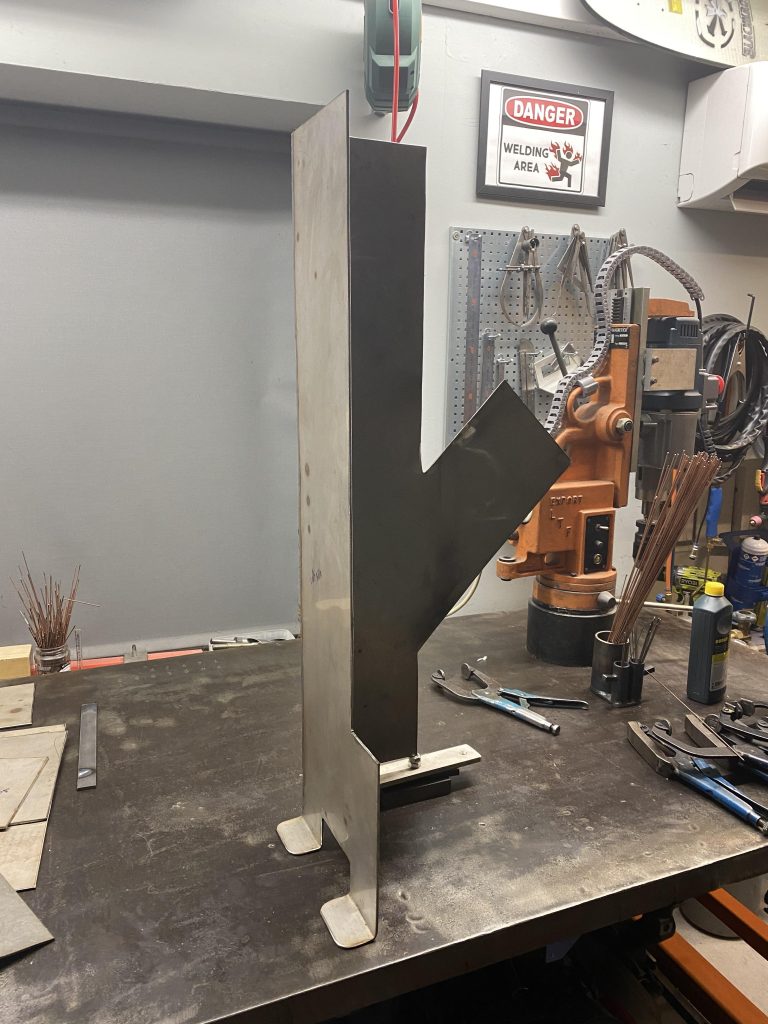
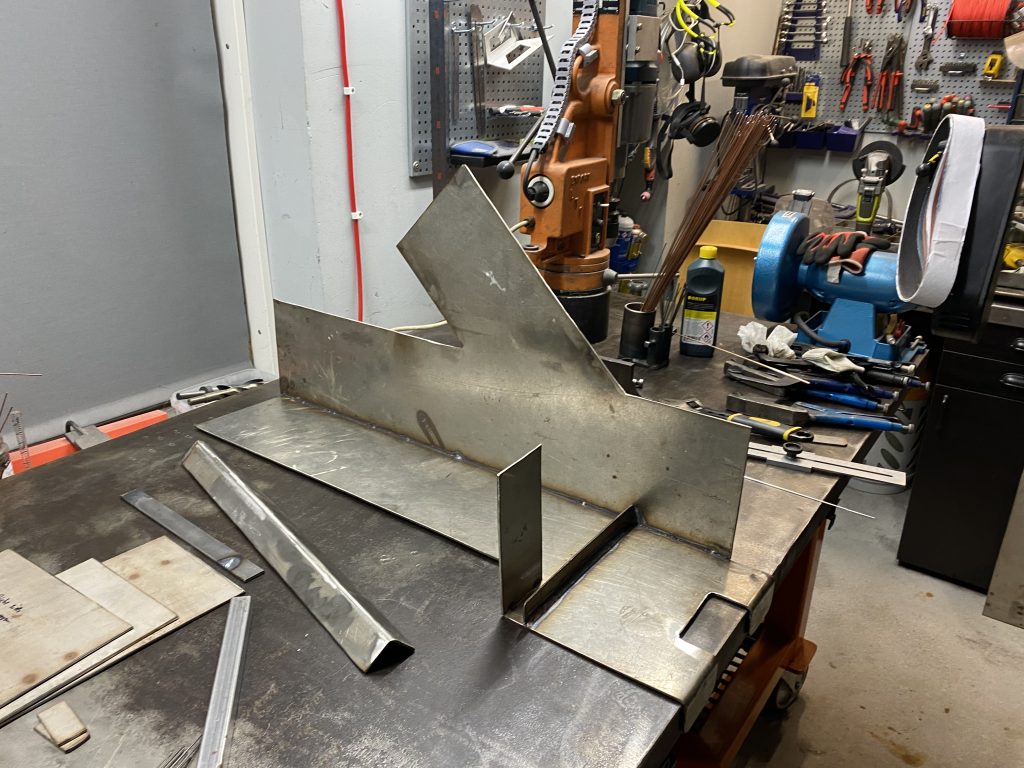
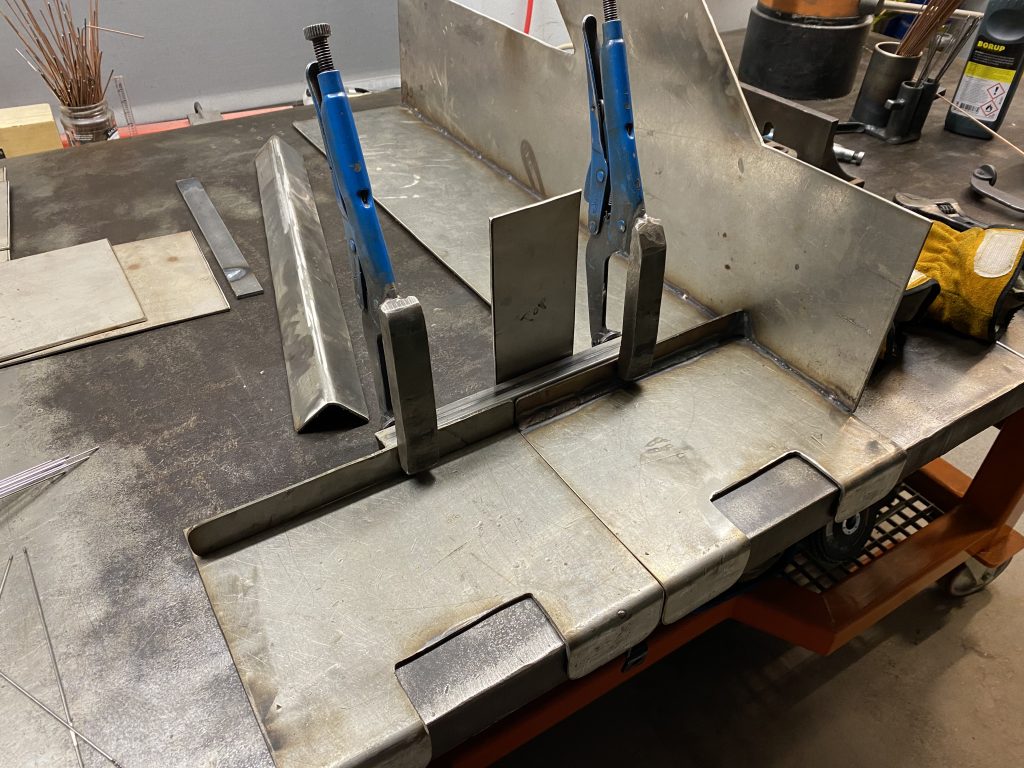
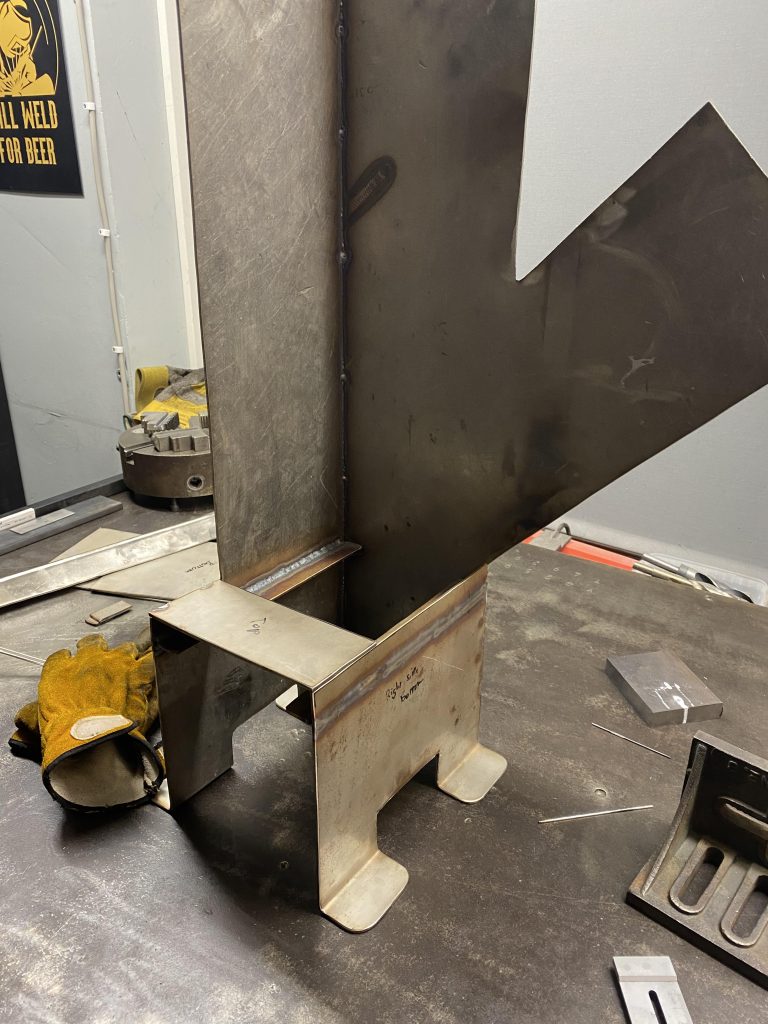
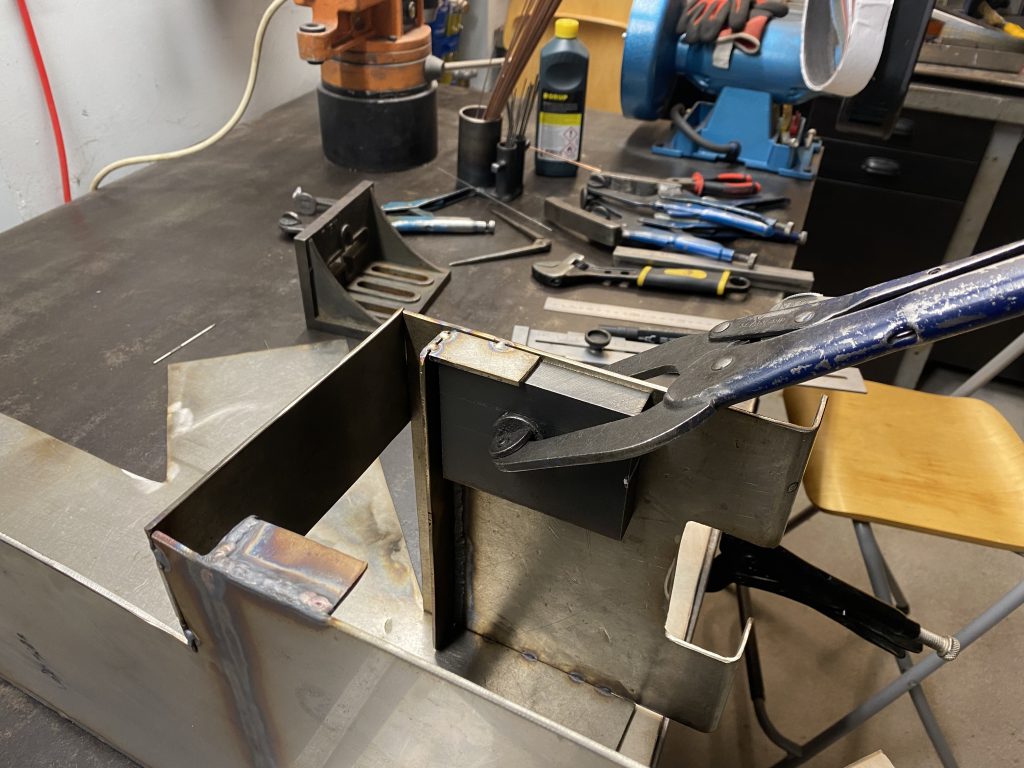
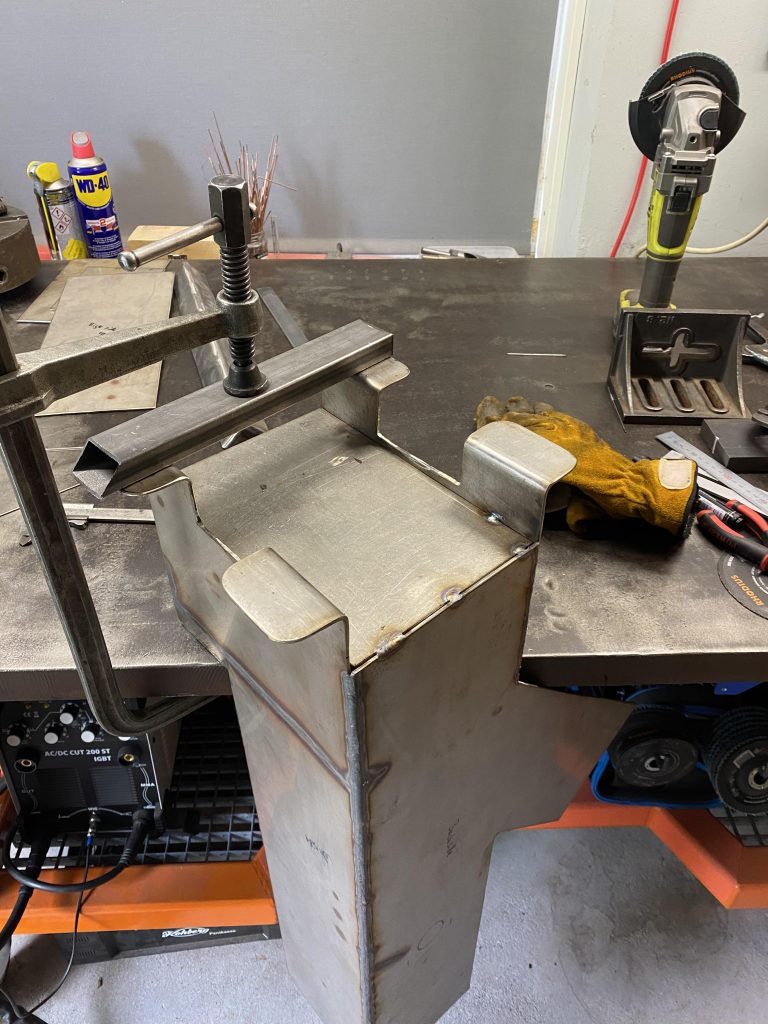
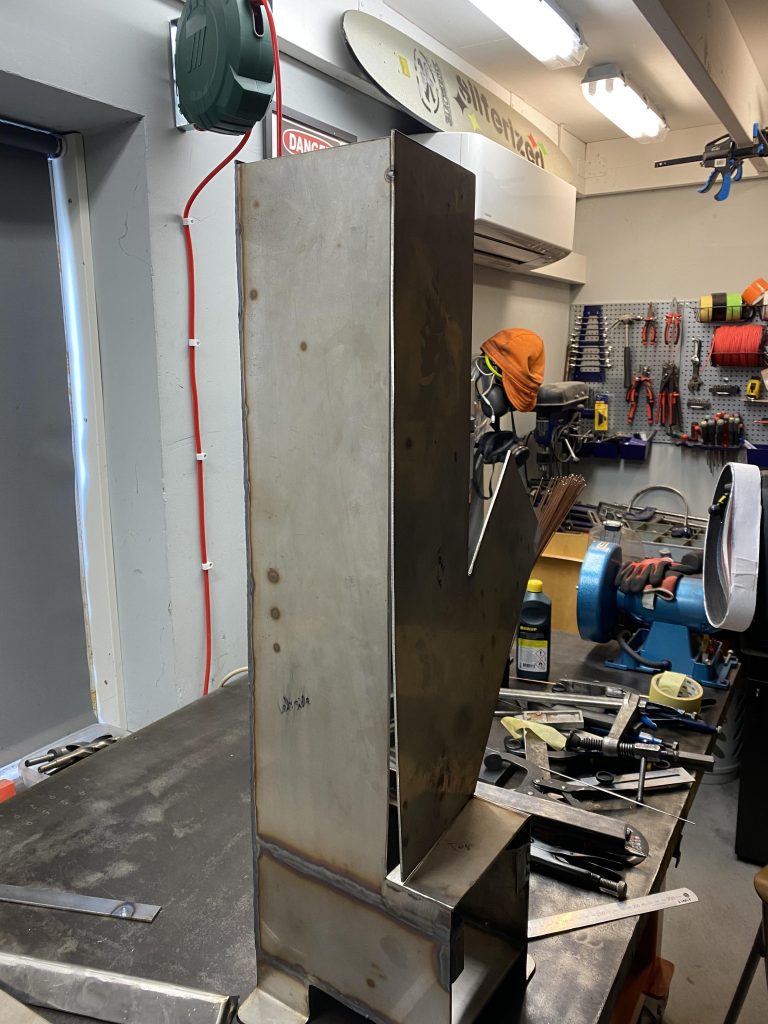
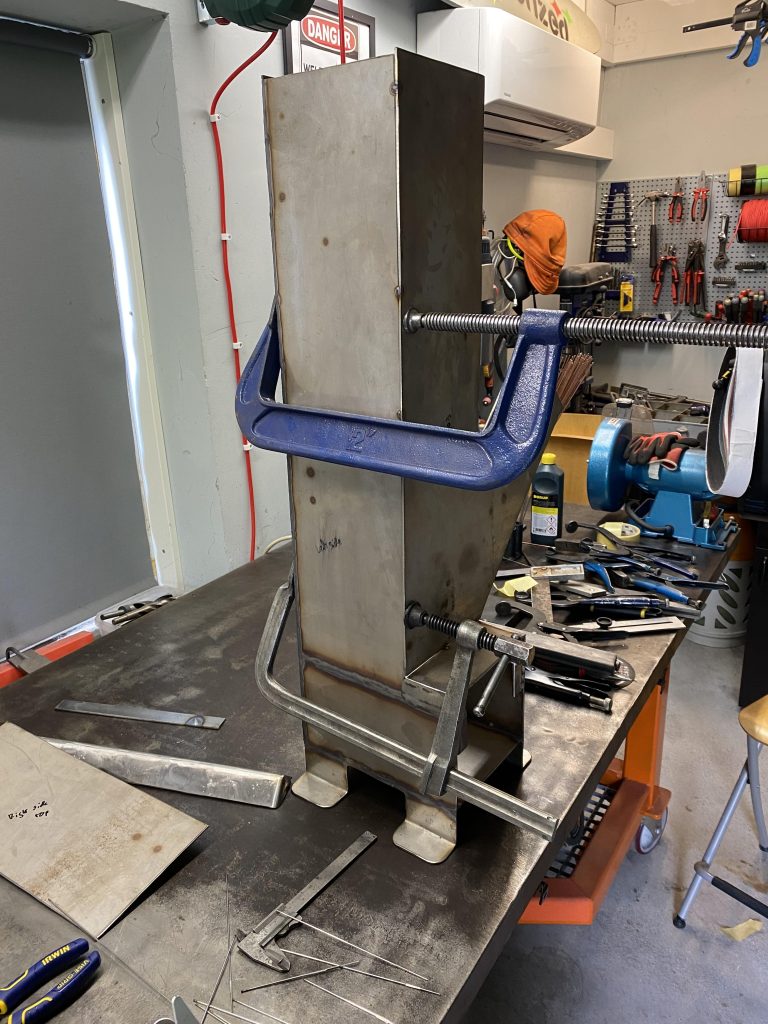
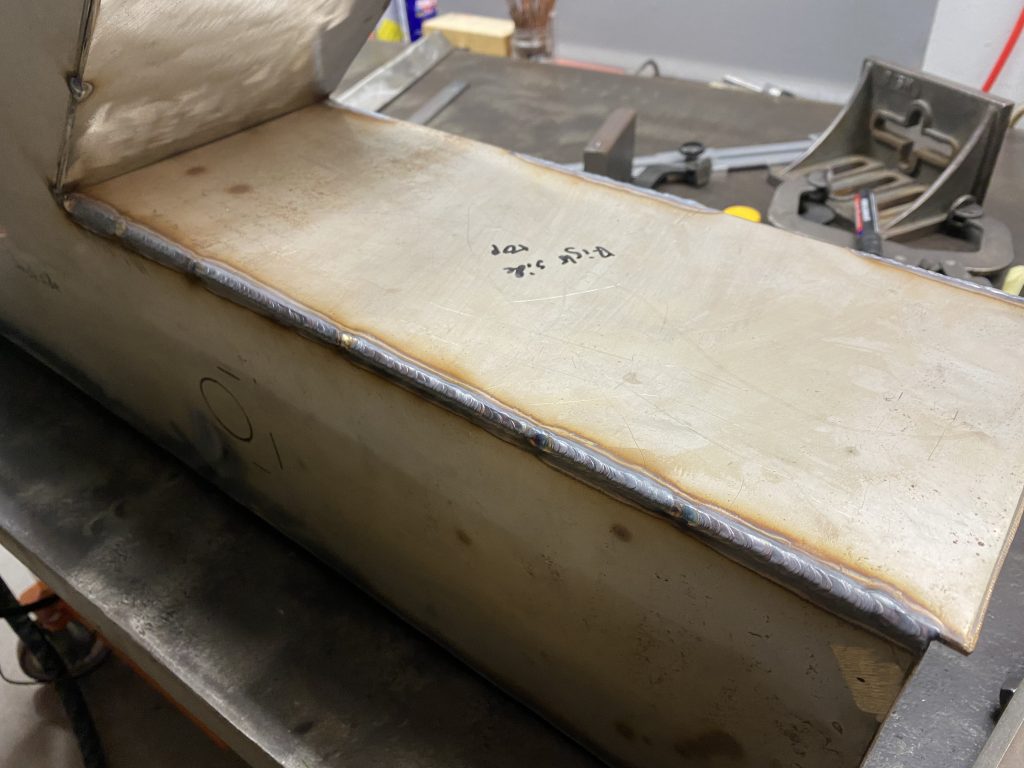
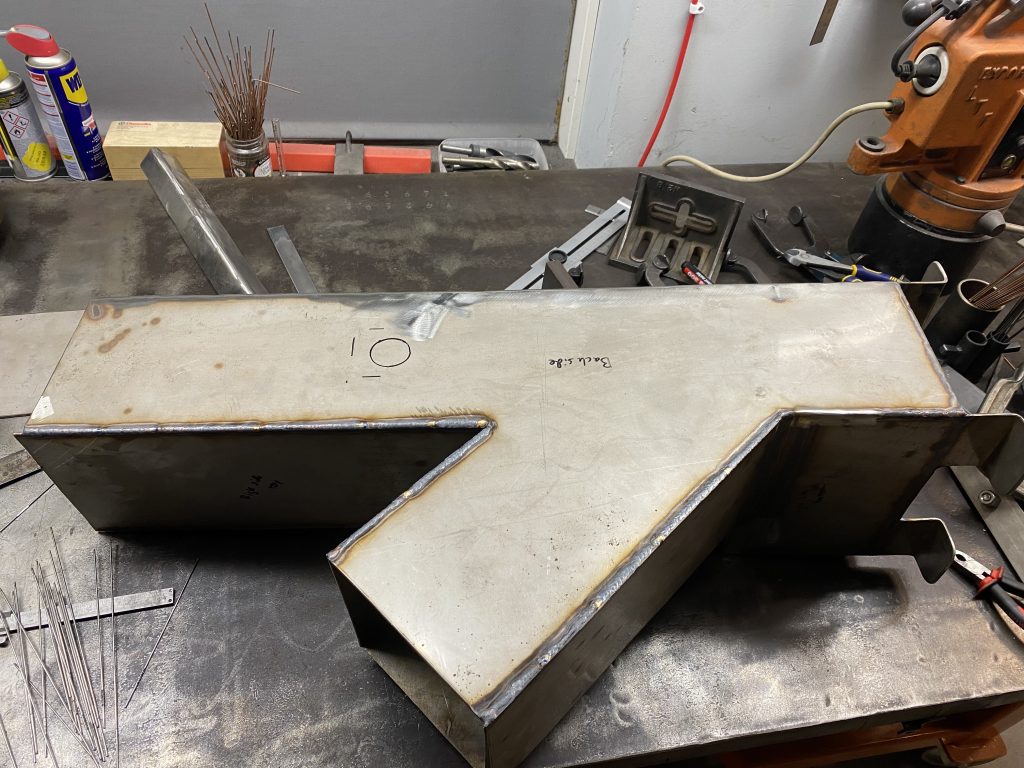
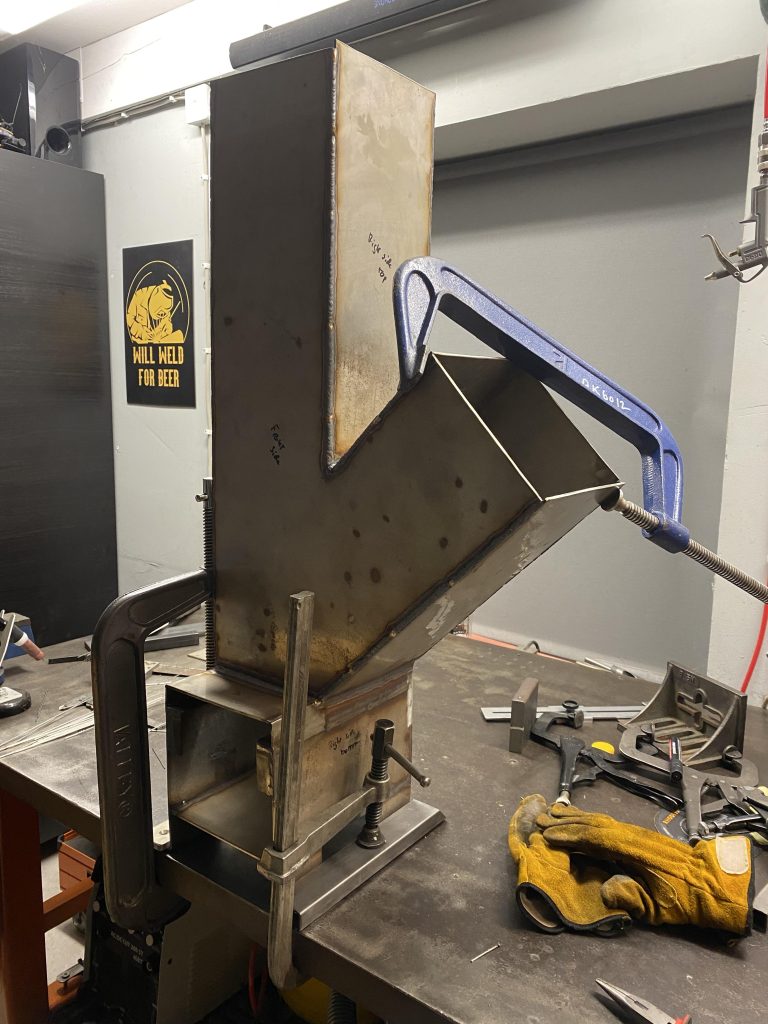
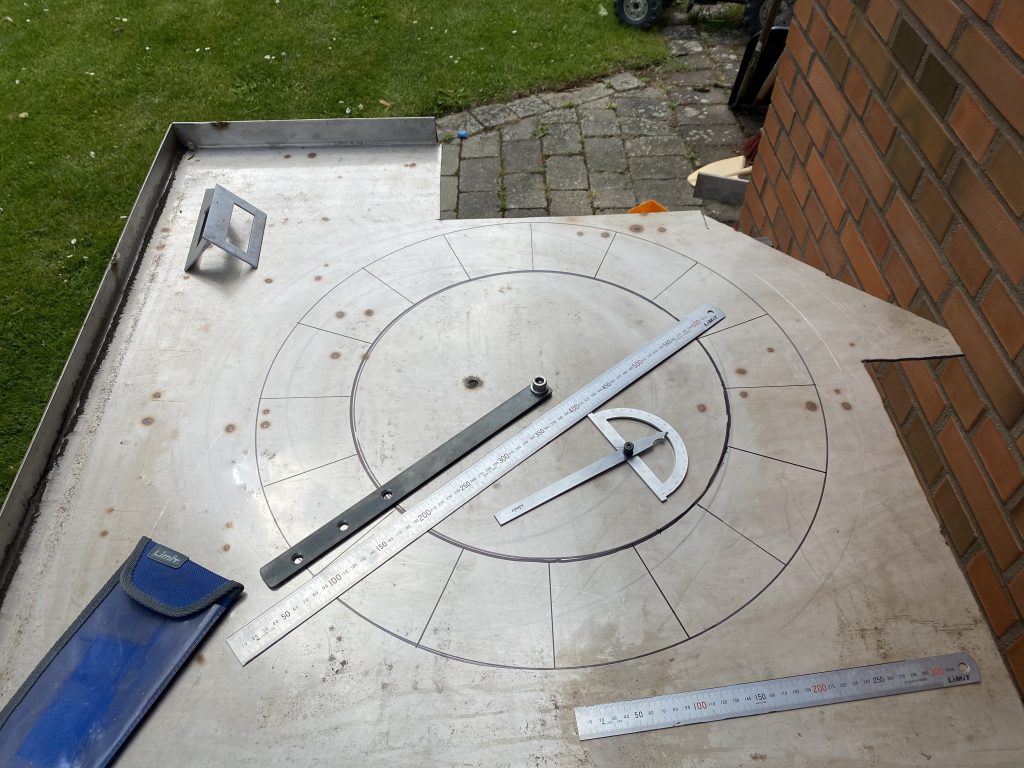
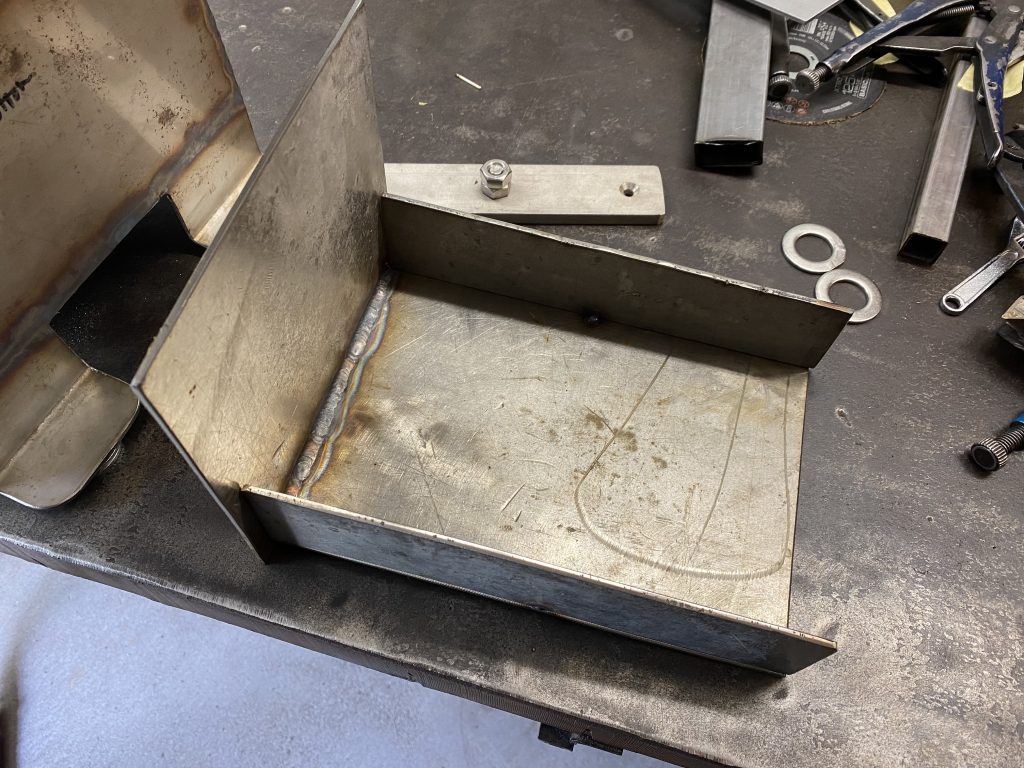
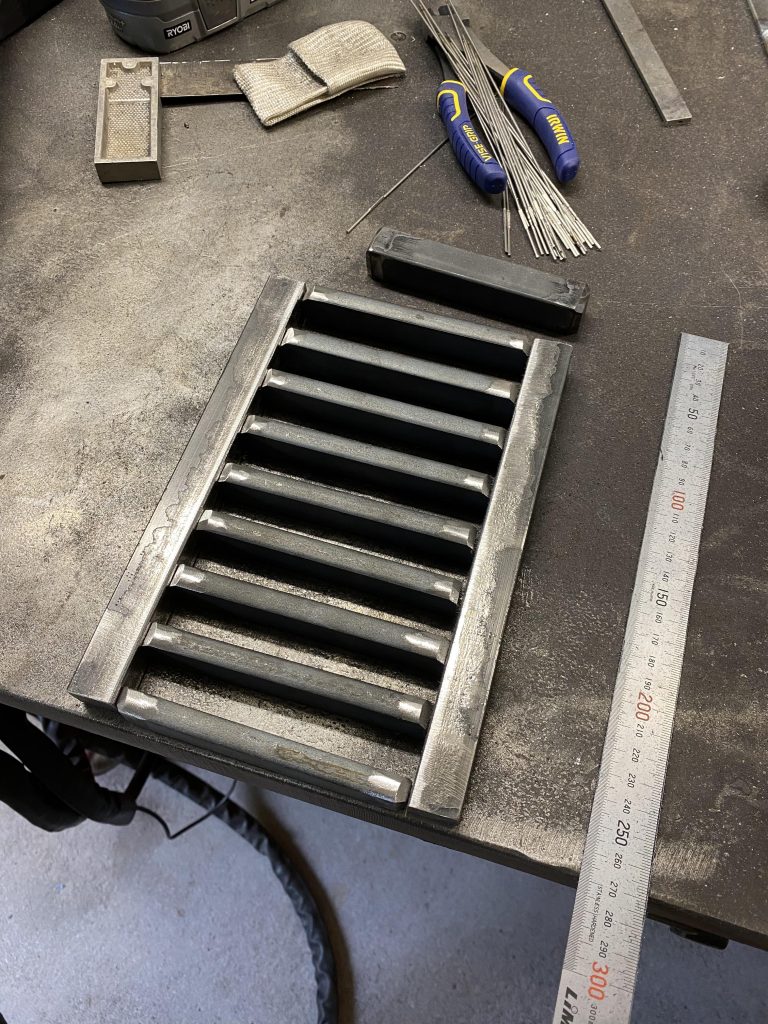
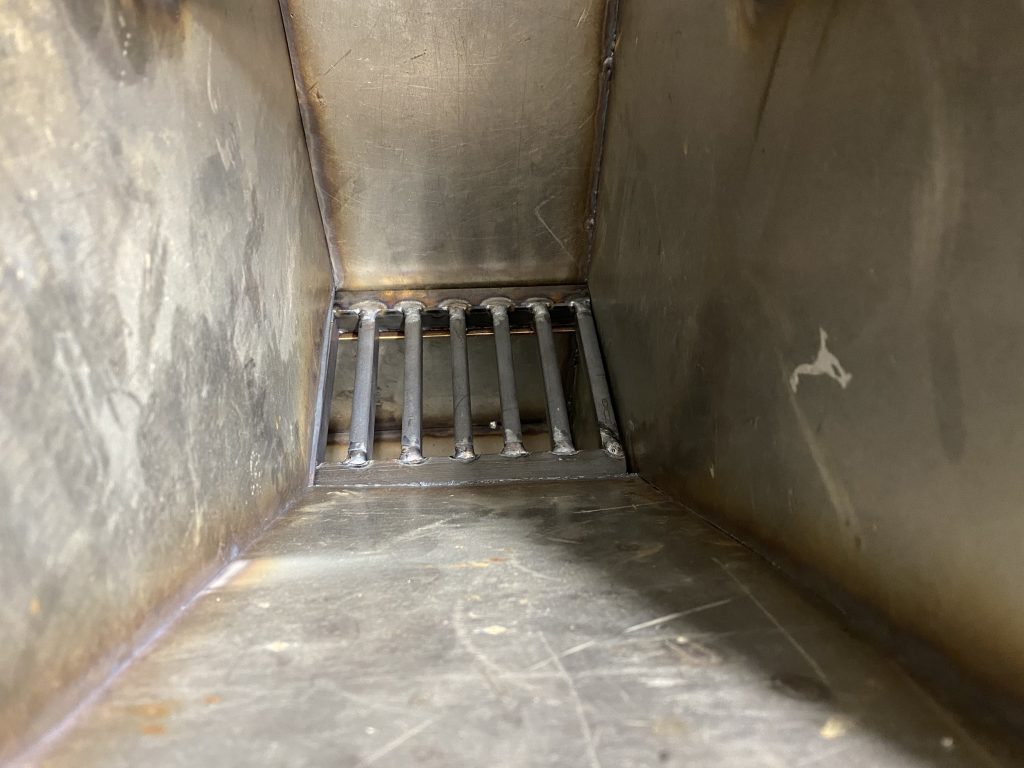
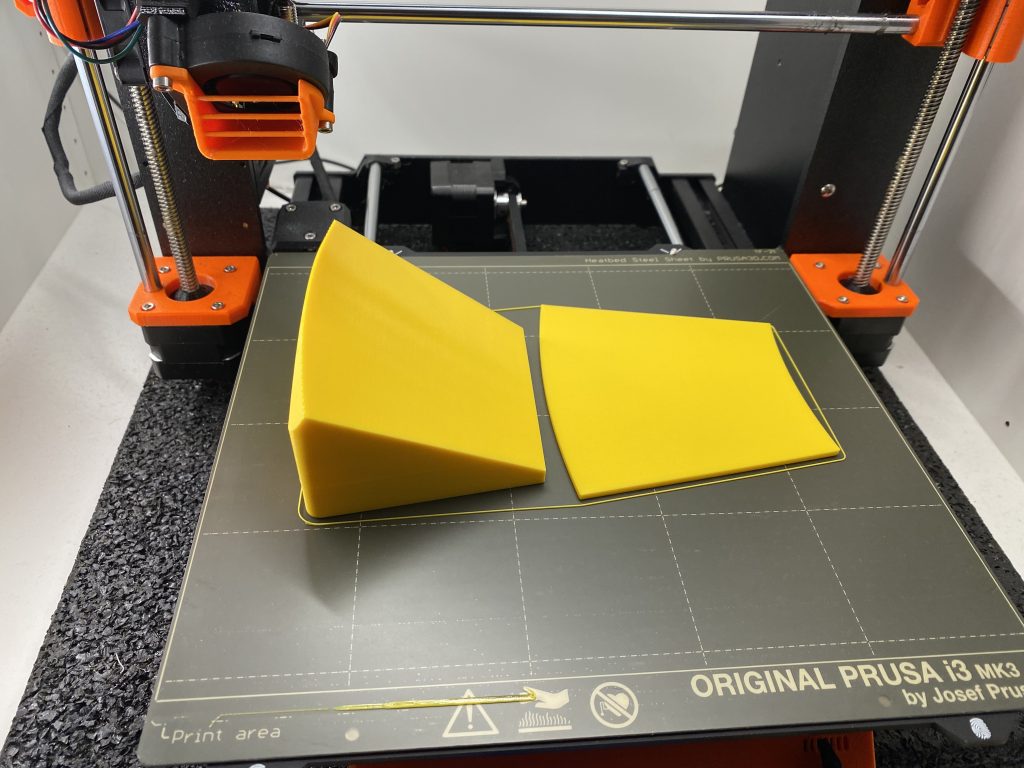
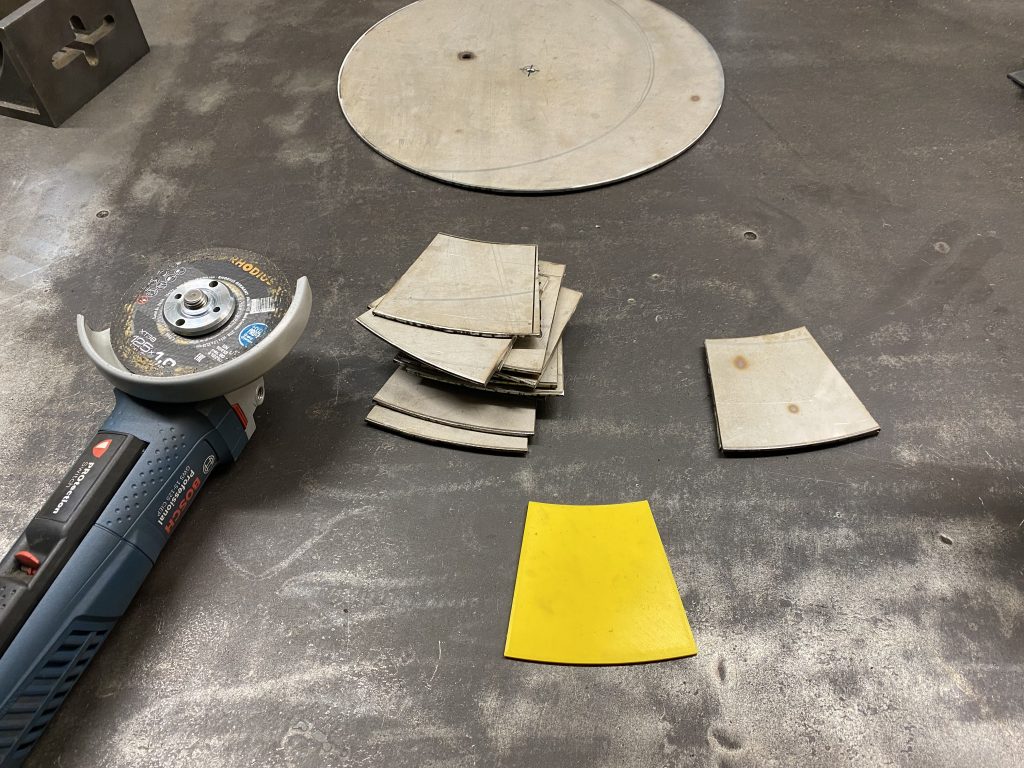
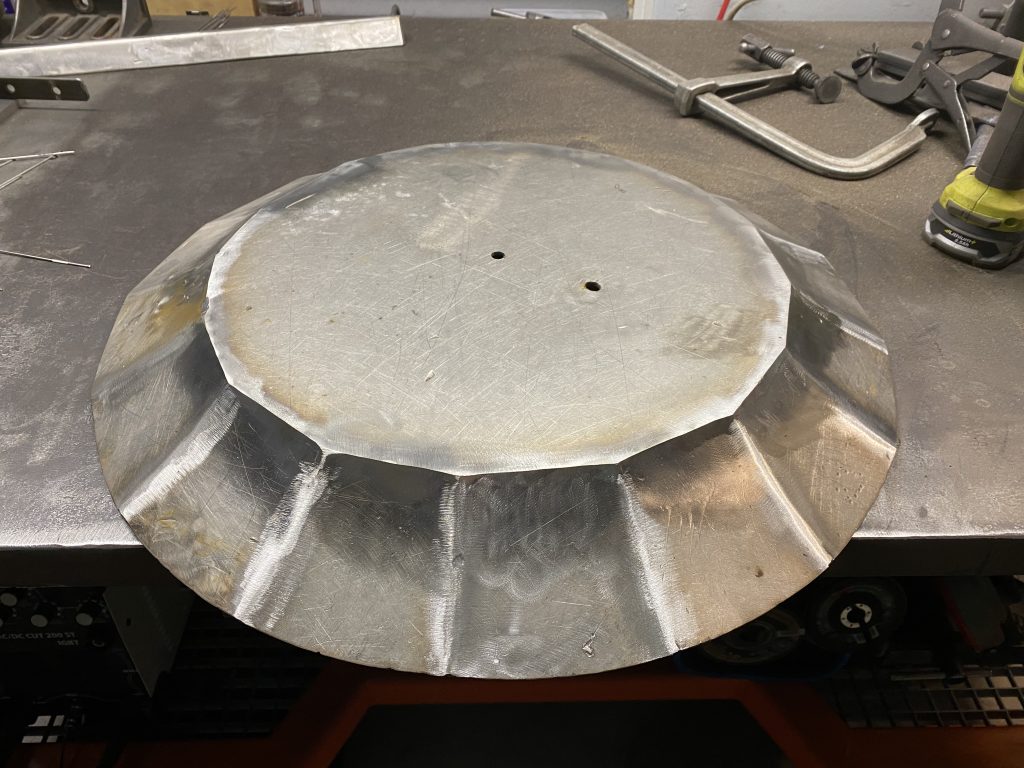
This is the plan. Let’s see how close to it I can get.The intensity of the flame should be controllable with the amount of air being fed into the fire.So, first I took the measurements from the 3D model, and then transferred that to some cardboard.With those templates it is much easier to prepare for plasma cutting the shapes out of the plate.Ready for cutting. The metal plate is 3mm thick stainless steel. It was a cover for an old welding table, and it has seen better days.Yeah, I did not follow the line as I was afraid that I will cut wrong. One mistake and I wouldn’t have enough material for the build. A session with the grinder will make those edges closer to the expected dimensions.Looking better.This will be a duct for the secondary air intake, and the brackets for the coal grid. Notice how I used the pre-bent piece from the plate as I don’t have any tools to do that bend myself.Time to start assembling.Tacked from the inside, but the full weld will be on the outside.Half done. Or maybe there is some more work left :pPreparing the bracket which will hold the grid in place. You will be able to pull it out through the front drawer.Making sure that both sides are on the same height.Trying to get the damn thing stand straight. I can adjust this later by bending the feet down slightly bit on the side which is too low.Some extra supports for the grid. Totally unnecessary.Bottom going in.And being welded.Yeah, the plate was pretty warped…… but luckily I have ways of negotiating it into it’s place.It’s almost starting to look like something!The sides are welded in small batches and hopefully there wont be too much warping due to the heat.One side done.Here you can see the secondary air intake’s location marked as a circle at the back of the grill.What an annoying spot to weld.It’s relatively straight considering the material and my lack of skill. Just needs some convincing overnight.The primary air intake will be much larger than planned.Now it was time to make the cookie tray to the top. I would have loved to make it nice and smooth but I don’t have the tools for it. Instead I improvised and cut it in sections. This is the jig to make the round cut with the plasma torch.Two circles and sections marked…… and cut.Ash drawer is ready as well.Not super pretty but functional.This was the original plan for the grid; 20mm x 20mm mild steel. My wife walked in and asked if there is enough air getting through those tiny gaps. I said that of course there is! I’ve thought this through…… and then I changed the plan to have larger gaps and 20mm x 10mm mild steel instead.This is where the fire will be.And then I switched to 3D printing?!Yeah, There is no way that I will be able to get those sections’ sizes correct, so I printed a template.And the same goes for the angles…Tacked. I have no idea how this thing will warp when I weld it… I know that it will, but no idea into which direction.Ahh, it turned into a bowl. Good that I did those welds in smaller sections and symmetrically.Cleaned welds with a flap disk. It looks like a flower. Absolutely as I had planned!