I love to make very large pancakes on a traditional cast iron pan from Finland called Muurikka (or Muurinpohjapannu as it is officially called). I got the pan few years back and it came with a large gas heater. This was not good enough, so I decided to design a rocket stove inspired wood burner for it.
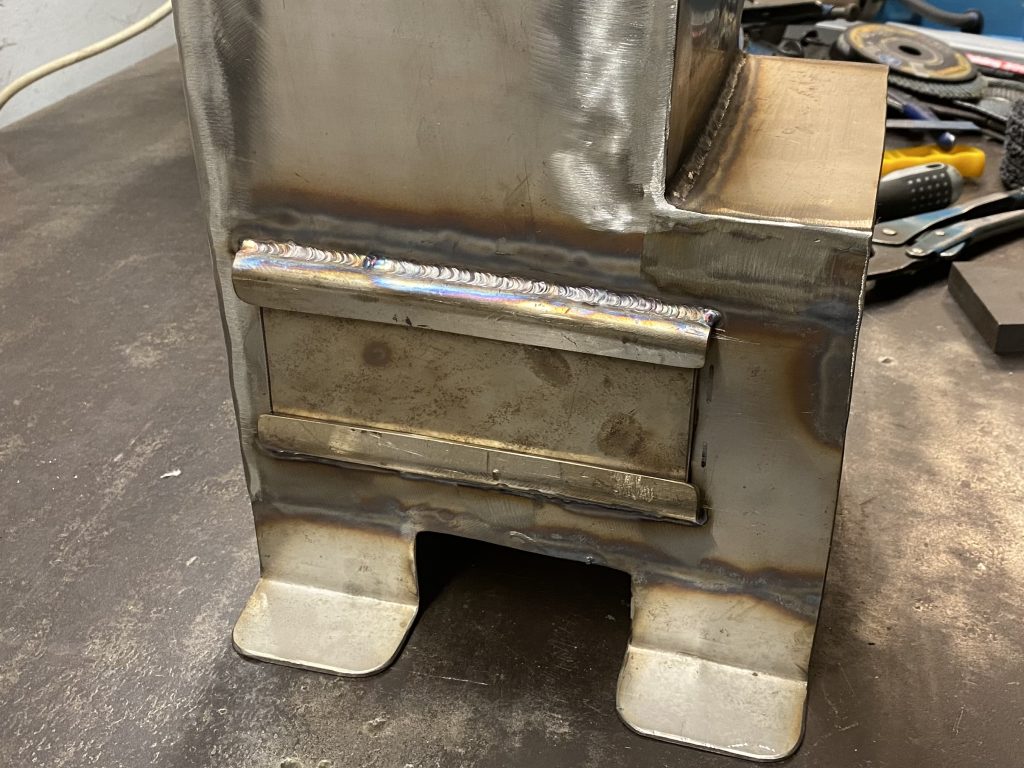
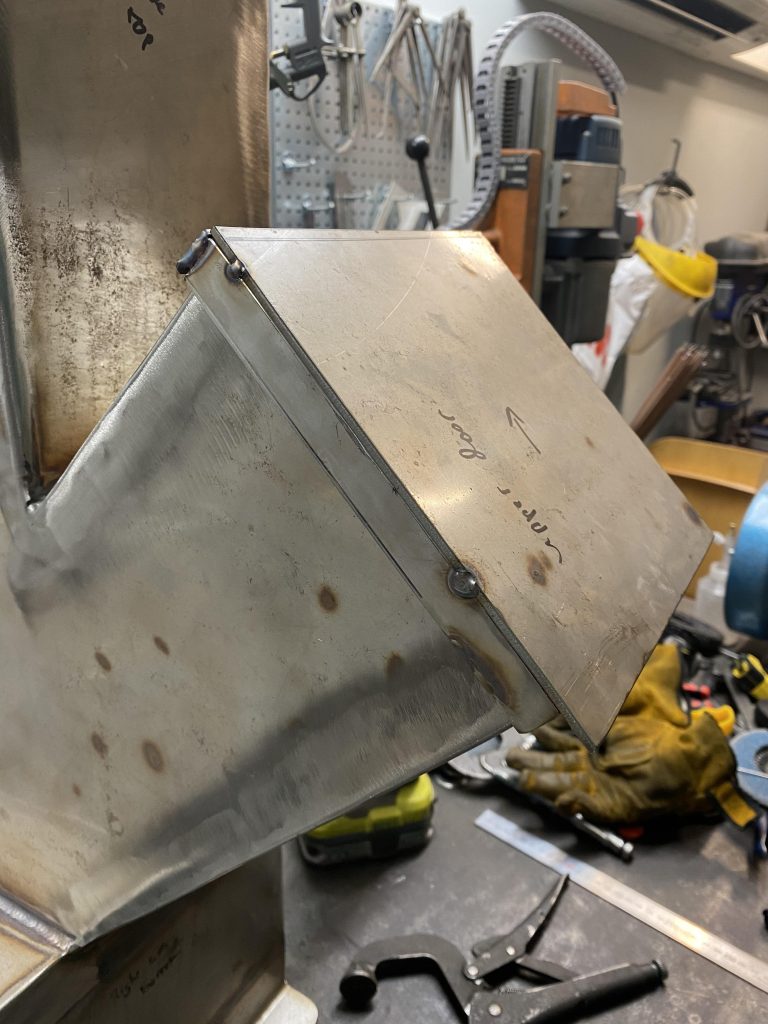
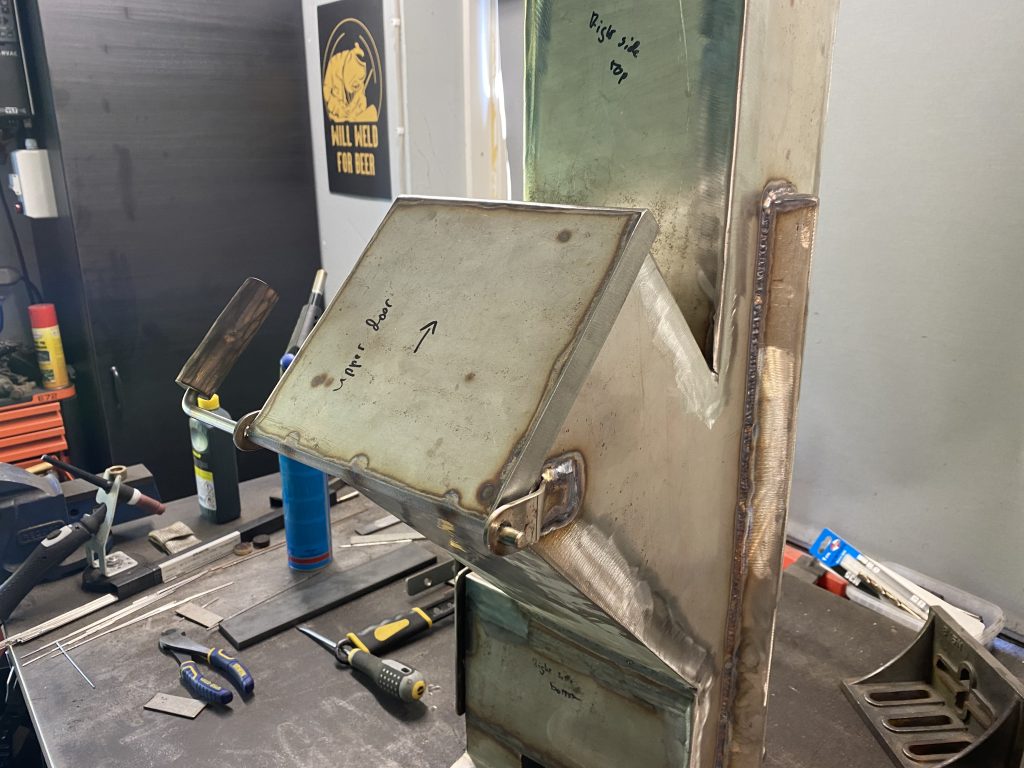
Flap disk to the rescue on the other welds too.Cookie tray/flower is welded in place. I decided to cut the hole to it after welding it in place in the hopes that it wouldn’t warp with the tensions it now has.Secondary air intake was done with a plasma cutter and a die grinder.And as was the hole on the top.Nice round corners. Note: I always keep the grinder’s guard in place but here I simply couldn’t get the grinder in with it on.A very elaborate way of marking the clearances for the primary air intake.And the same for the top rail.Again, not pretty but functional.The secondary air intake pipe is welded on. The idea here is that the air is sucked up from below the grill, heated by the hot pipe, and finally inserted above the fire to introduce additional oxygen to burn all the small particles which hasn’t burned yet. There should be no smoke coming out from this…Handle for the air intake cover from 8mm stainless steel round stock.The same for the drawer.Looks ok’ish.I have a cherry tree on my property, and that has given me many wooden handles earlier, and also now on this project.Let’s call it “rustic”.It’s too light in colour, so I touch it with a blowtorch and wipe it with some oil.Nice and dark.This is the max amount the cover can be open. To open it more you just slide the whole thing off.Lid for the wood shoot.Tacked.Preparing the hinges…… and the handle.Welded…… and cleaned and put in place. The same kind of cherry handle is put in place.When it is opened fully, it just hangs open.First fire! Here I see if the thing will work, and how high the wok pan has to be.Final parts. A fire diffuser to spread the fire evenly on the pan, and brackets holding the pan up.Ok, it’s not pretty but let’s hope it works. It will be hidden by the pan anyway.The underside of it.I calculate how low I can make the diffuser, and it has slightly larger opening in total then the straight pipe would have.At this point I lifted the grill to it’s final resting place…… and prepared it for paint.It’s very black! Let’s hope this will work. The paint is good to up to 800 degrees celsius, and the max temperatures I measure on the outside were around 500.It’s a batgrill! It’s really weird and ugly, but at the same time somehow looking cool.The fire diffuser works. I usually would never need this high burn but I needed to see if the diffuser works.The project is completed and works better than expected.