My son started in a school which is located to the center of the city. Usually my wife is taking and picking him up, but sometimes I need to do it as well. The first time I drove there with my car, it took me an hour to get there and another hour to get back due to the rush hour. I had been thinking about getting an electric scooter for some time already, and now I had the perfect reason to get one!
I decided to get Ninebot G30D II which is produced by Segway. It has a very sturdy frame and rides like a dream, but it doesn’t have any indicators and the speed is limited to 20km/h due to the local legislation. I decide to fix some of the things that I think needed improvements.
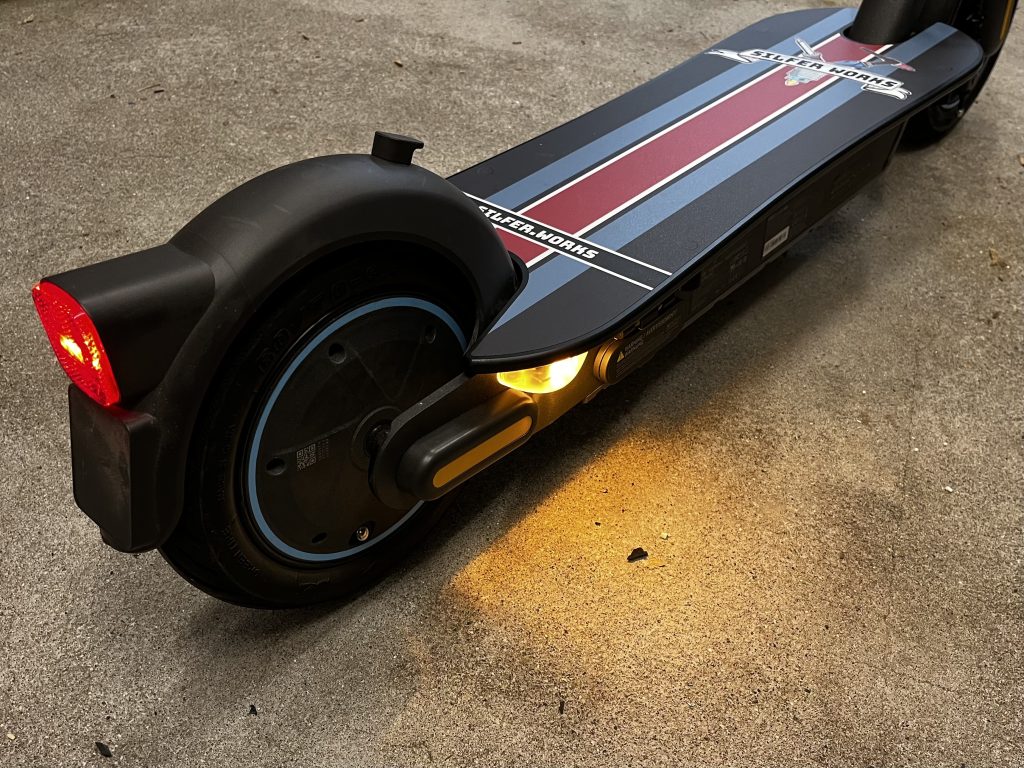
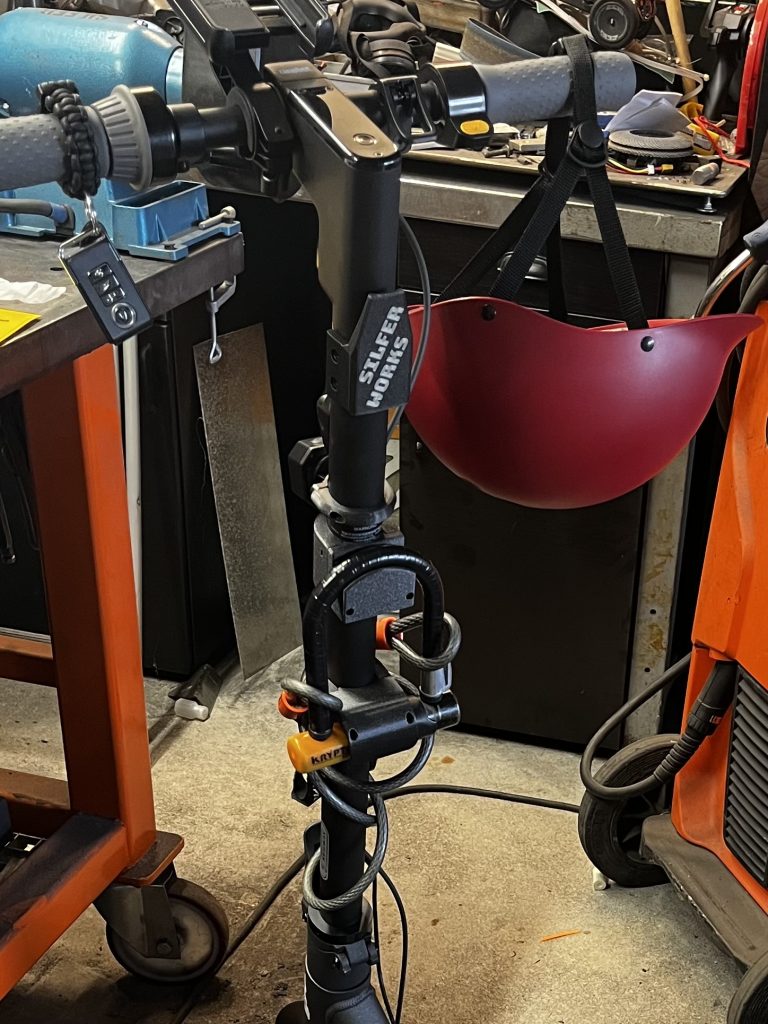
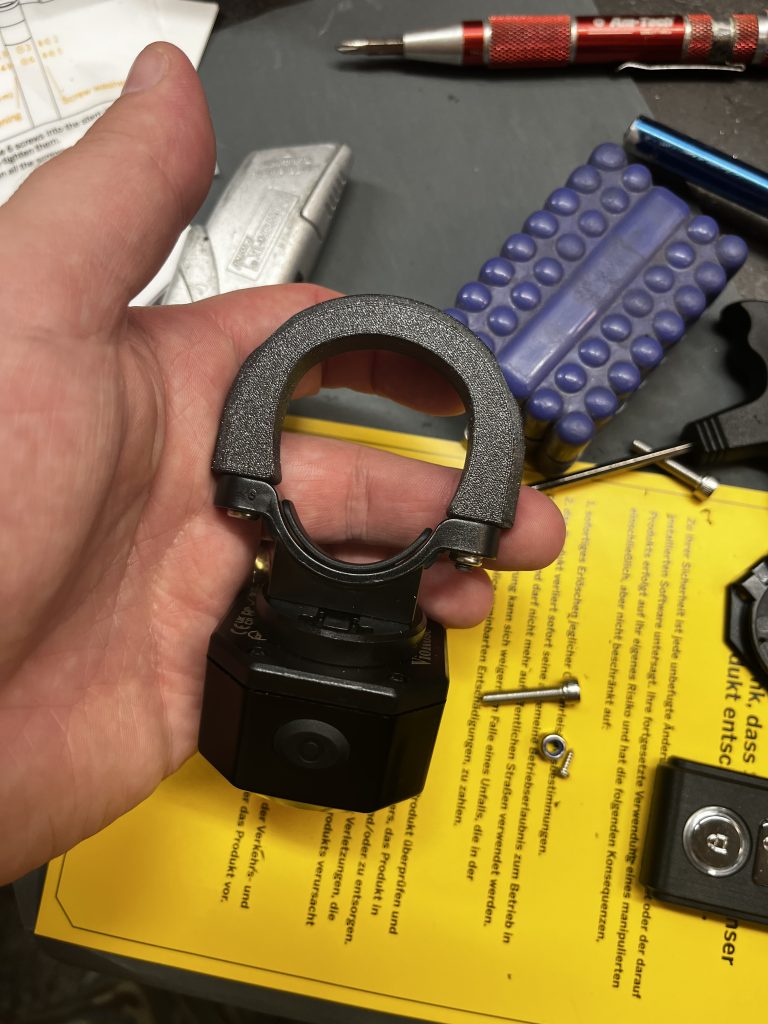
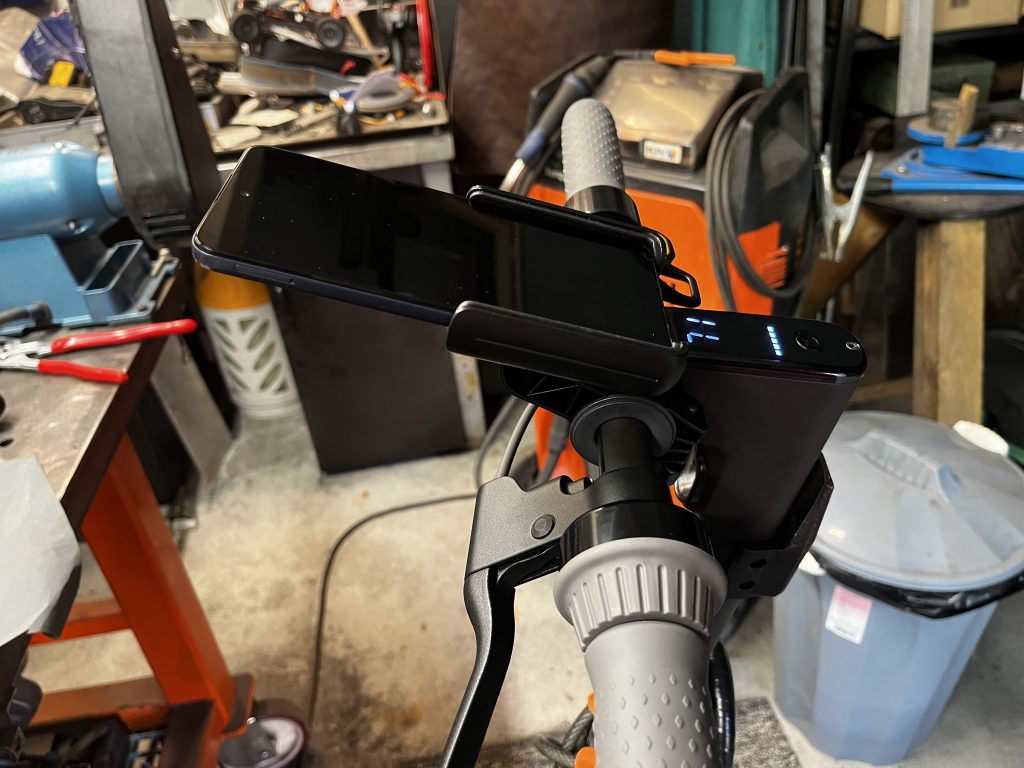
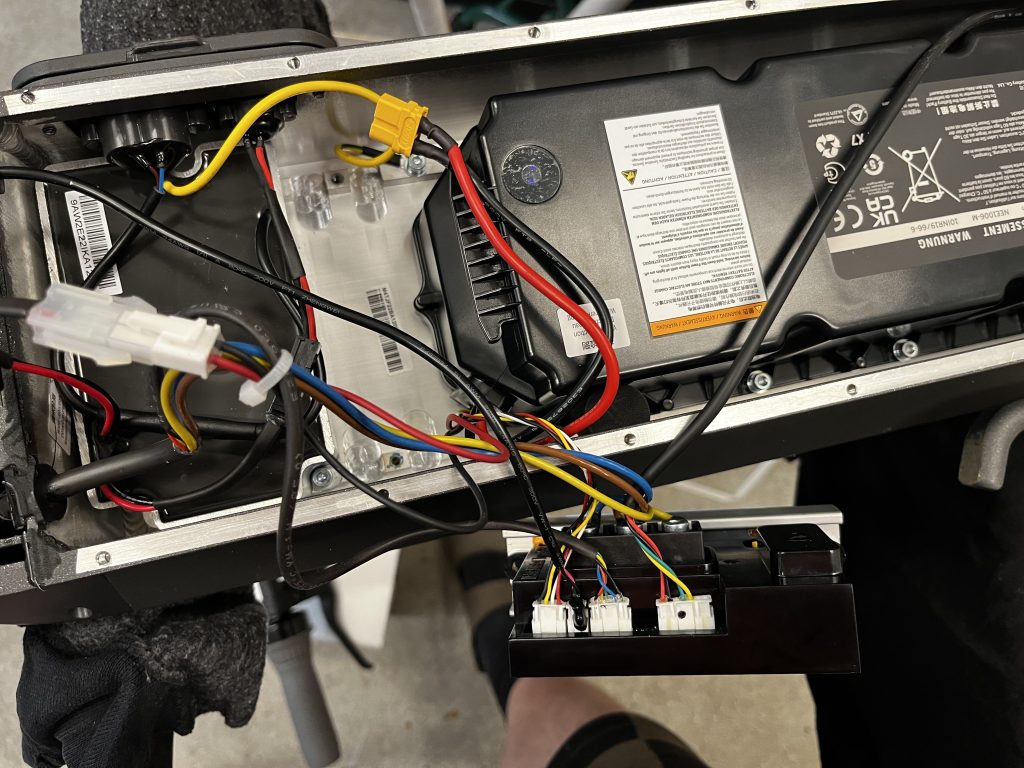
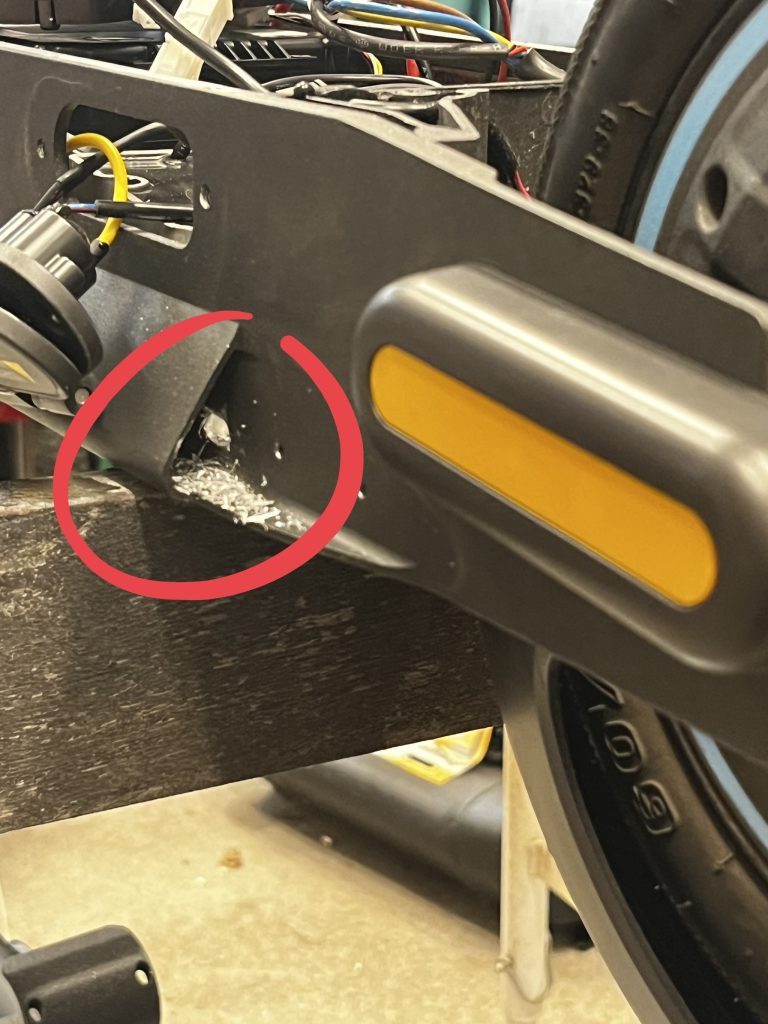
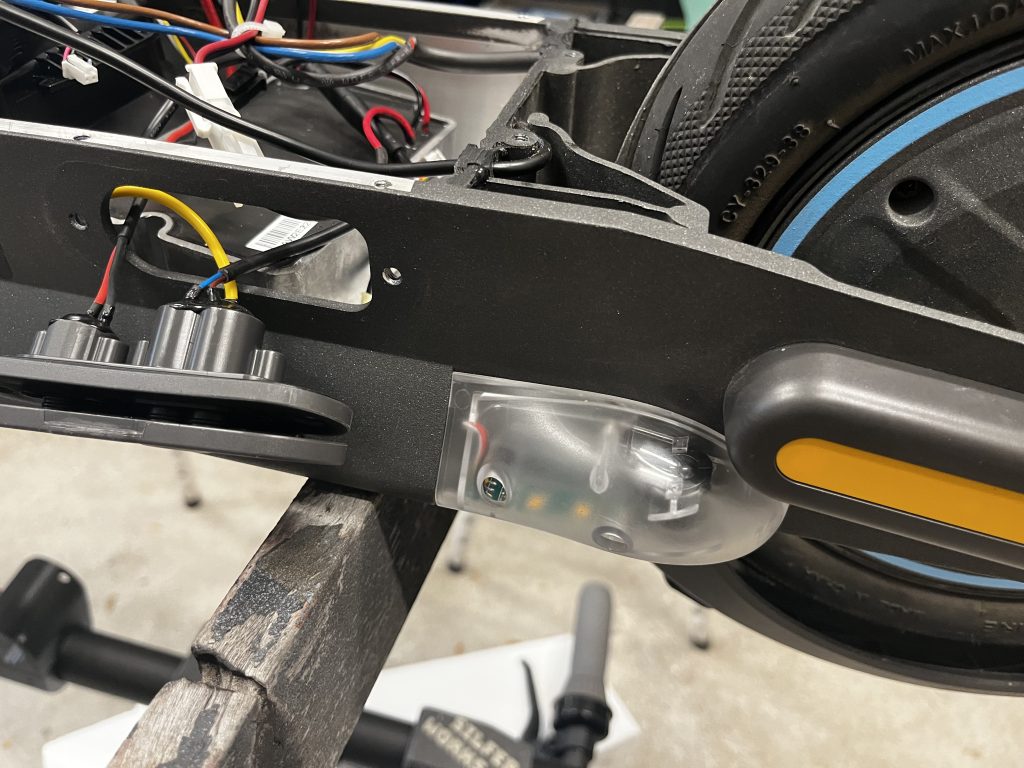
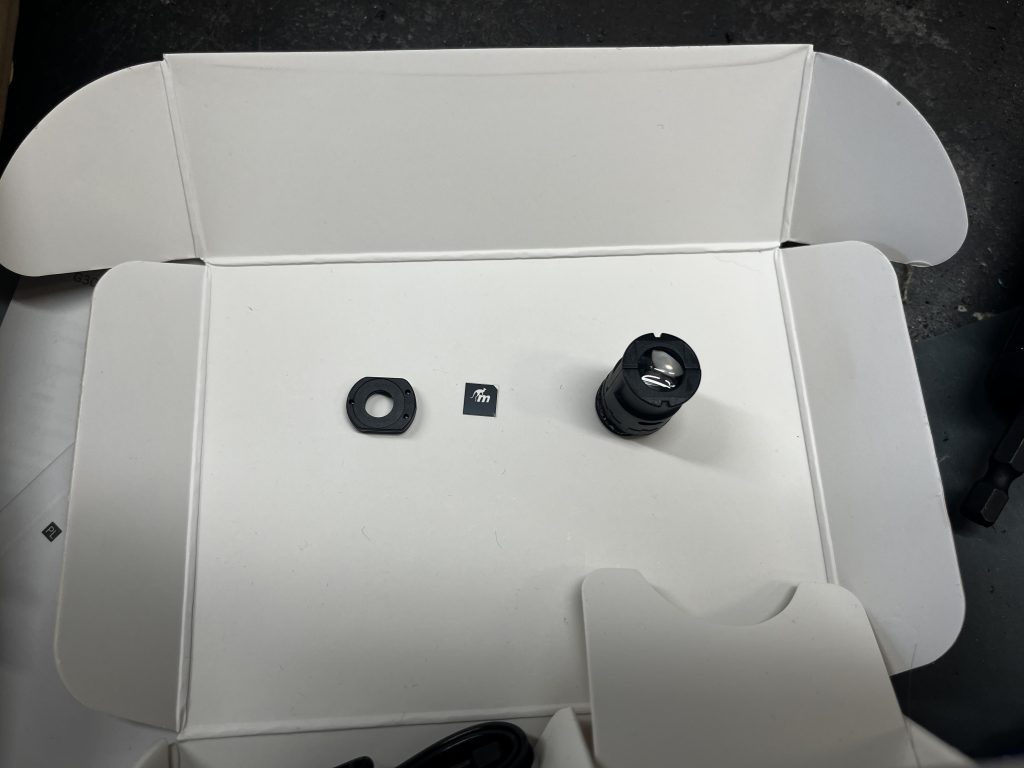
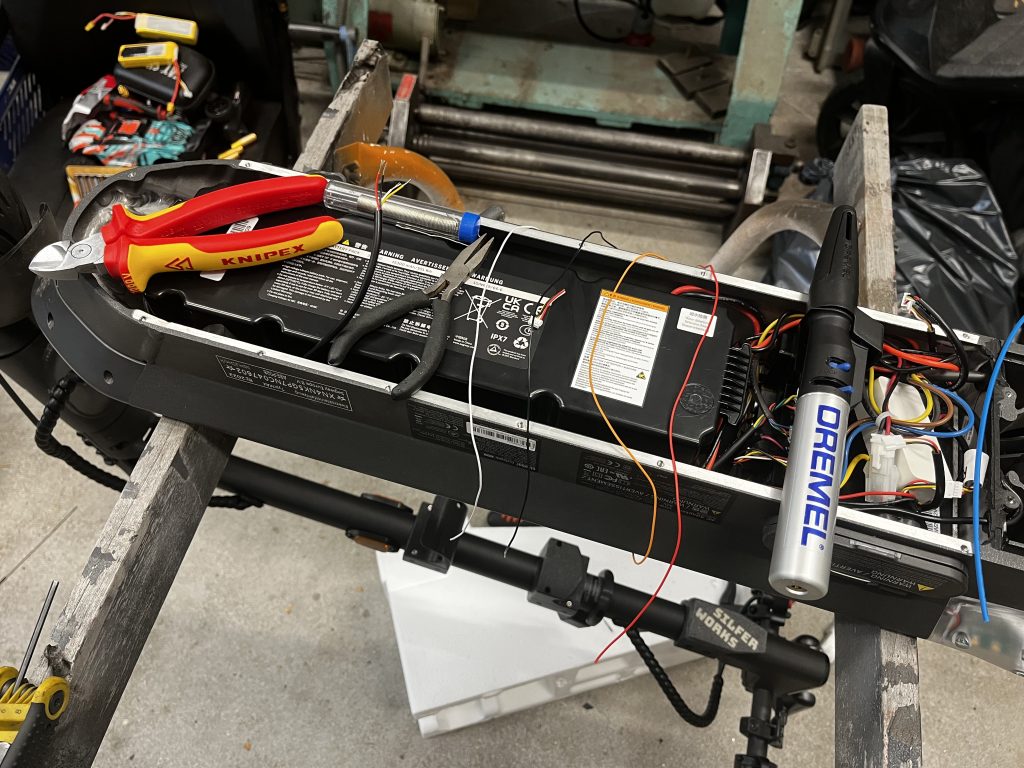
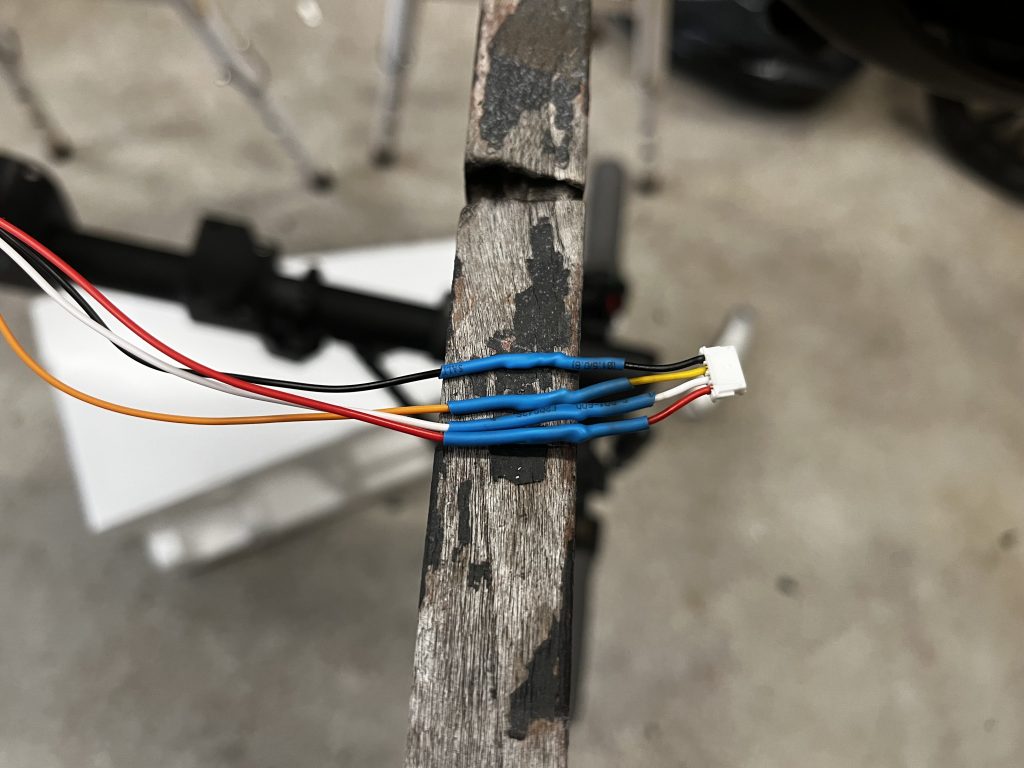
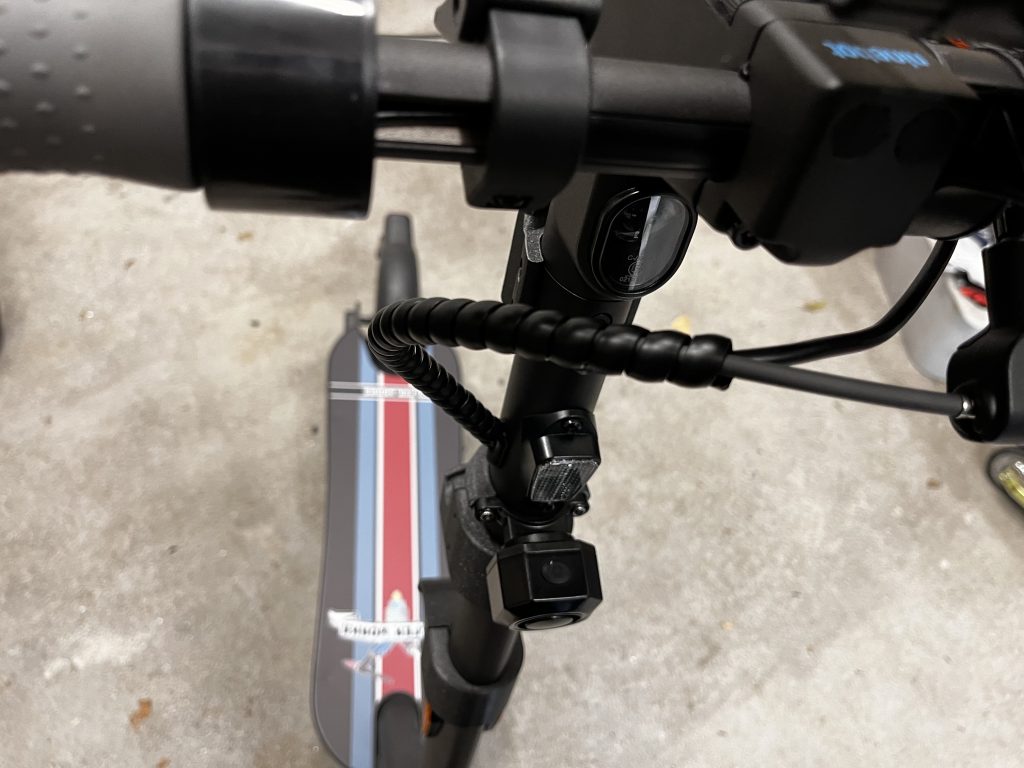
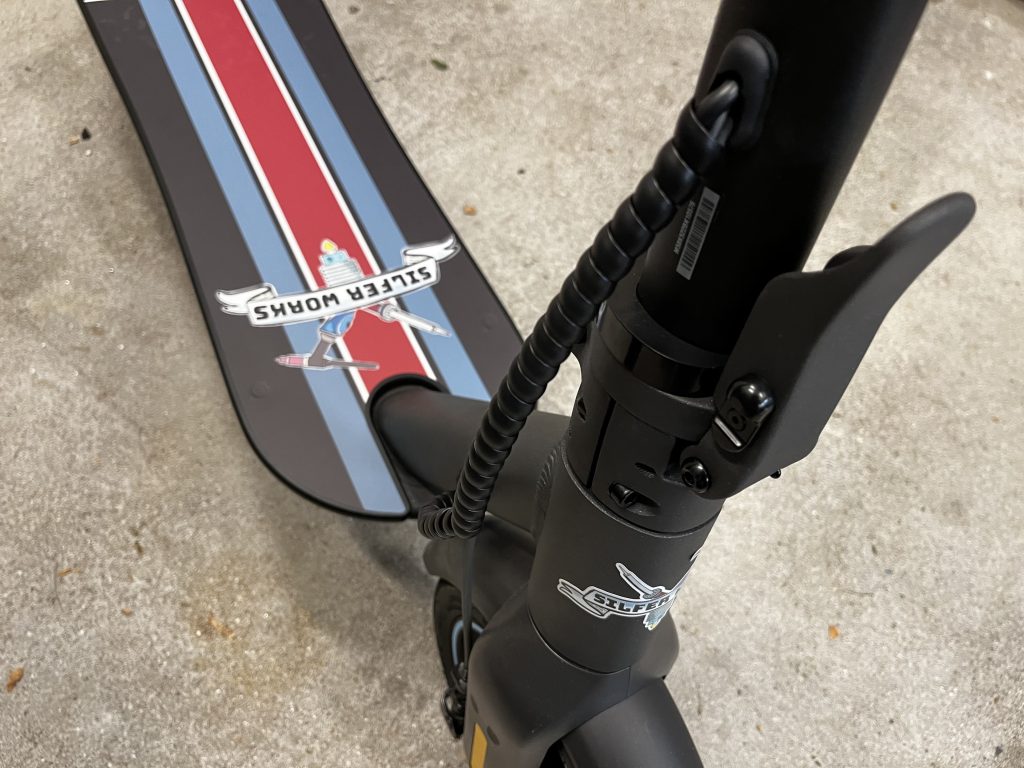
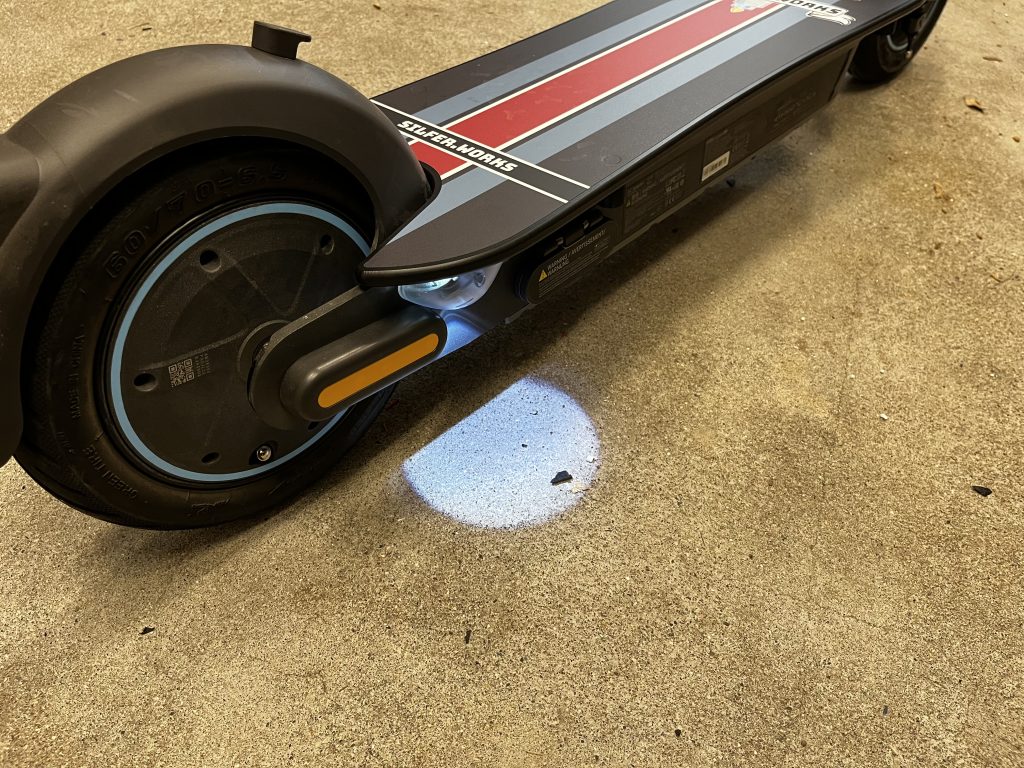
This is how it ended up looking.I began by printing a holder for the lock, and a hook for the helmet or a bag. The hook has a hidden airtag behind it so I can always track where the scooter is.I also purchased a bicycle alarm. It didn’t have a bracket that fit the scooter’s frame, so I designed one.I used one side of the bracket that came with the alarm, and modelled a replacement part for the other side.The scooter’s frame has a special shape, but the bracket fits now perfectly. Looks like it was made for this!I also added a phone holder so I can easily see the navigation on it.Next I decided to add indicators. Those required more work.To route the cables I needed to drill a hole to the frame. This shouldn’t be a problem due to the location.The indicators will as an extension to the channel located to the side of the frame.Indicator in place.The indicators had also a light pointing down to the ground with the logo of the manufacturer. I don’t do free advertising, so I dissembled the indicators and removed the logo from the lens. Maybe I add something funky here later, but for now it is just a round white light.Some cabling was required.New connectors. I added a new bracket with the buttons for the indicators. It also has button for the light pointing to the ground, and a button for a non-existing horn. I can use that extra button for something in the future?All the cable routings were cleaned up.Also at the bottom of the frame.I also added a custom step board with this awesome logo! It’s much more comfortable to stand on with the extra width. Indicators in action.The light pointing to the ground (with missing logo).This is how it looks in the dark.
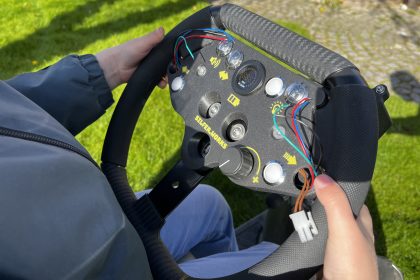
Beside the changes described above, the scooter is now also running a custom firmware. I will not go into detail how that was done as it makes it illegal. It was not a simple procedure as I needed to program the speed controller with an in-circuit programmer, and I doubt that there are many people who would be doing that on a whim.
I made a “stock” profile which keeps the legal speed limits, but the scooter is also able to reach a top speed of 40km/h with a “power” profile. That is of course only used on closed track. 😬
Overall I’m very happy with the modifications. It was an amazing scooter from the start, but now it is simply incredible.