New welding table and adapting my garage for metalworking
April 24, 2021
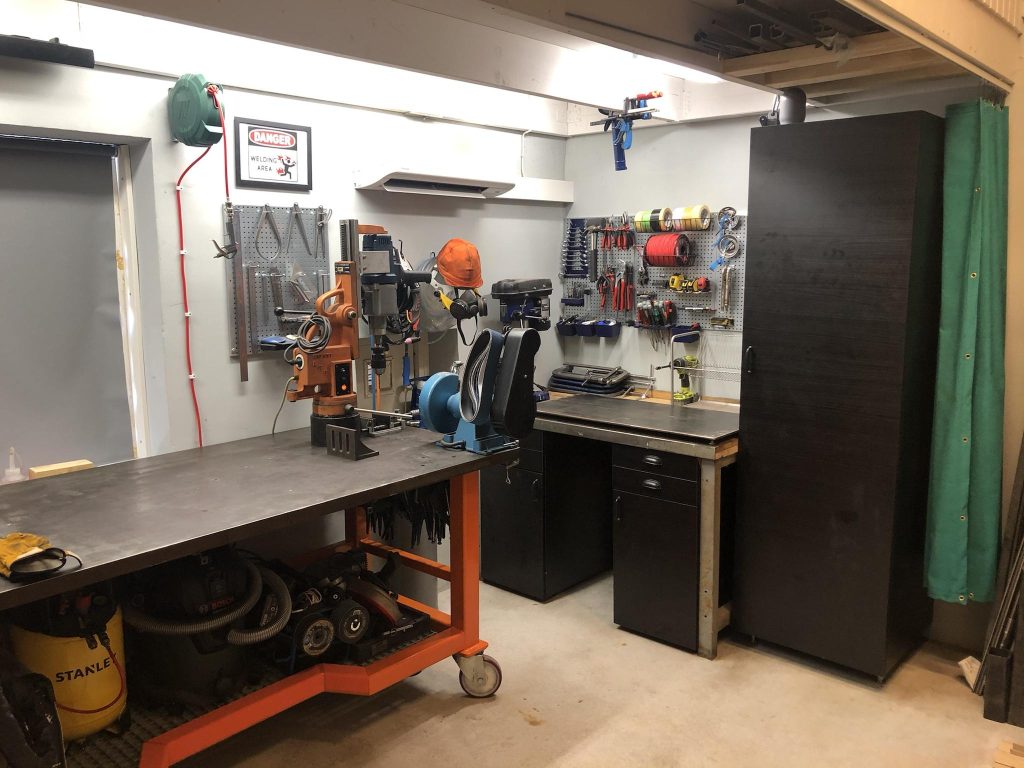
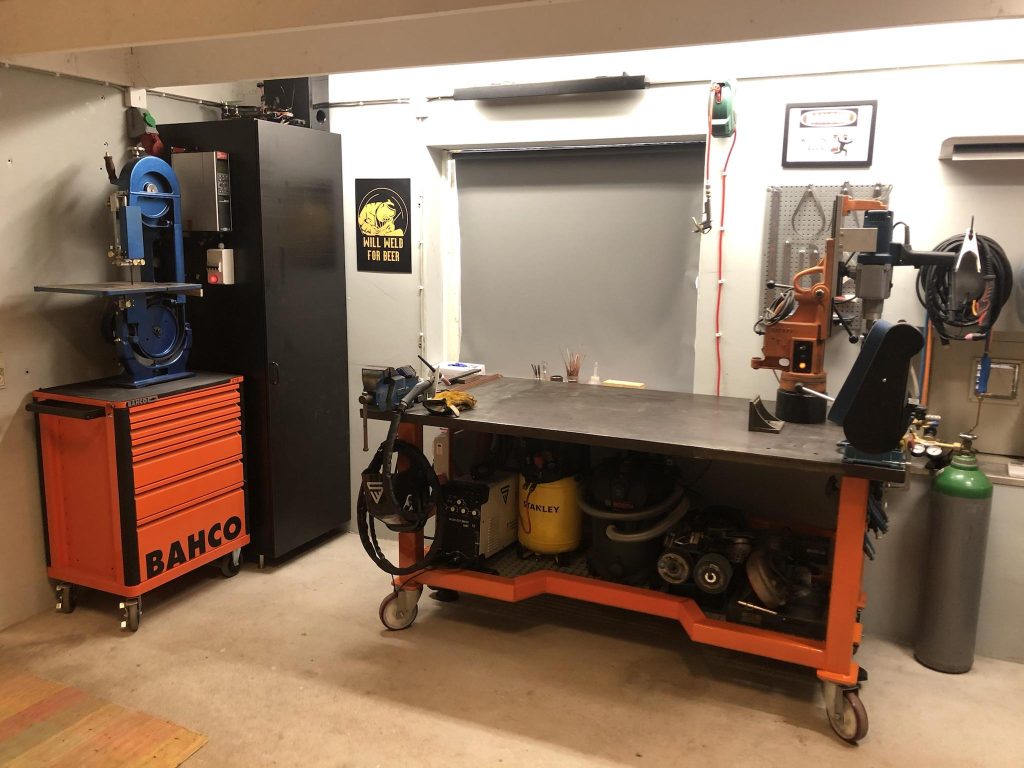
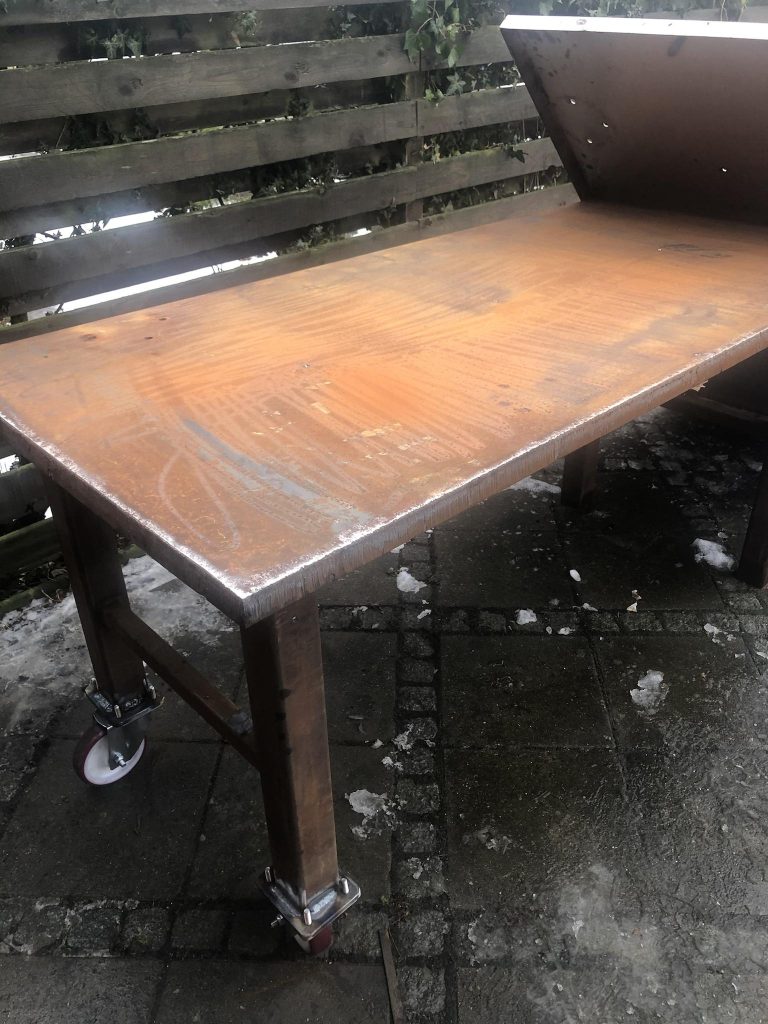
I had been planning to adapt my garage for metalworking for some time already, and finally I got lucky and found a used tabletop. A small fabrication company was selling it and they had used it as a basic welding table already earlier, so it had the four legs welded on already. So that was the starting point for me to adapt it for my needs. On the same go I changed everything around in the garage and wired a VFD for my large bandsaw.
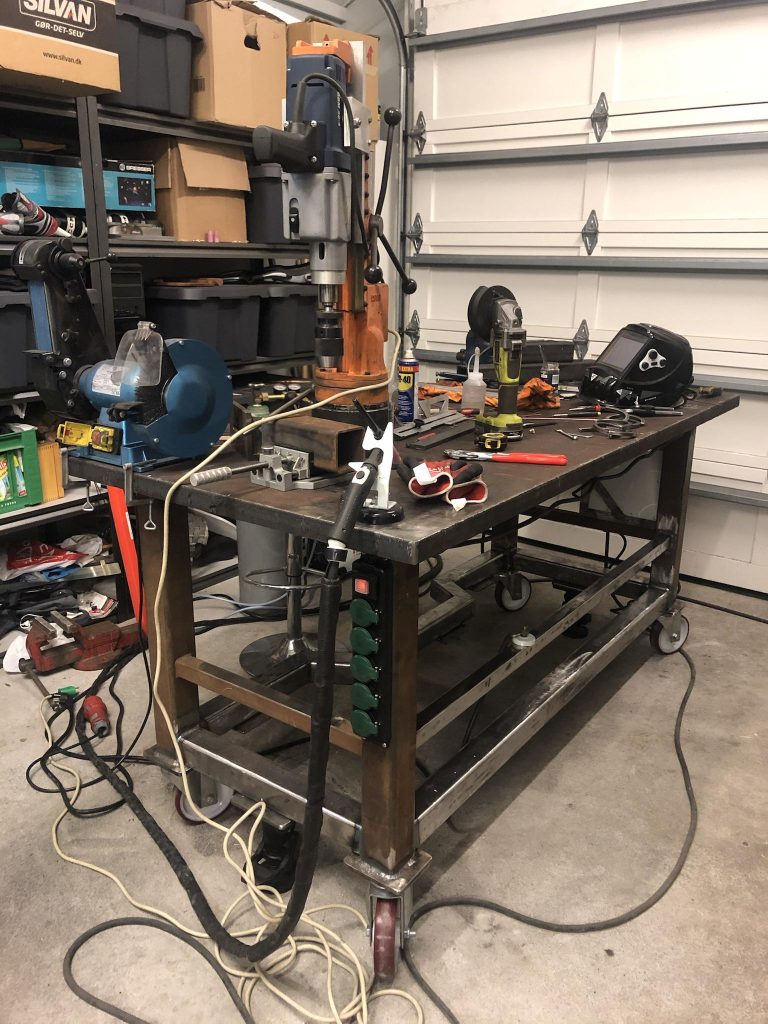
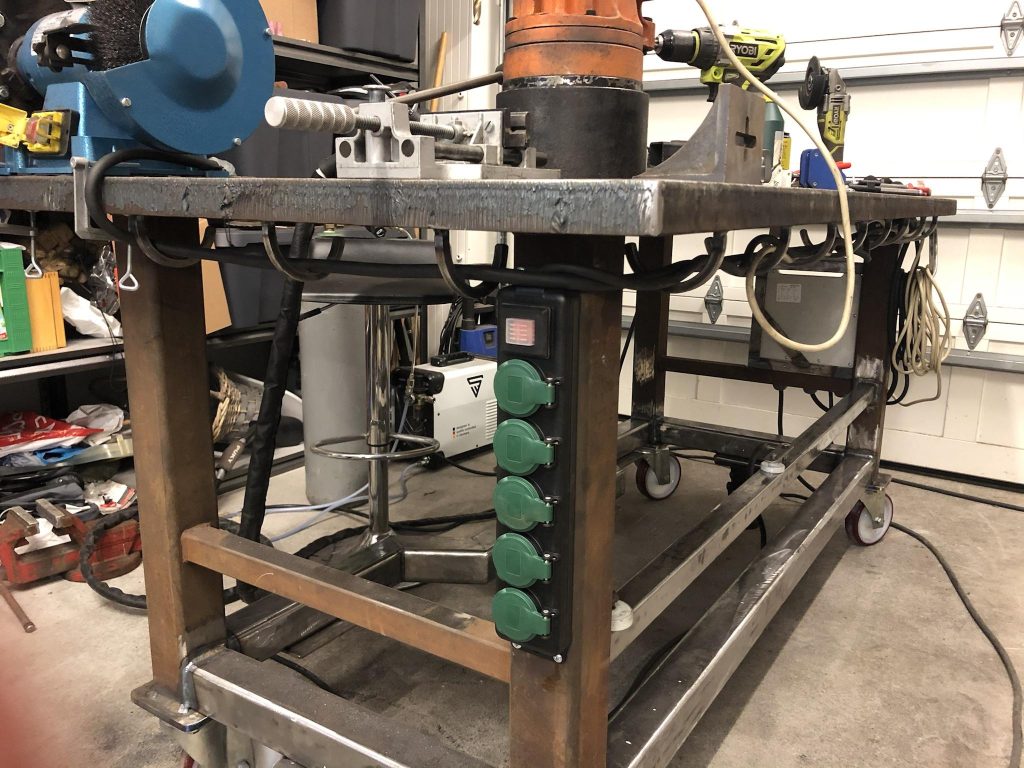
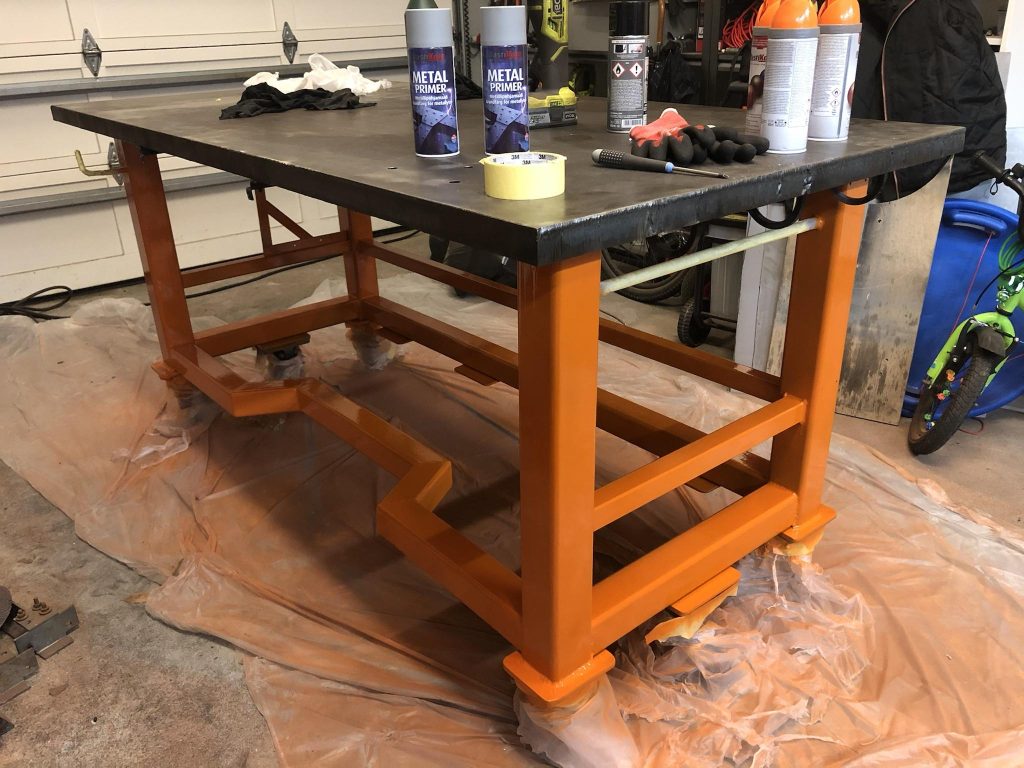
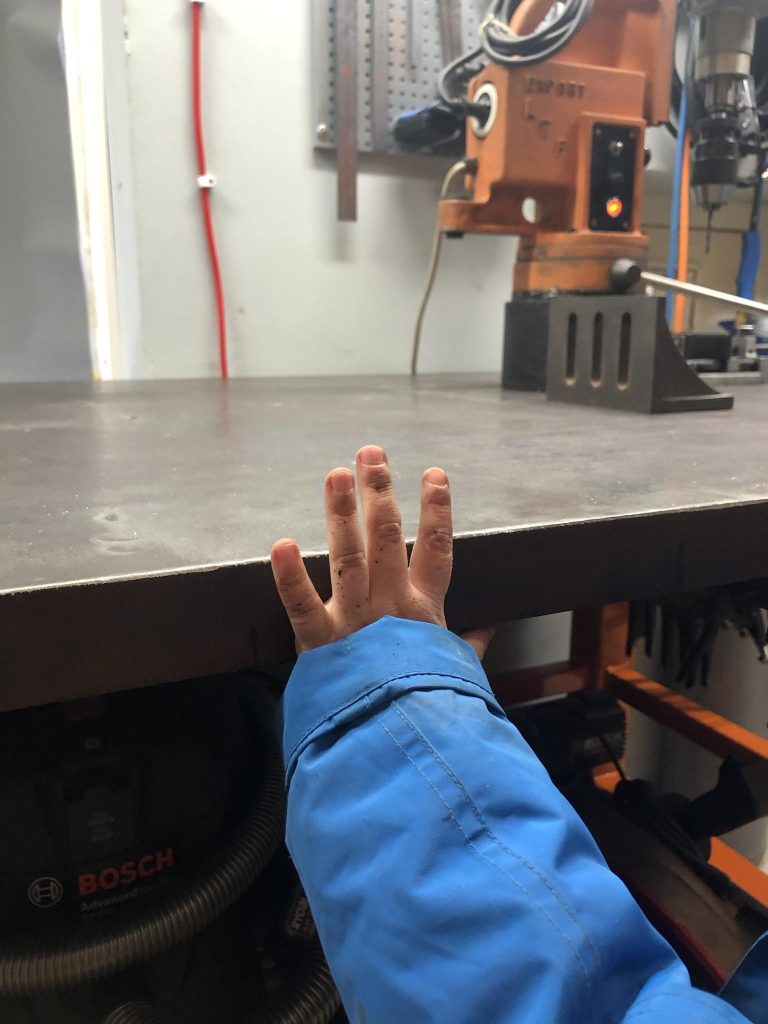
The table is approx. 1m (3.3ft) x 2m (6.6ft) and the tabletop is 40mm (1 5/8”) thick mild steel. It weights around 650kg (1440lbs) and 850kg (1875lbs) with all the tools on it.
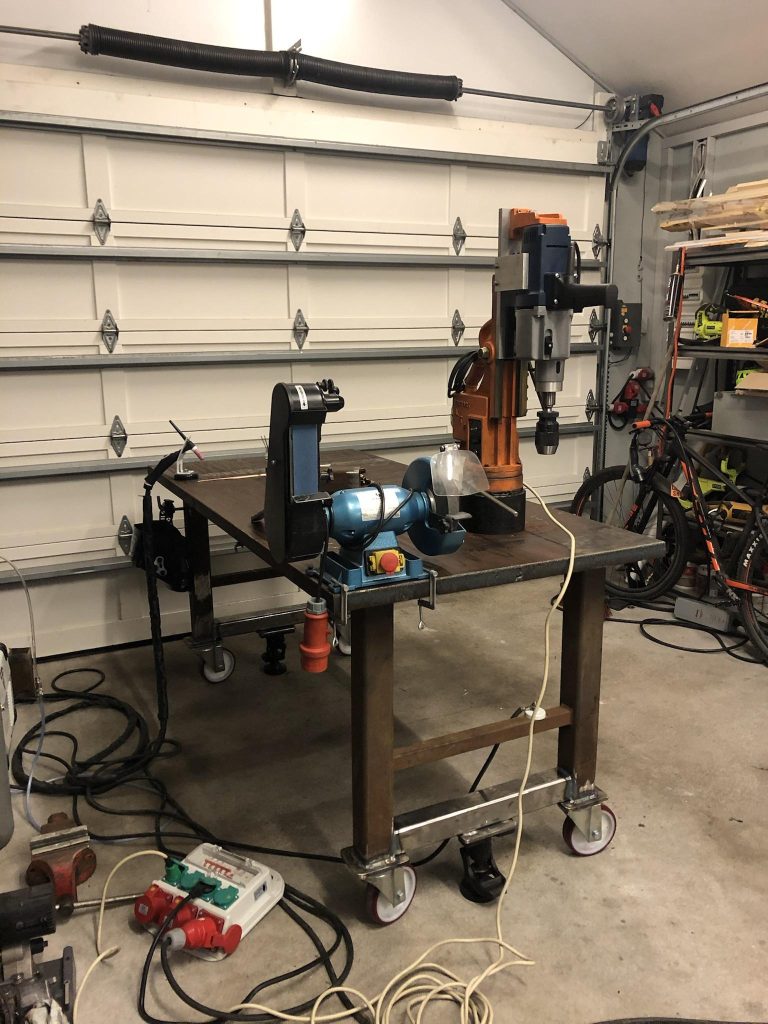
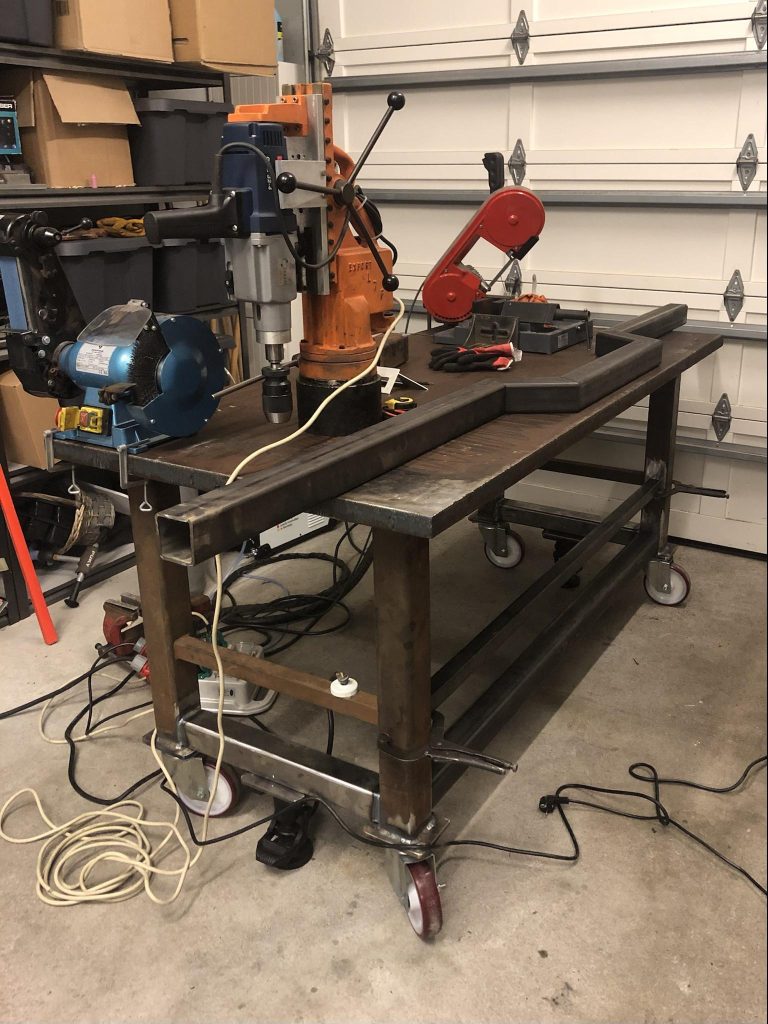
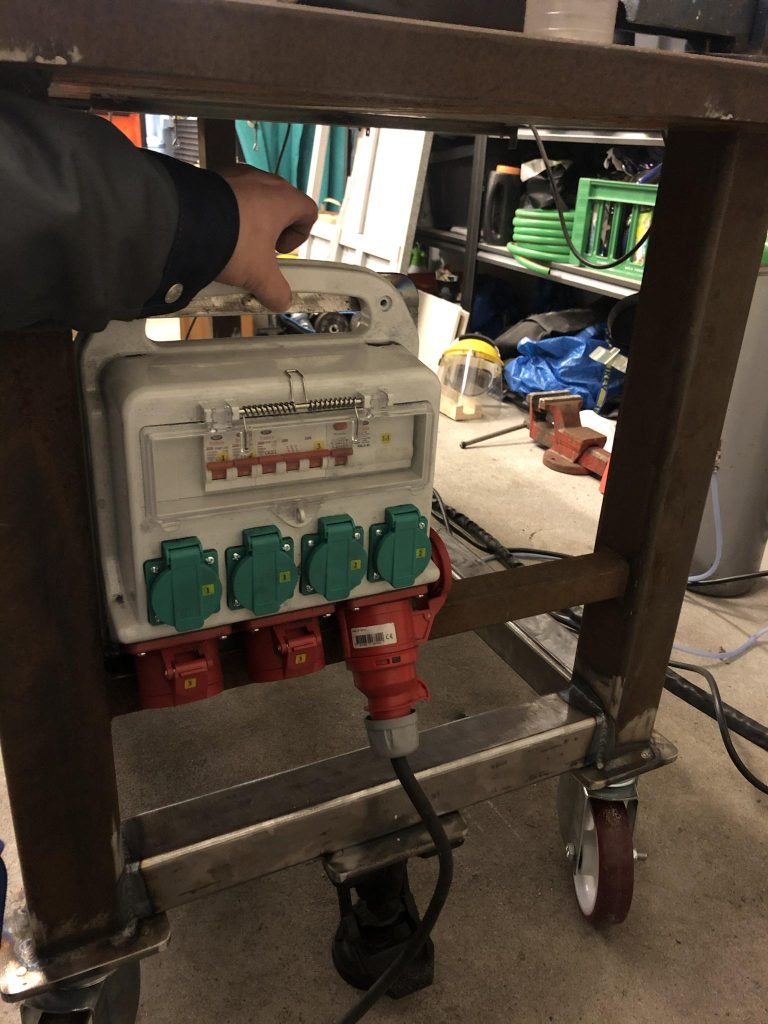
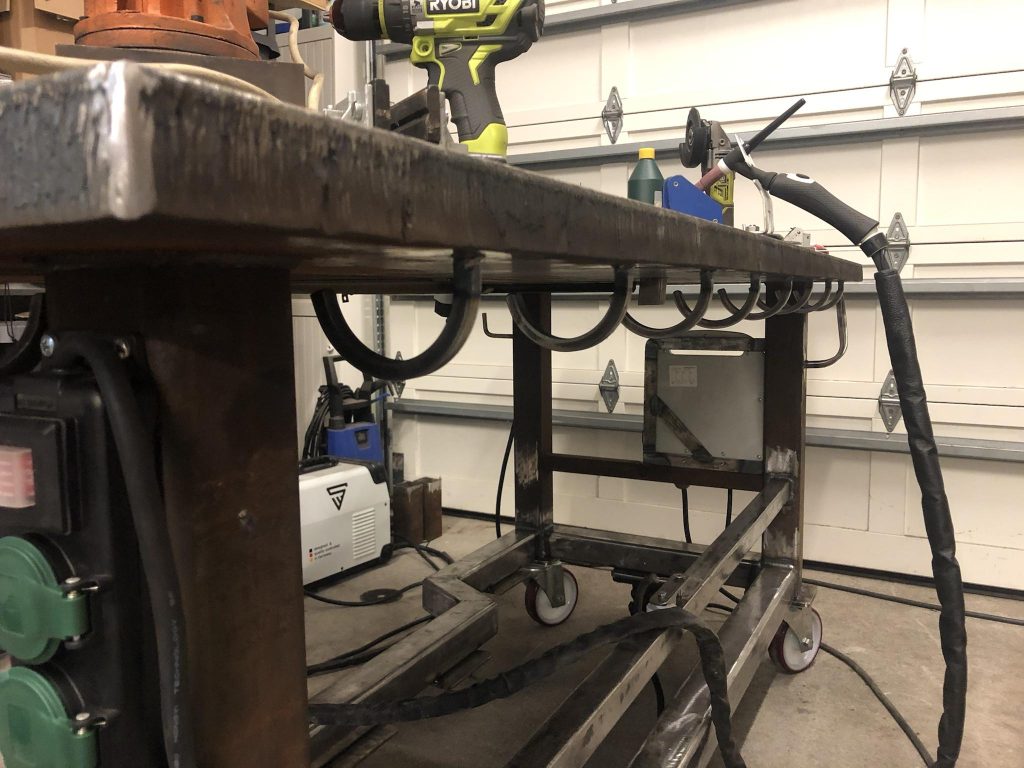
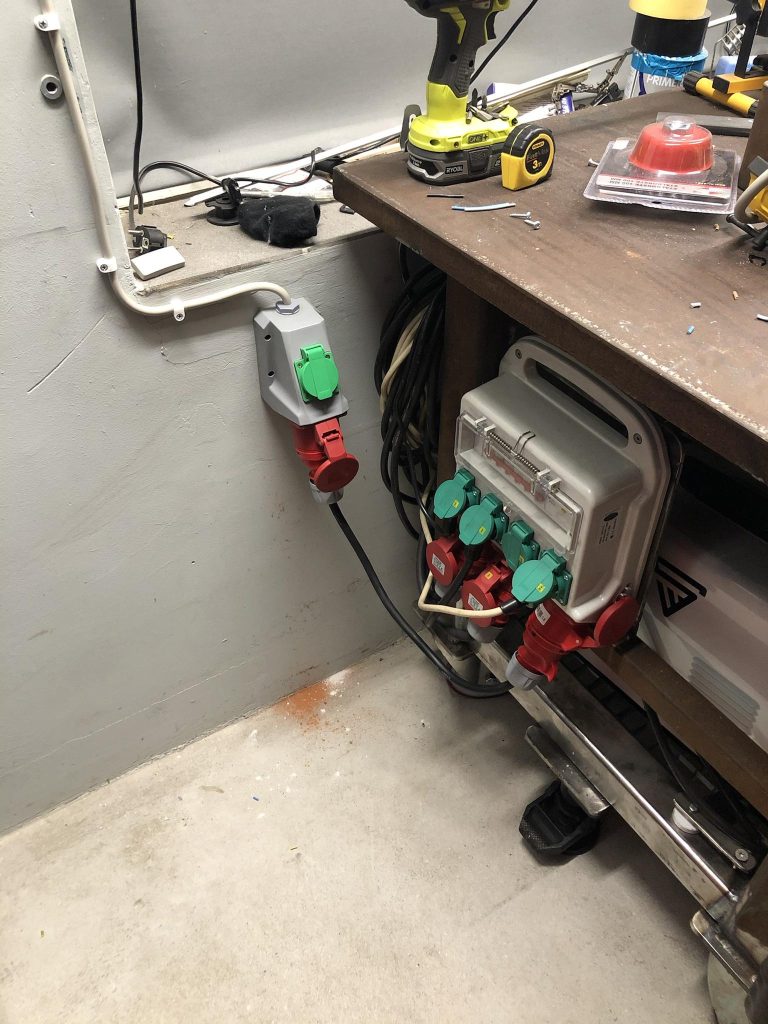
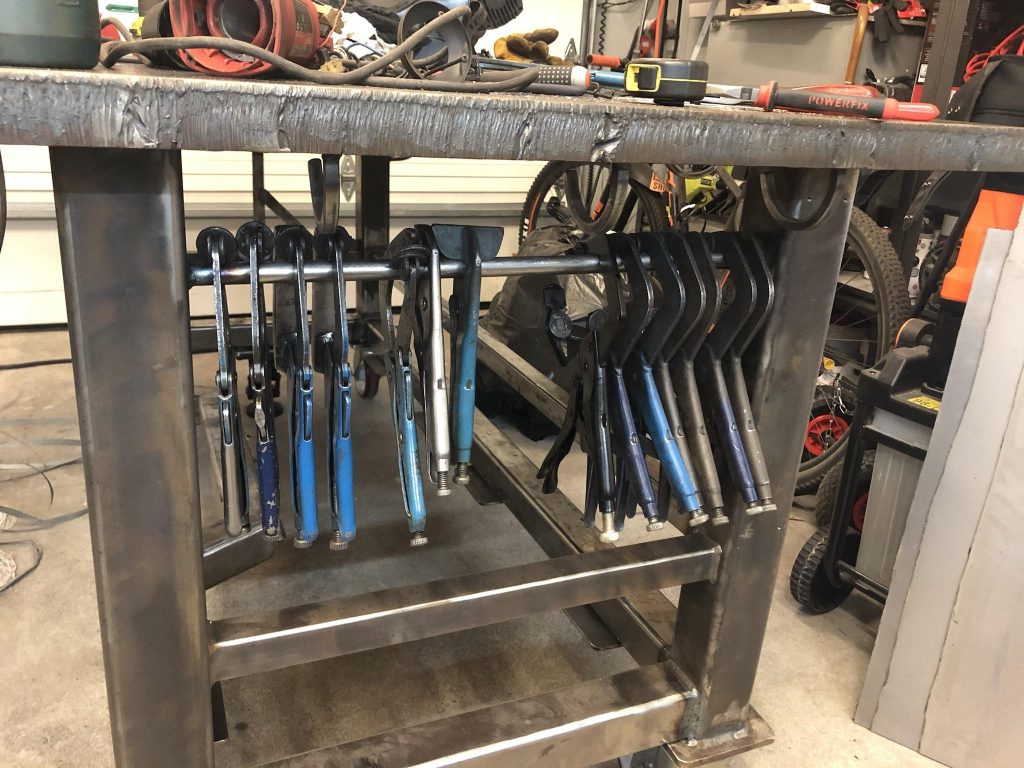
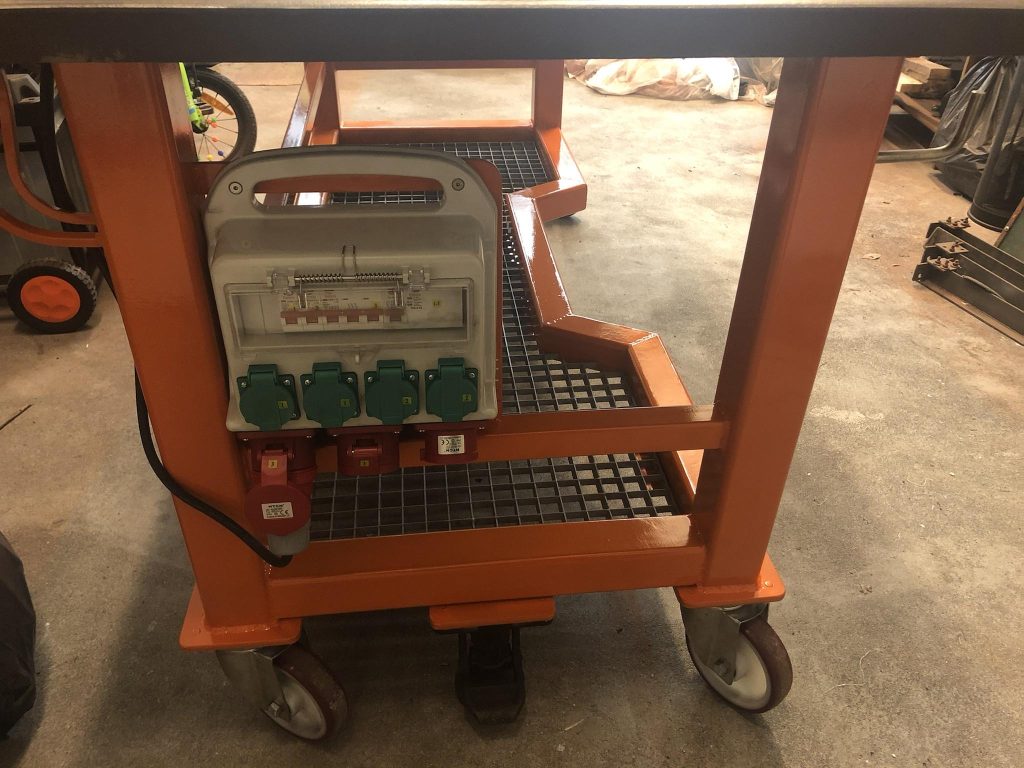
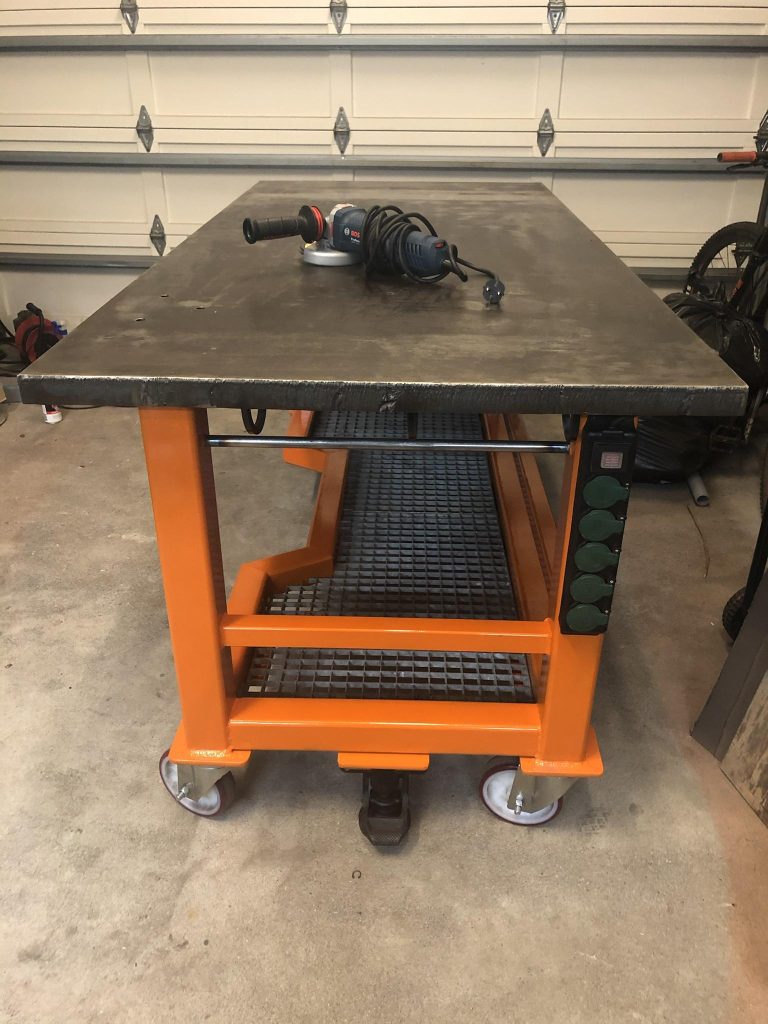
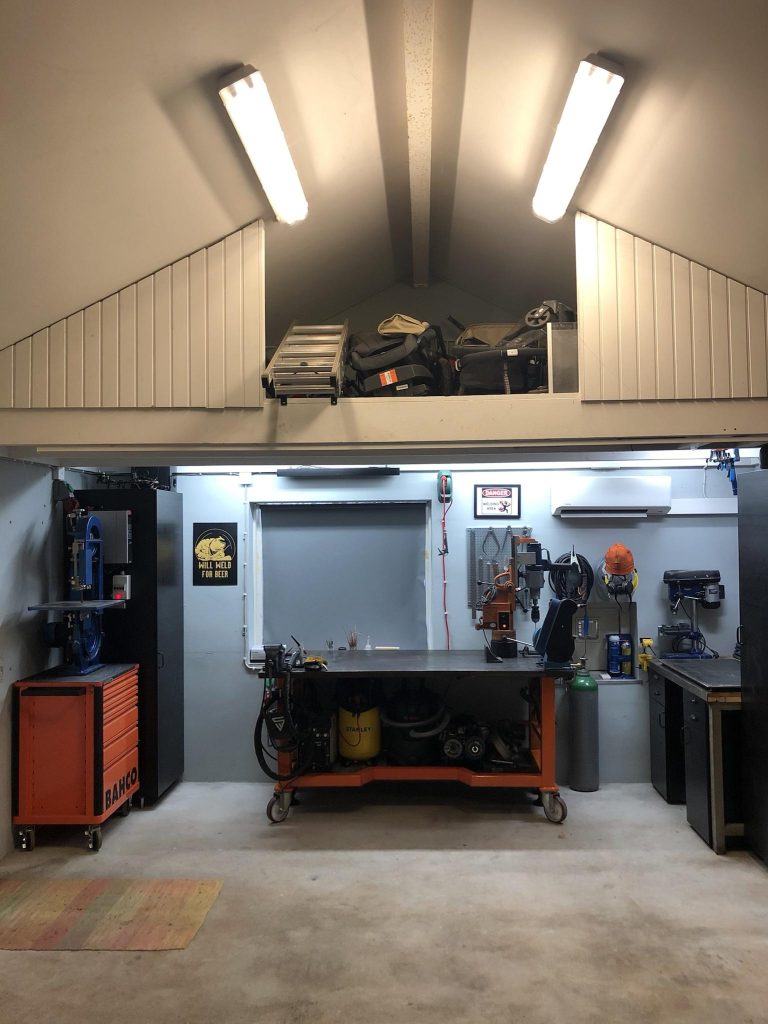
It has 3 phase 400v power wired into it and carries my welder/plasma cutter, 20 litre compressor, shop vacuum, all of my angle and straight grinders, horizontal bandsaw at the bottom + belt sander and a mag drill on the top. Most of my welding clamps are hanging on the end of the table and the vertical bandsaw is standing next to it on a tool trolley. My idea was to build it so that I can easily move the whole work surface and all the tools in one go, and that I’m able to clear all the machines from the tabletop if I’m working on something larger.
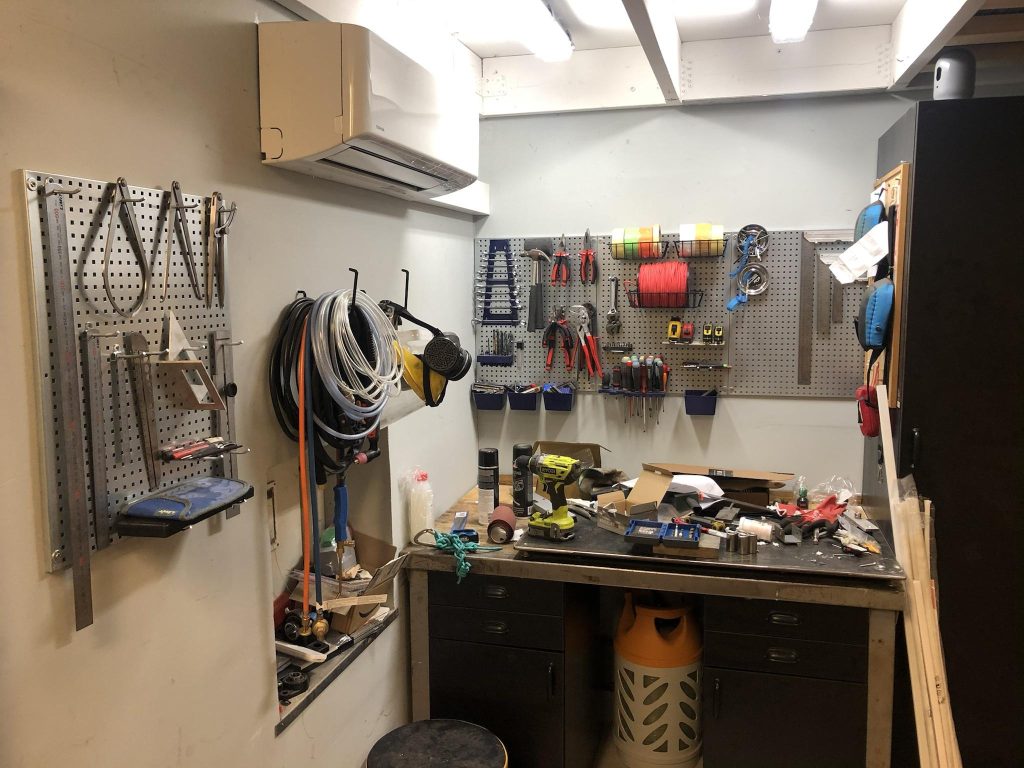
I also have a fireproof curtain that can be pulled across the workspace to protect the rest of the garage when grinding or plasma cutting.
More information about the tools:
I’ve spent a lot of time trying to find good quality machines that are still small in size. It is much more difficult than you’d think.
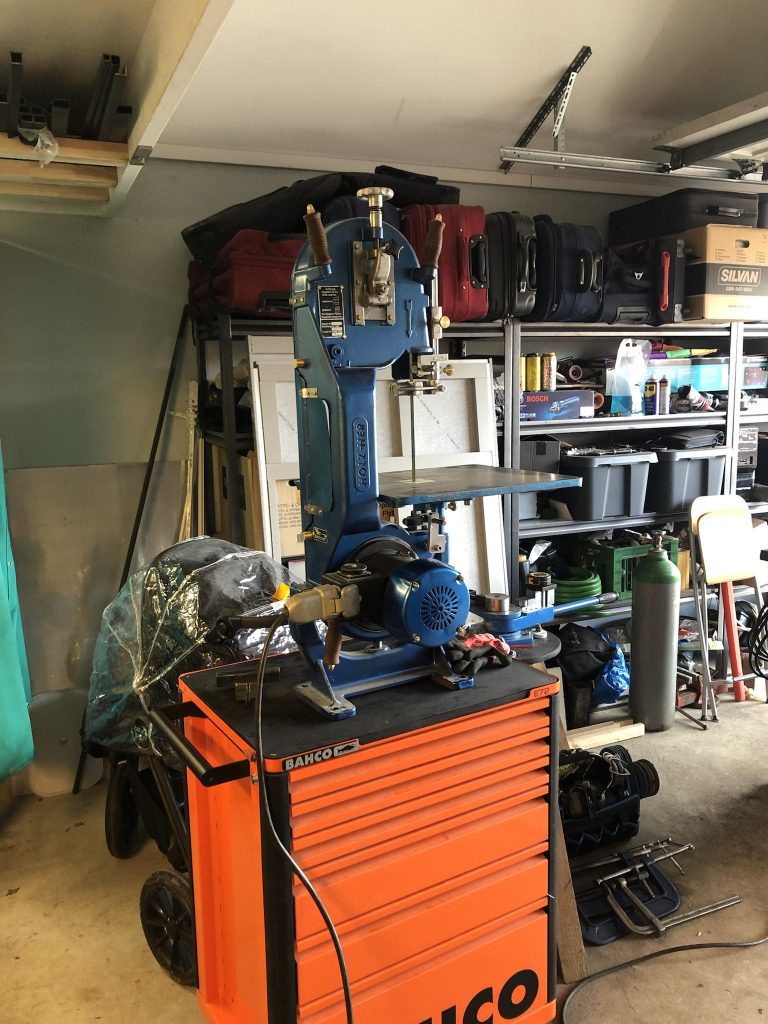
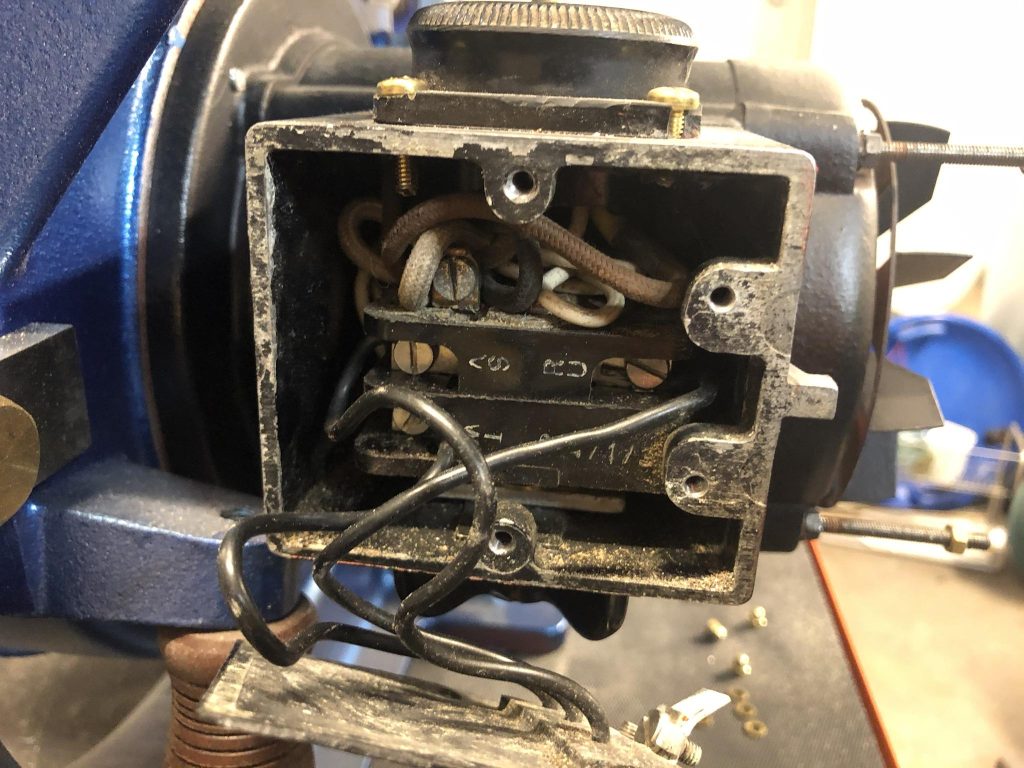
The vertical bandsaw is a really old one (and a gem in my eyes). It was made in western Germany, so before the Berlin Wall fell. I believe it was originally built for shaping the ends of large timber houses, i.e. it was a handheld saw which required two people to operate it. You can see the wooden handles behind the saw.
There was apparently an add-on that you could buy for the cutting table and stand to change it to a stationary saw.
It is fully restored and I’m running it through a VFD which is mounted on the cabinet behind it. It has a 900w (3 phases, 400v) motor, and with the VFD I have a full control of the speed. It has of course a metal blade but it is a “custom” length, so I need to weld my own blades for it.
It is a great one as well and does very accurate cuts. Most of all, I love how quiet it is.
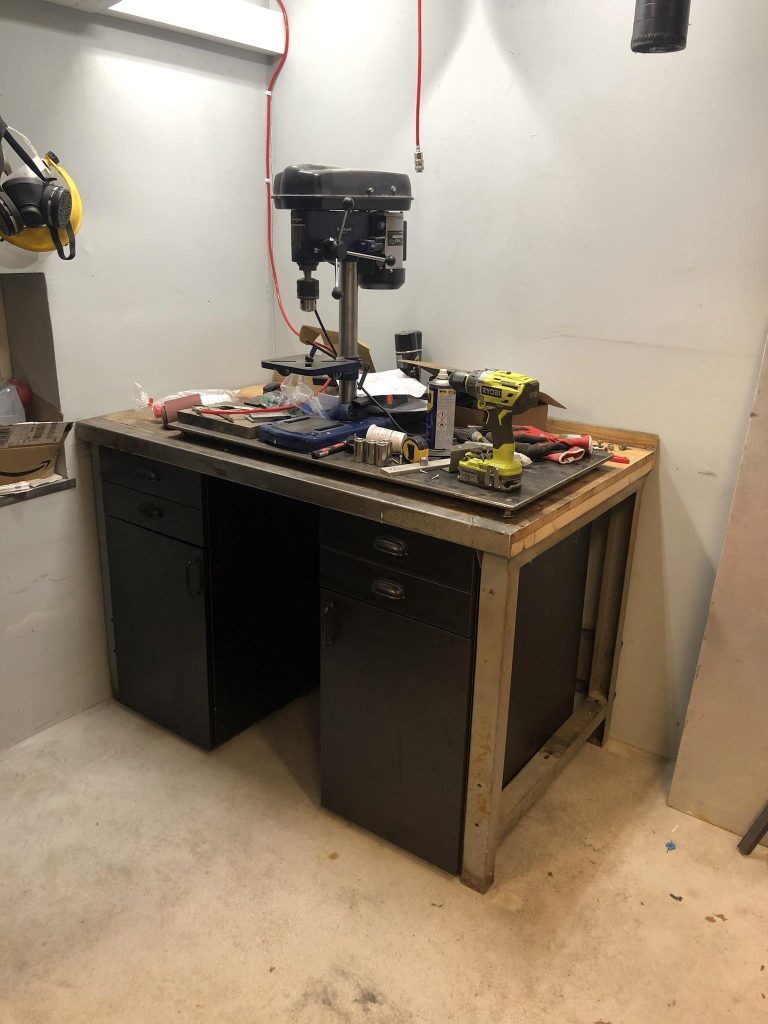
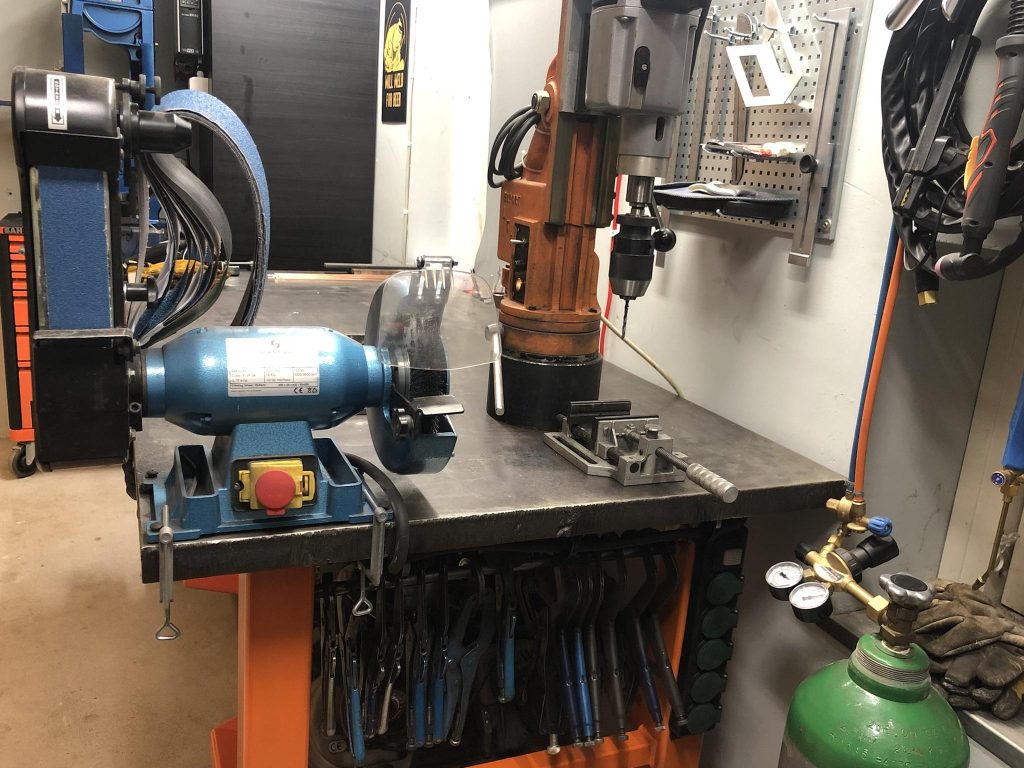
The mag drill base is made in Italy and is approx. 25 years old. It is meant to be used on shipyards and the weight and sturdiness reflects that. The drill on the other hand is almost new Bosch GBM 32-4 which is one of the most powerful drills Bosch Professional has. It is a beast and I’ve named it the Thor’s Hammer. I’m planning to remove the drill handle and replace it with a 3D printed box which has a large e-stop button on it. Then I can at least hit it with my head when it decides to consume my arm.
The belt sander is called “SC 200 TB” and is from a Danish manufacturer Scantool. It runs on 3 phase/400 volts and outputs 750w. It’s a nice semi-professional grinder that doesn’t take much space.
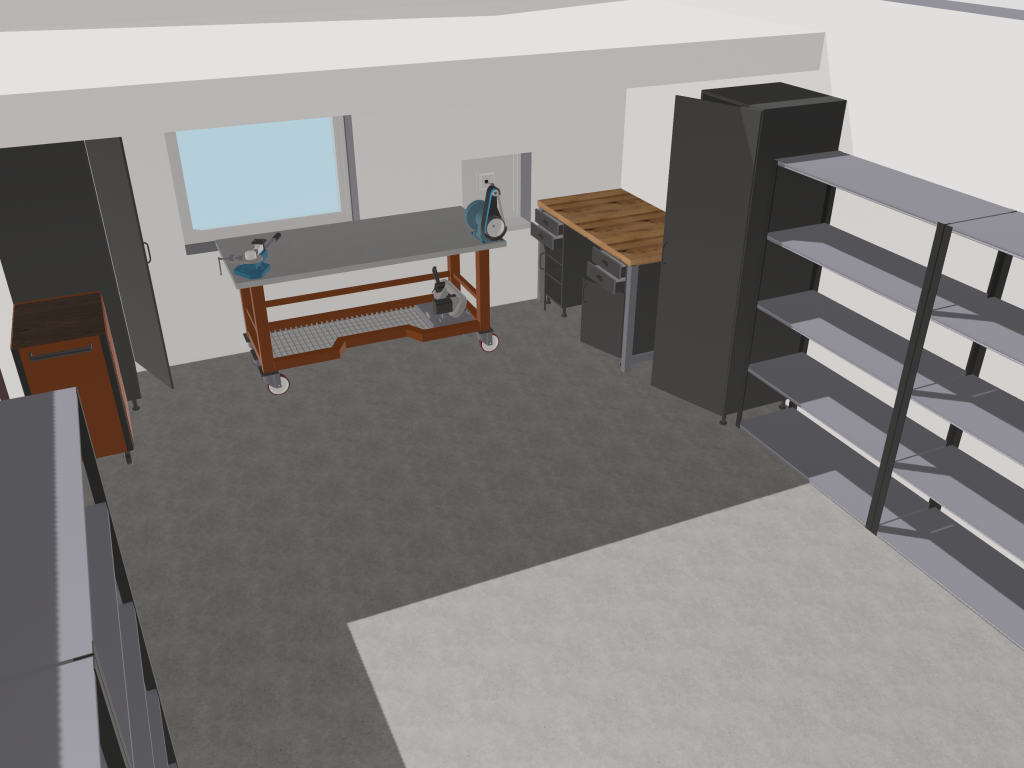
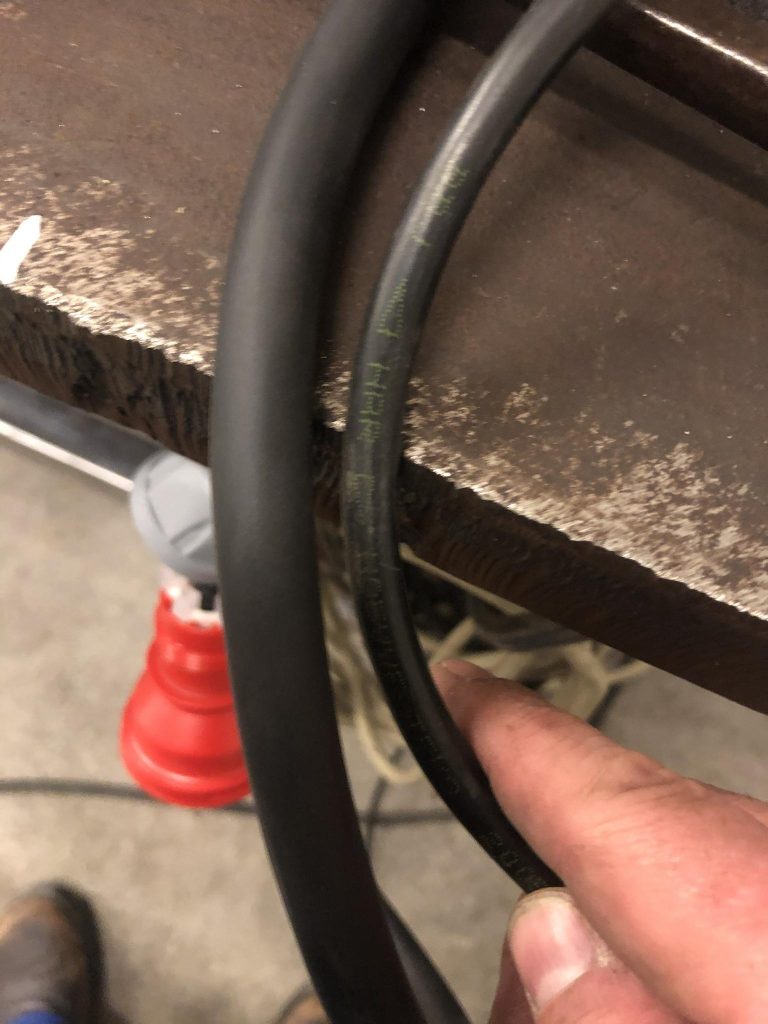
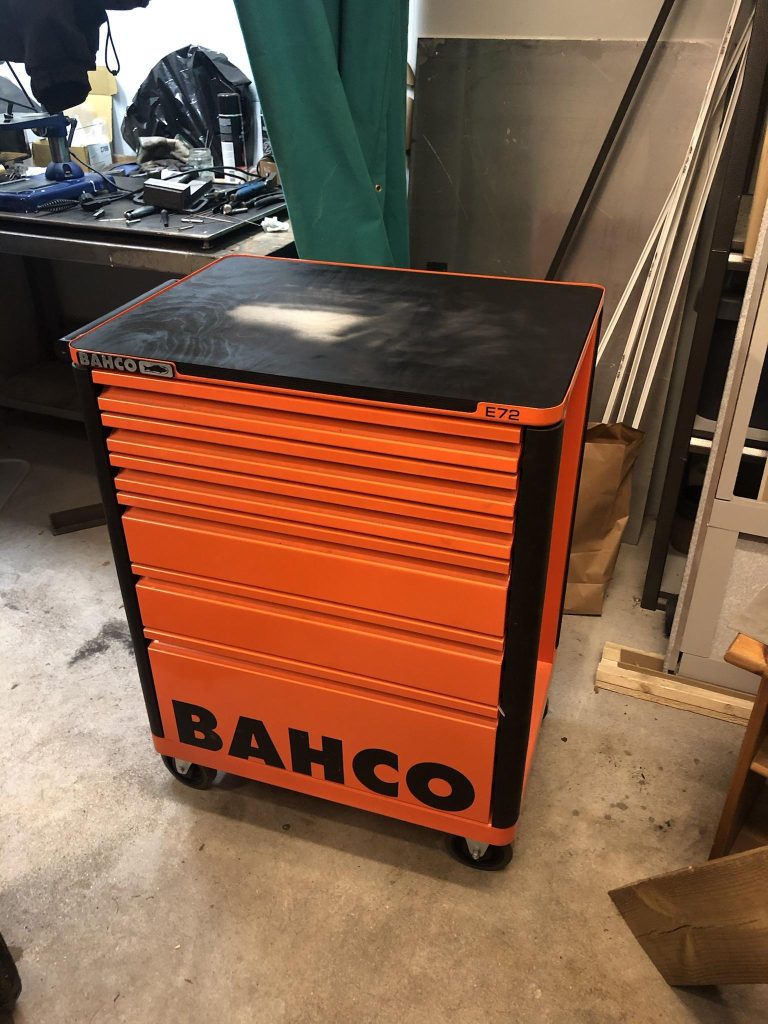
Enjoy the view, the workshop will never be this tidy again!The vertical bandsaw can be moved around on the tool trolley.The belt sander can be easily removed from the table in case I need to use the whole area.
Build log:
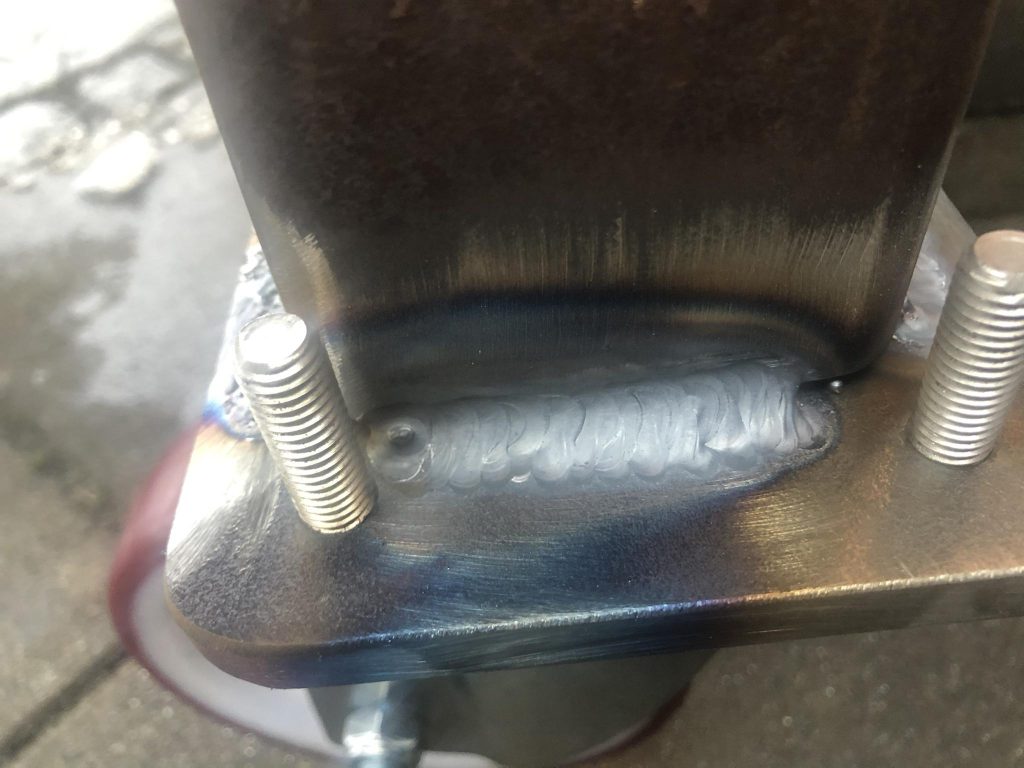
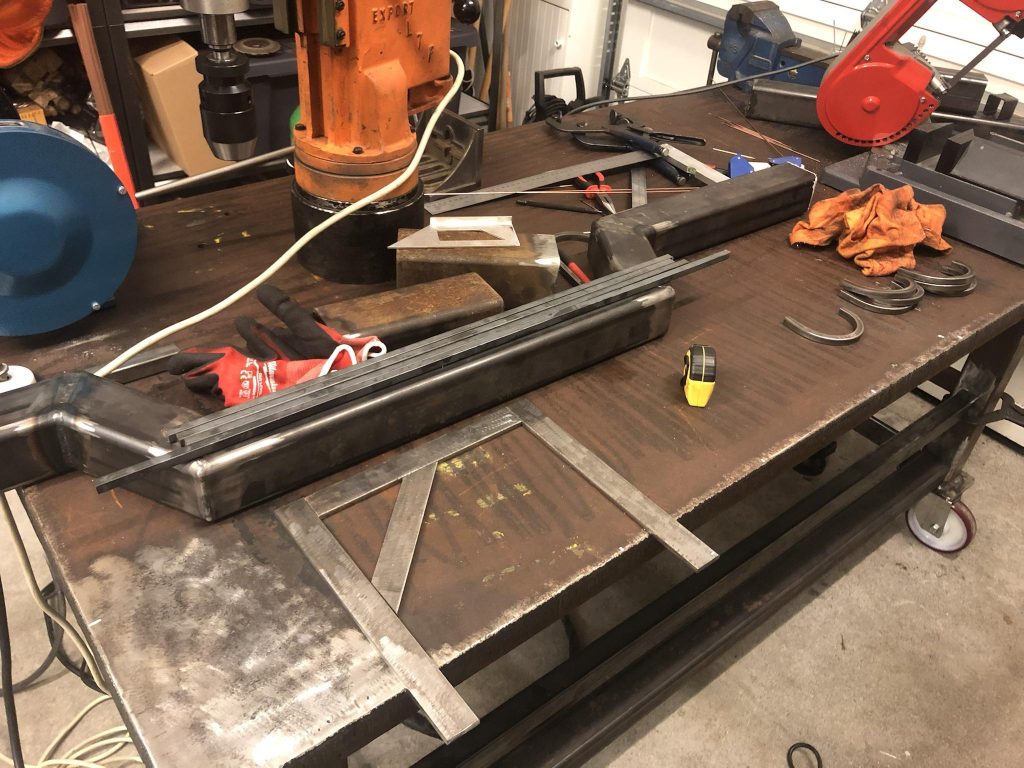
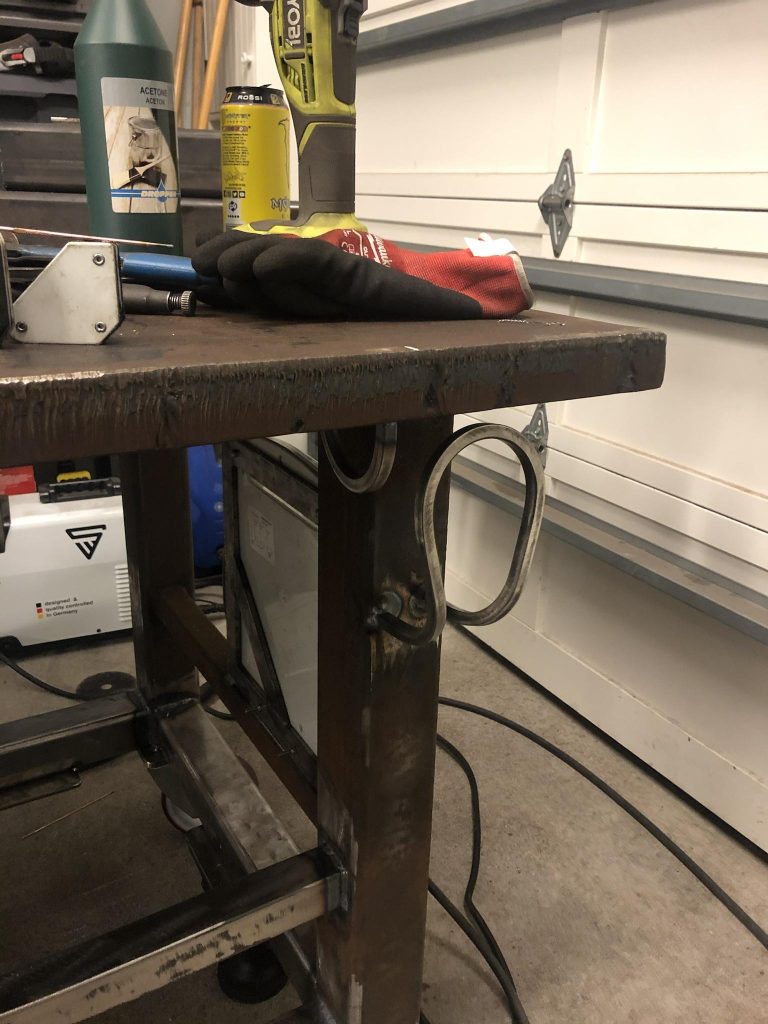
This is the goal.The goal from the other direction.Angles and measurements for the chair notch.This was a bit tricky. The table weights at this point around 550kg (1200lbs) so I just want to get it over with. I found the table used and with the legs already welded on. To get the casters on, I had to lift it up one side at a time, chop a 21cm piece of the legs off with an angle grinder, and weld a steel plate at the bottom where the casters will bolt on to.10mm steel plate I prepared earlier is welded on and the caster bolted on it.I tried to keep the welds pretty low profile so there is less grinding when I add the subframe.Two first casters are done and the 3mm stainless steel cover comes off.Only two legs left and then I can finally roll it inside.Now I can finally work indoors where it is dry and warm.As a part of the subframe, I’m adding some cast iron table brakes to the ends of the table. Those will be attached in the same way as the casters (10mm steel plates, and the brakes bolted on them)The ends of the subframe are welded on.Now I can finally be sure that the table doesn’t just roll through the garage door!The backside of the subframe is cut into length and dry fitted. The front side’s table notch is also cut according to the plan.I do love my small bandsaw. The cuts are spot on.I was wondering that “how do I ensure that the pieces are not going to bend while welding”, until I remembered that I have a rather heavy duty table right there.The notch is welded.Other small parts are prepared; A bracket for the electric box and hooks for the cables.Dry fitting all the last parts of the subframe.Both the bracket for the electric box and the smaller tube for the back of the subframe is welded on.Dry fitting the electric box.Final part for the subframe; 6mm steel plates where a grid under the table will rest on.The subframe is complete. All the tubes has been welded on. I also added an additional extension cord to the other end of the table.At this point it got tired of my flimsy ground clamp and made a new one. The magnet can hold 40kgs so that won’t go anywhere anytime soon.Hooks for the cables welded on.I added a spot for all additional cables to be placed on.Now when I’m at it, I decided to rewire my belt sander. No more flimsy cables!A slight difference between the old and the new cable.Testing the cable hooks.I got tired of working on the welding table, so I prepared my tool trolley to take on my large bandsaw. I fitted 2cm thick birch plywood on the top which was painted black. The painting wasn’t so important as there will be a thick piece of rubber on top of the plywood.Rubber on place and testing the fit with the bandsaw.Time to rewire the bandsaw as well. These wires hasn’t been touched since it was made in the western Germany…Time to move everything around and start putting things on their right places.I had to cut 10cm off from both ends of my smaller workbench so I can fit a fireproof curtain across the whole working area.Curtain fits and can be pushed away nicely next to the cabinet which is placed to the end of the smaller workbench.New hole plates above the smaller workbench.I also needed to wire a new 400v outlet next to the table to power it.Final touch before paint; a bar to hang welding clamps on.Primer.Very orange…The bottom grid goes finally on it’s place.Final fitting of the electric box.And the other extension as well.Last thing before the large bandsaw can be put on it’s place; a bracket to attach a VFD next to it.Fits nicely on the end of the other cabinet.Ready!Nice and tidy. Also the fireproof curtain’s spot is visible here. (This is the reason the smaller bench had to be shortened)Here you can see the thickness of the tabletop; This is a very large grown man’s hand :pExactly as the original plan and I’m happy.