I’m originally from Finland, the promised land of sauna, but I’ve been living abroad for nearly 20 years. I’ve missed the tradition immensely, so I decided to build a proper sauna on my backyard.
The project took about 6 months to plan and 2 months to build. The overall budget is unknown to me as I’ve decided that I don’t want to know. Let’s just say that it was not cheap. I even drove 1000km to Finland to pick up some of the parts I couldn’t get shipped or weren’t able to find locally.
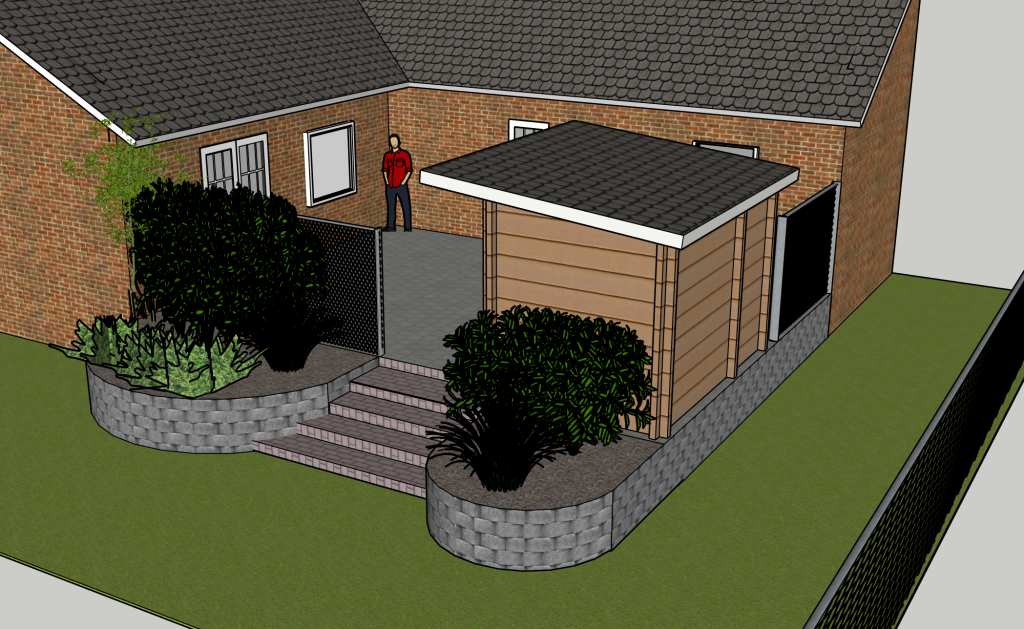
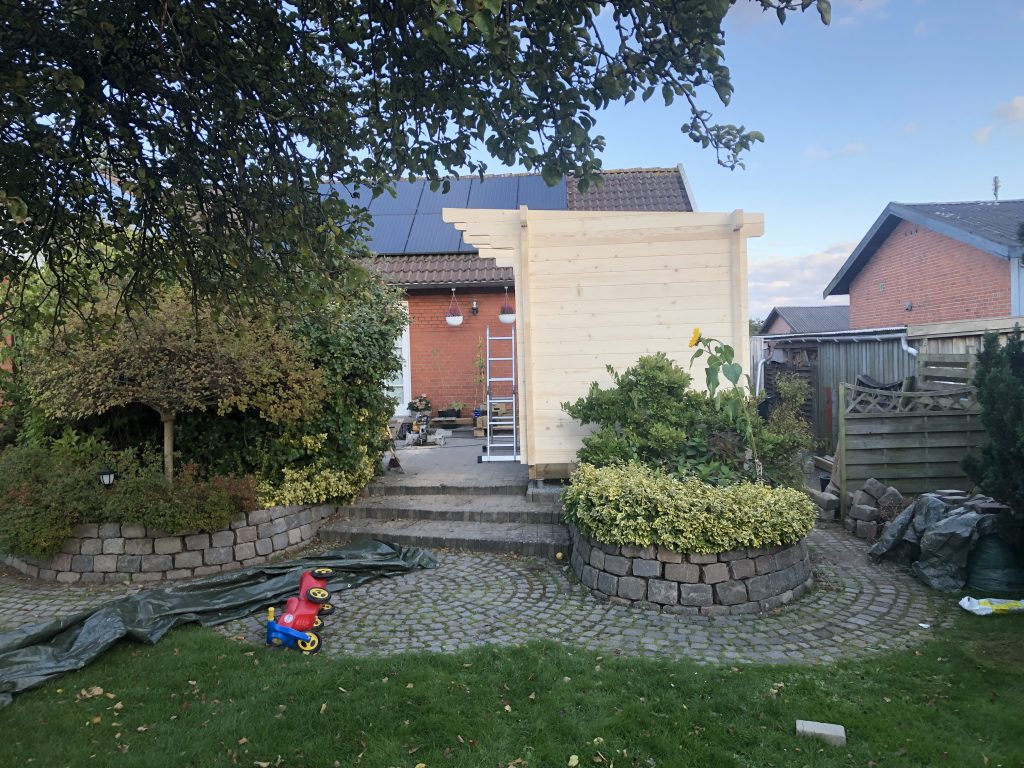
The end result:
Front of the saunaView from the garden
Build Log:
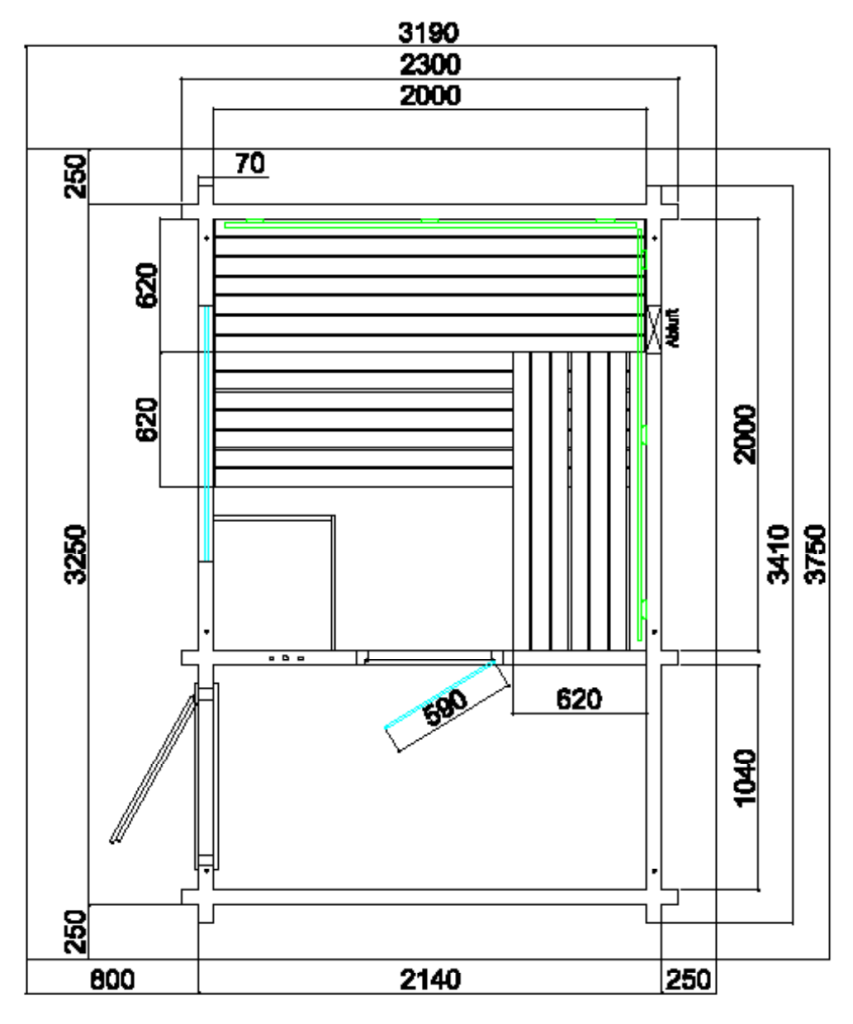
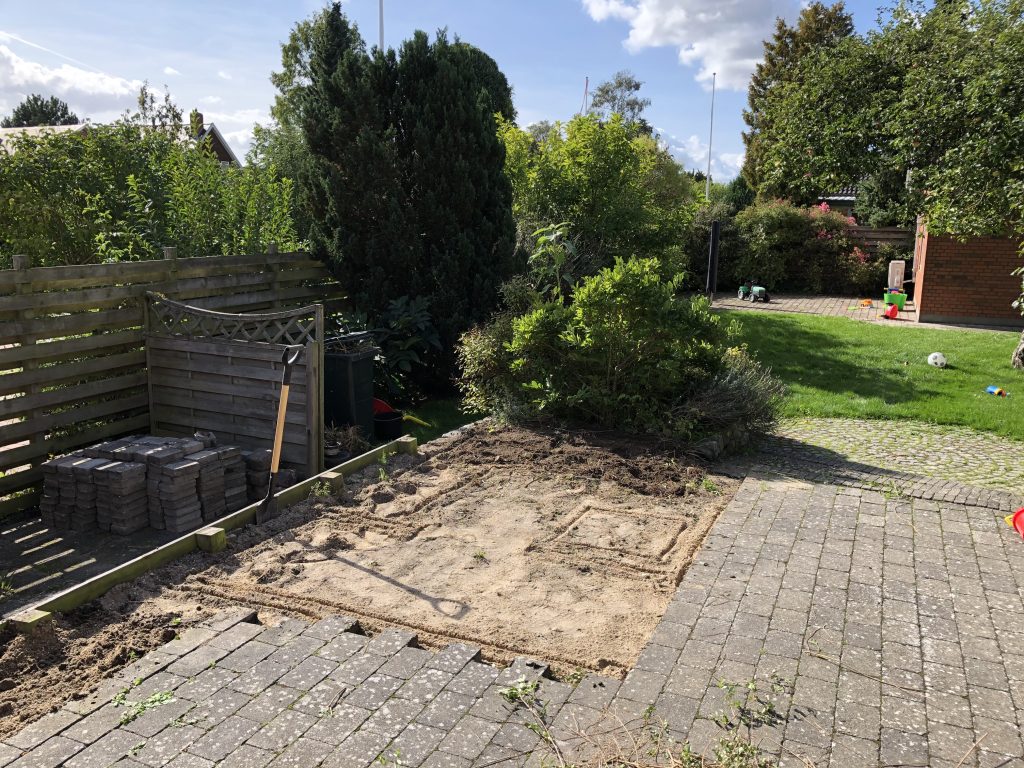
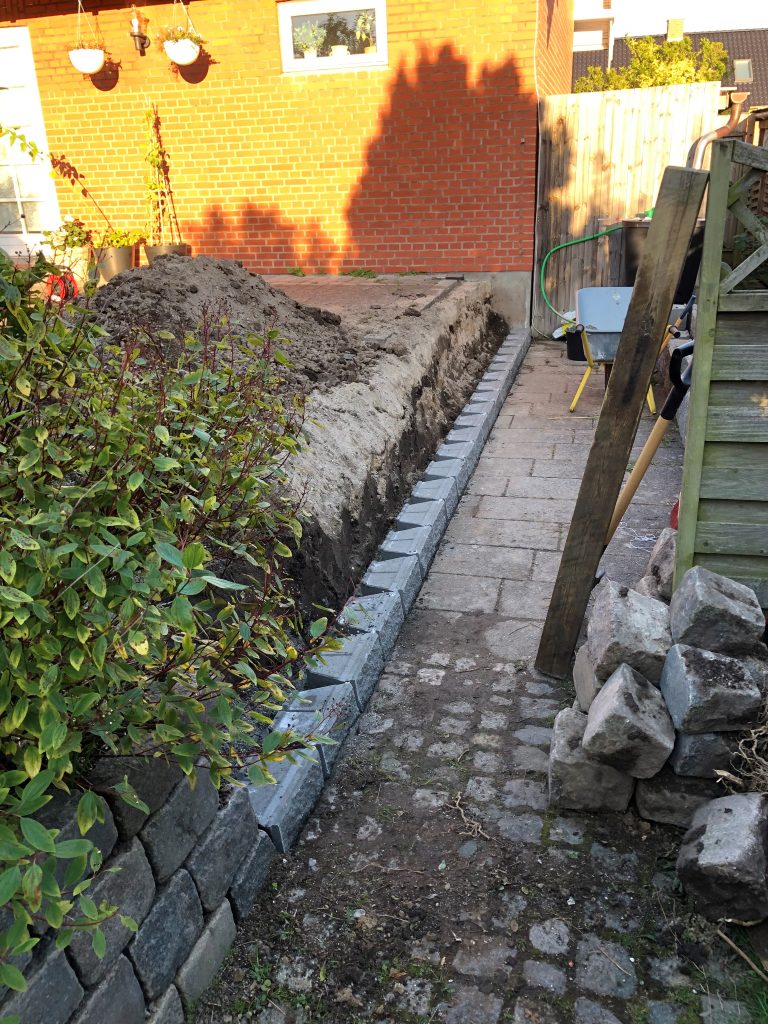
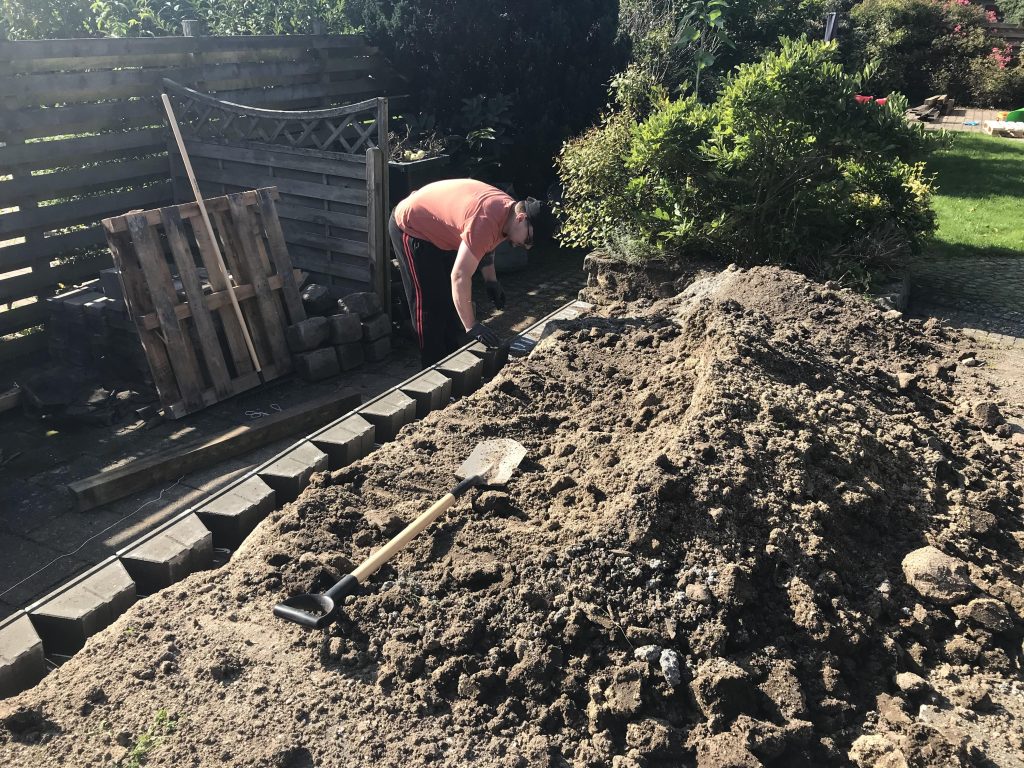
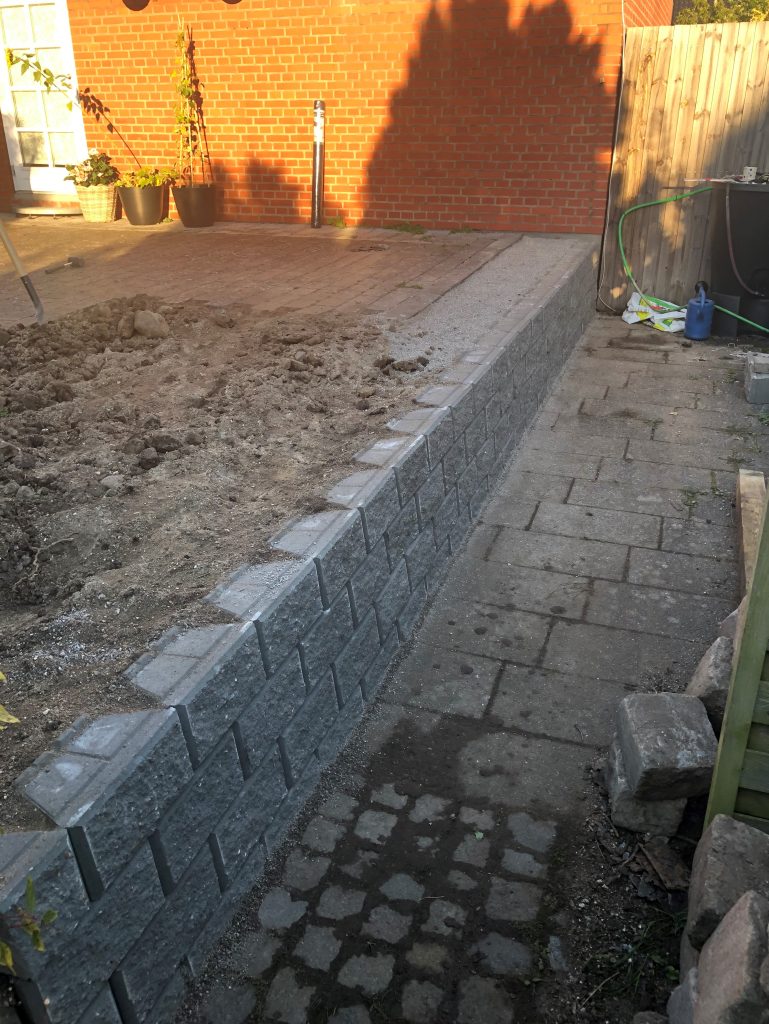
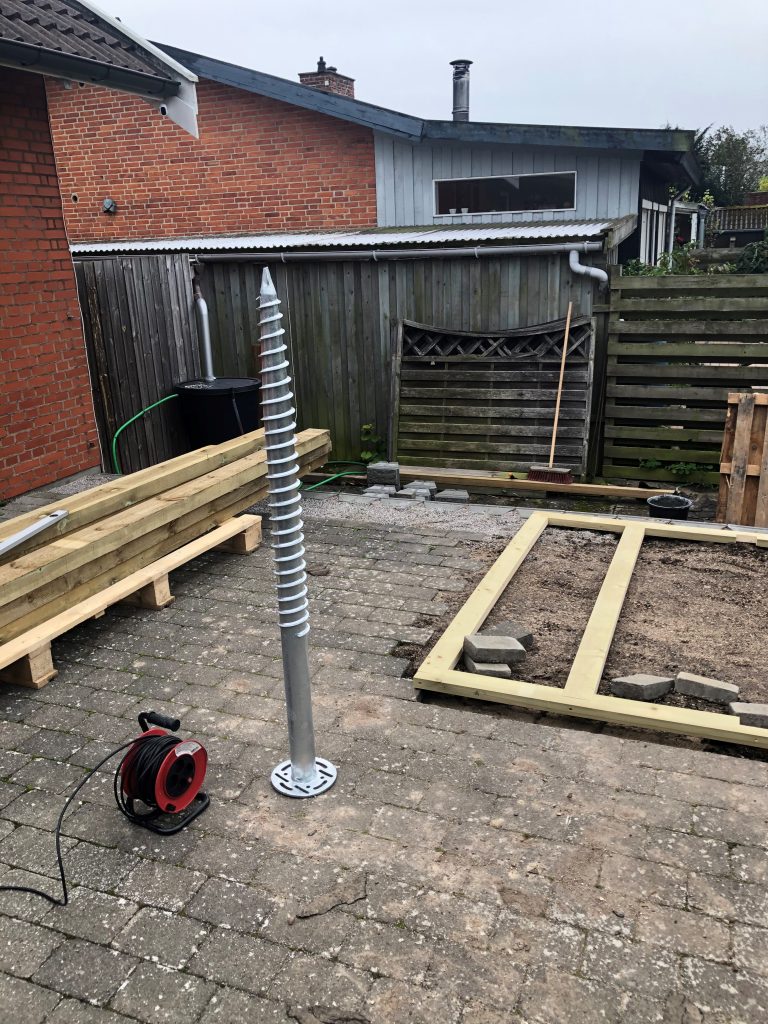
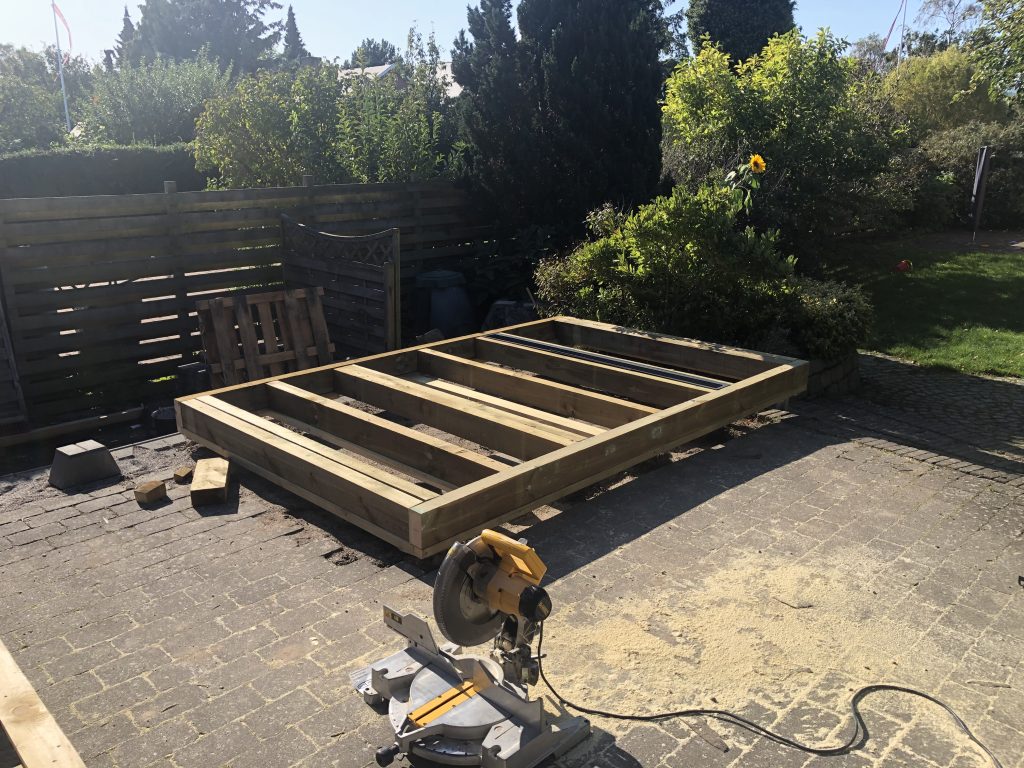
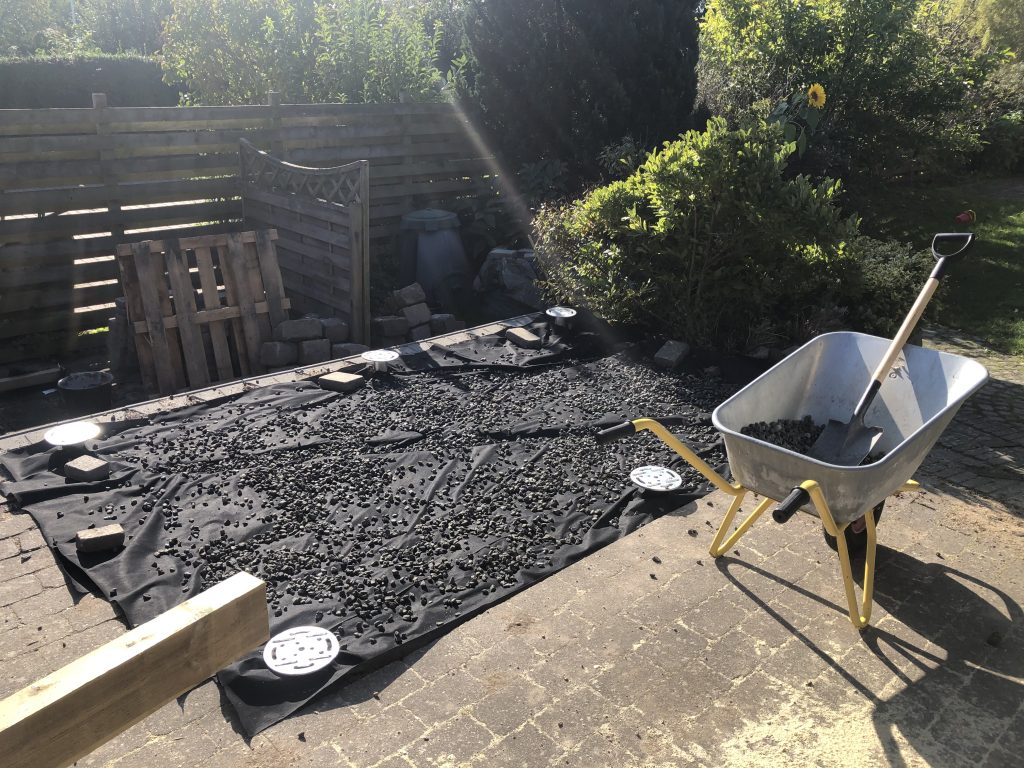
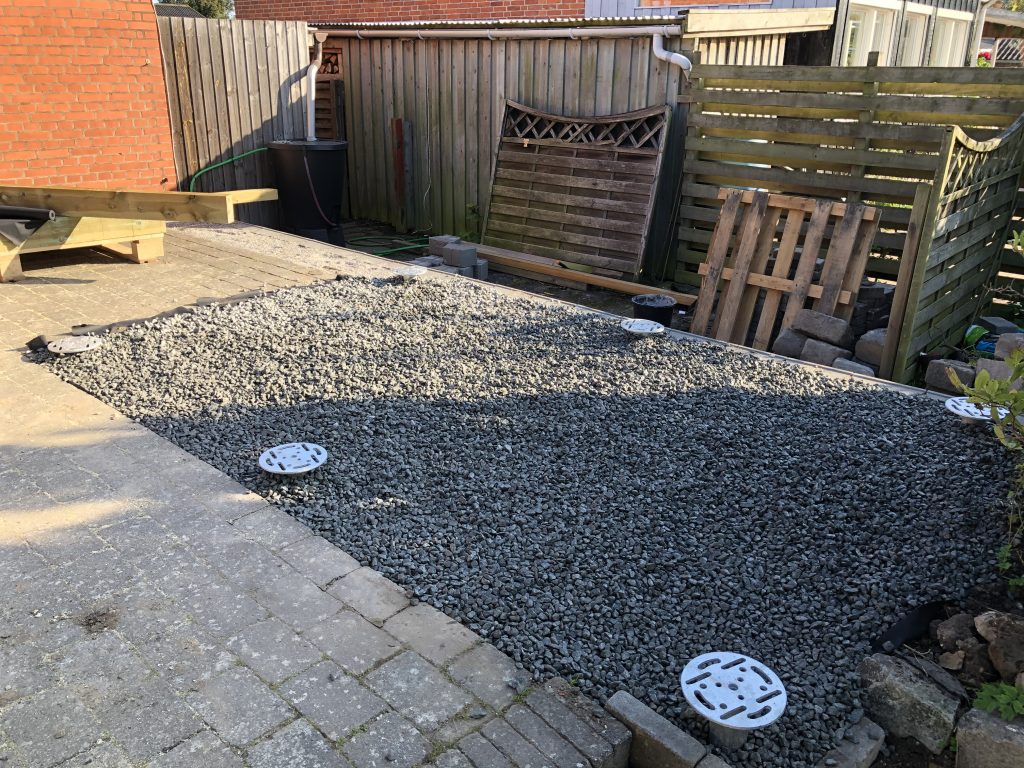
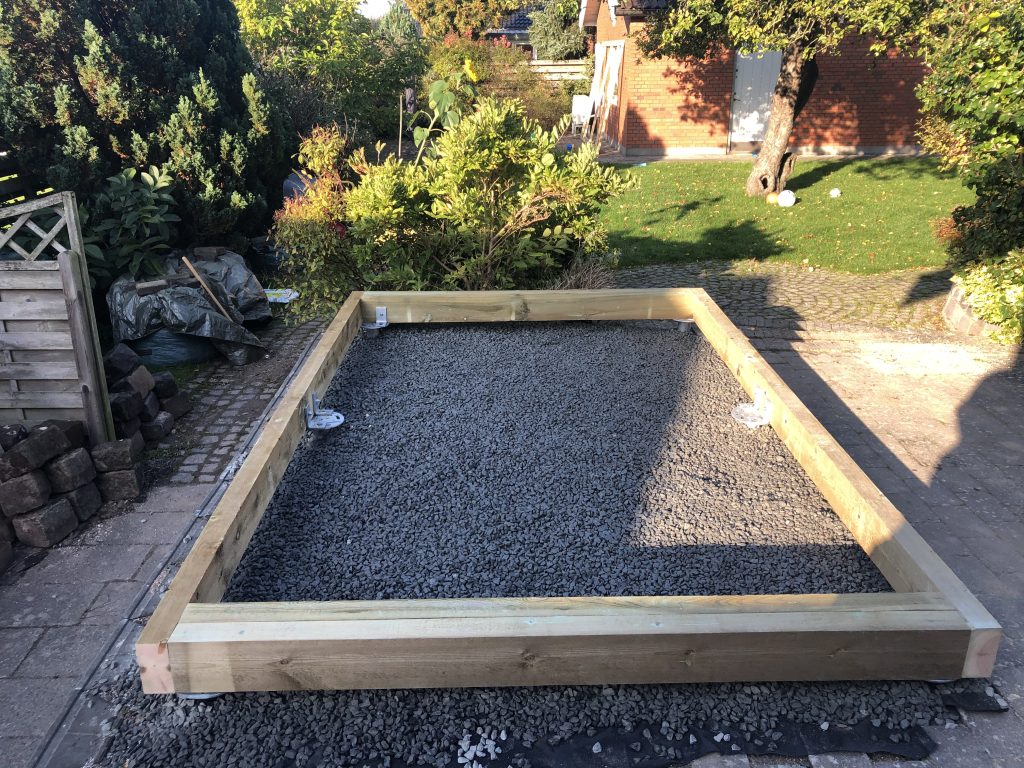
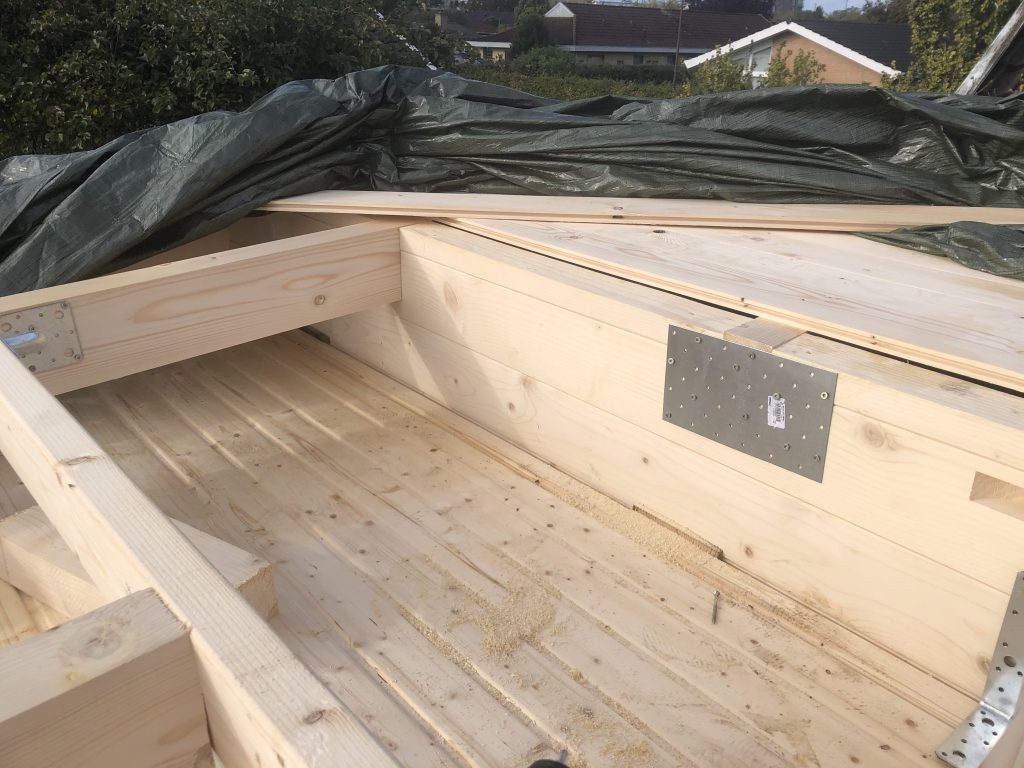
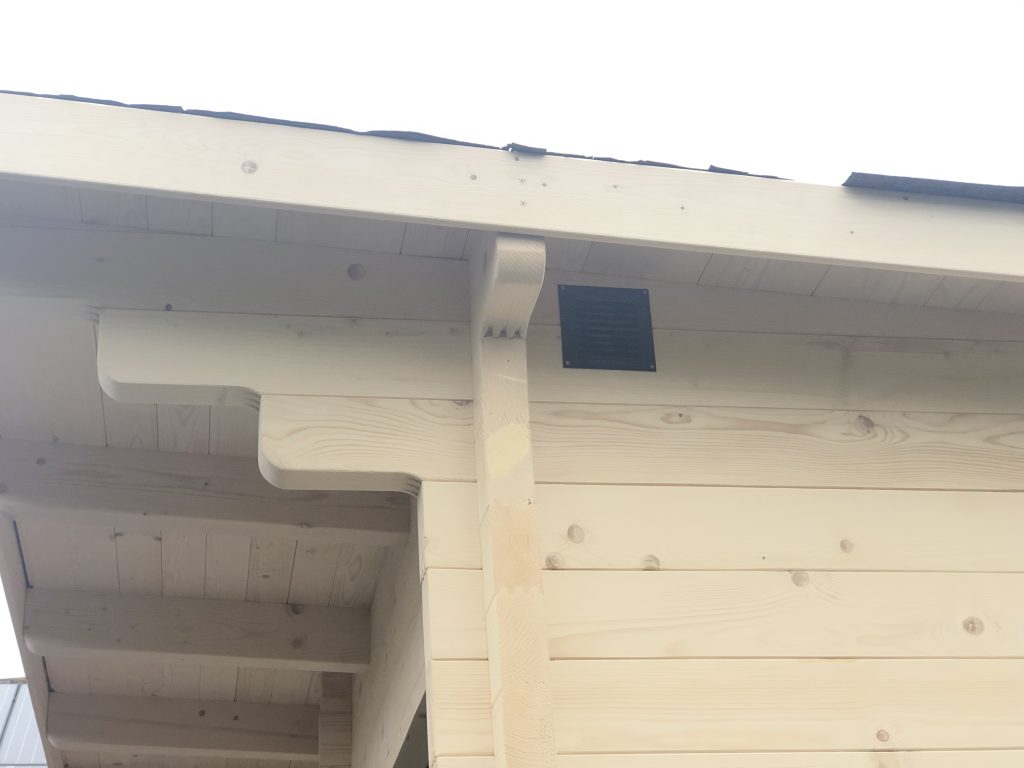
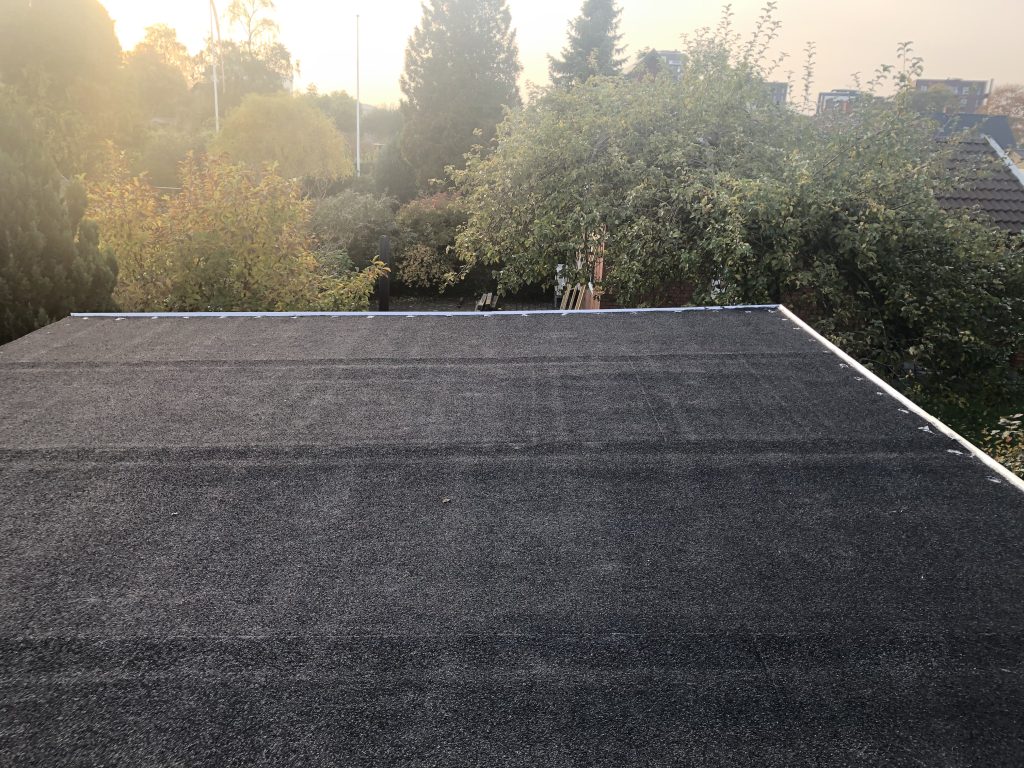
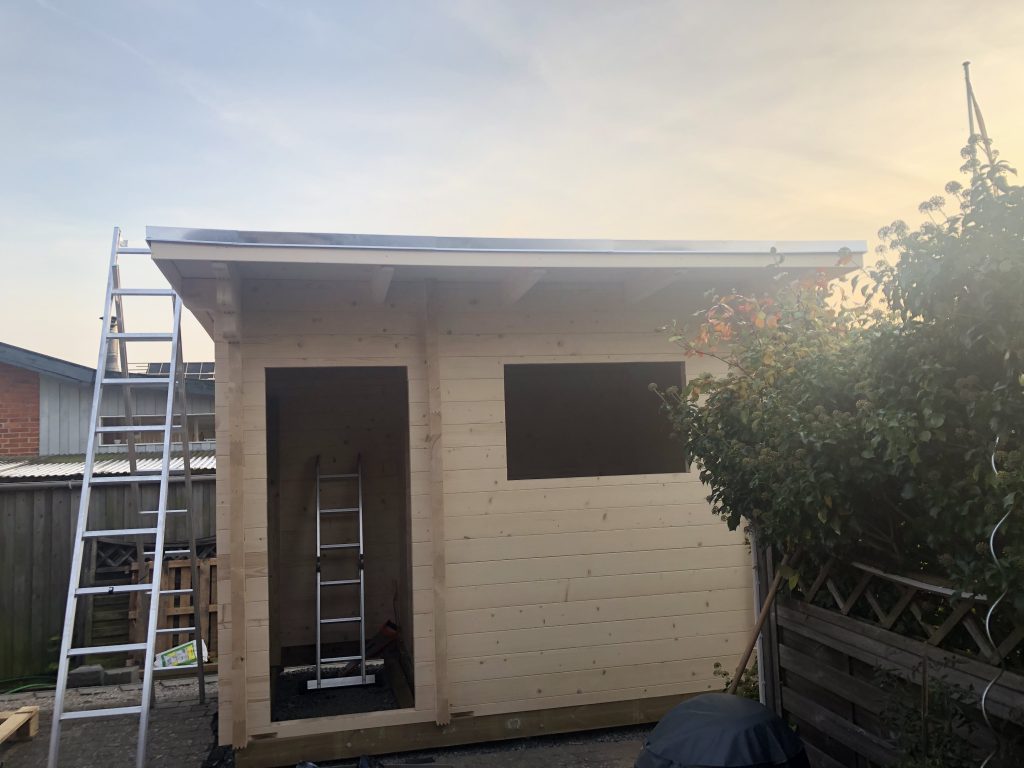
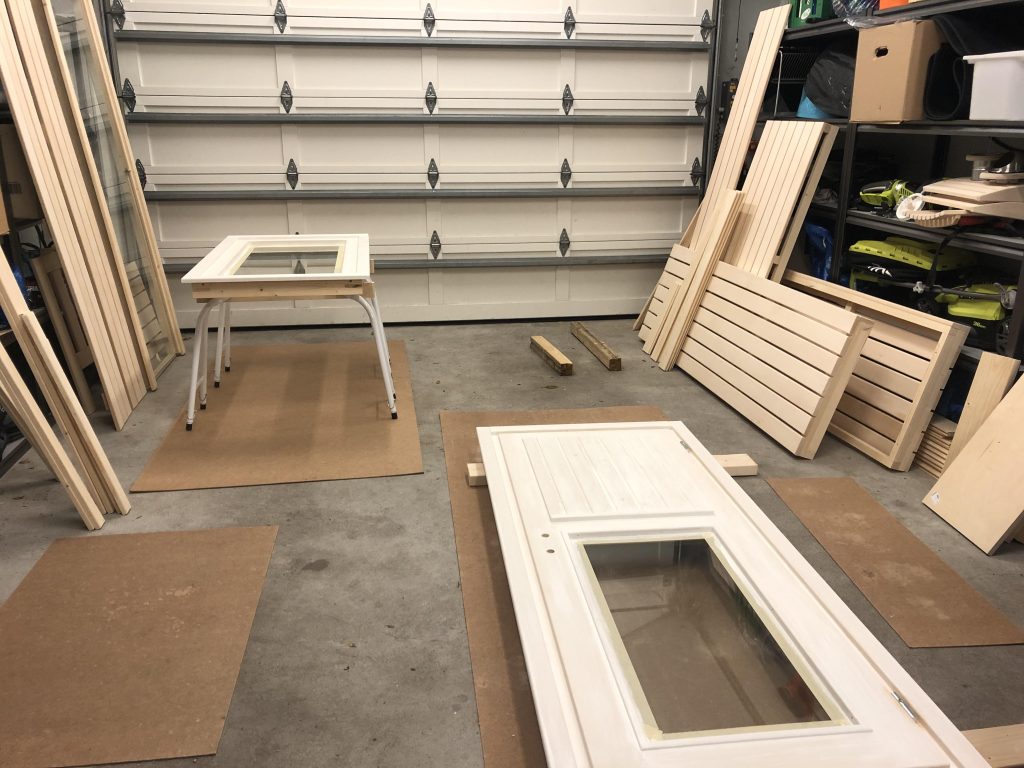
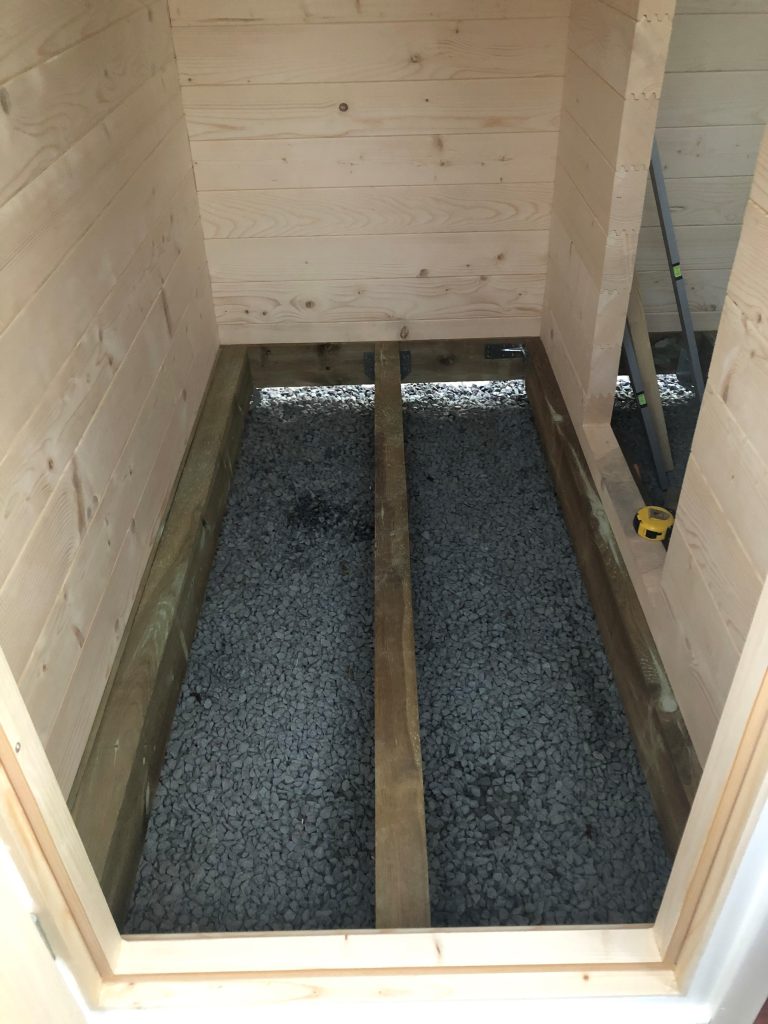
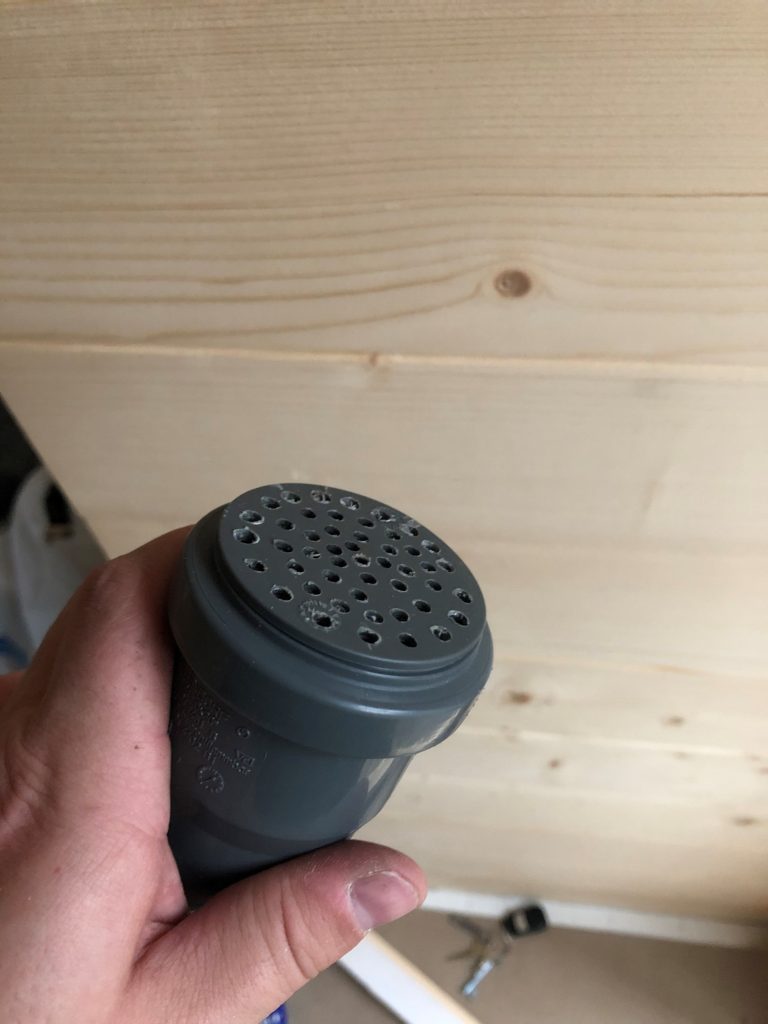
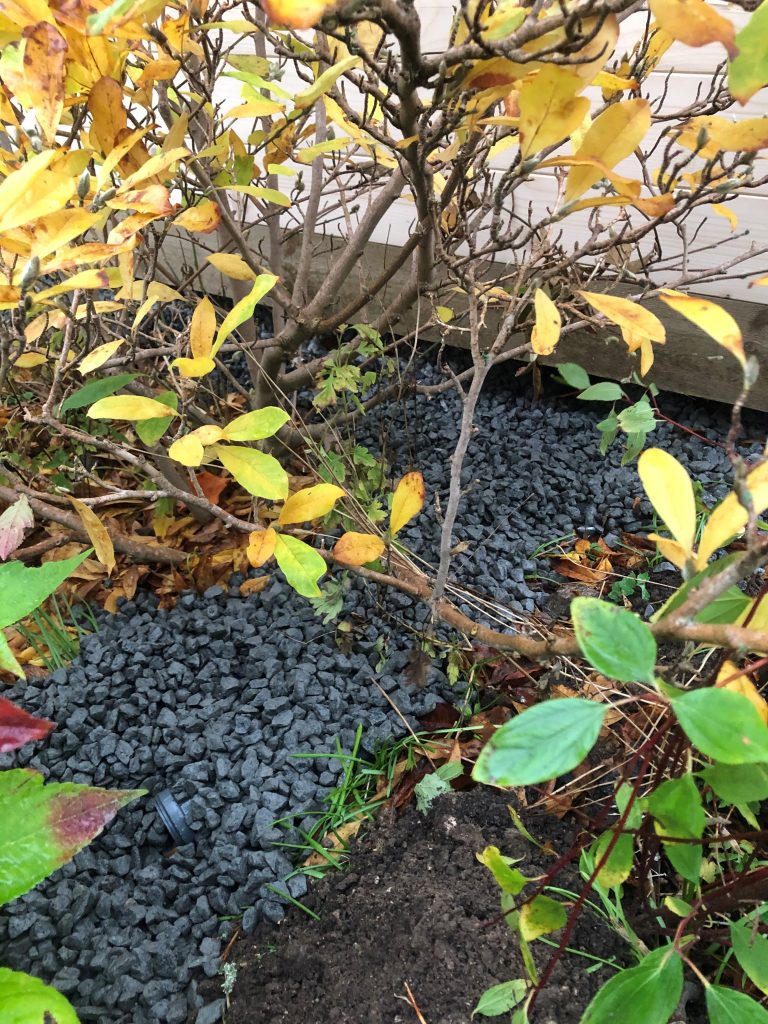
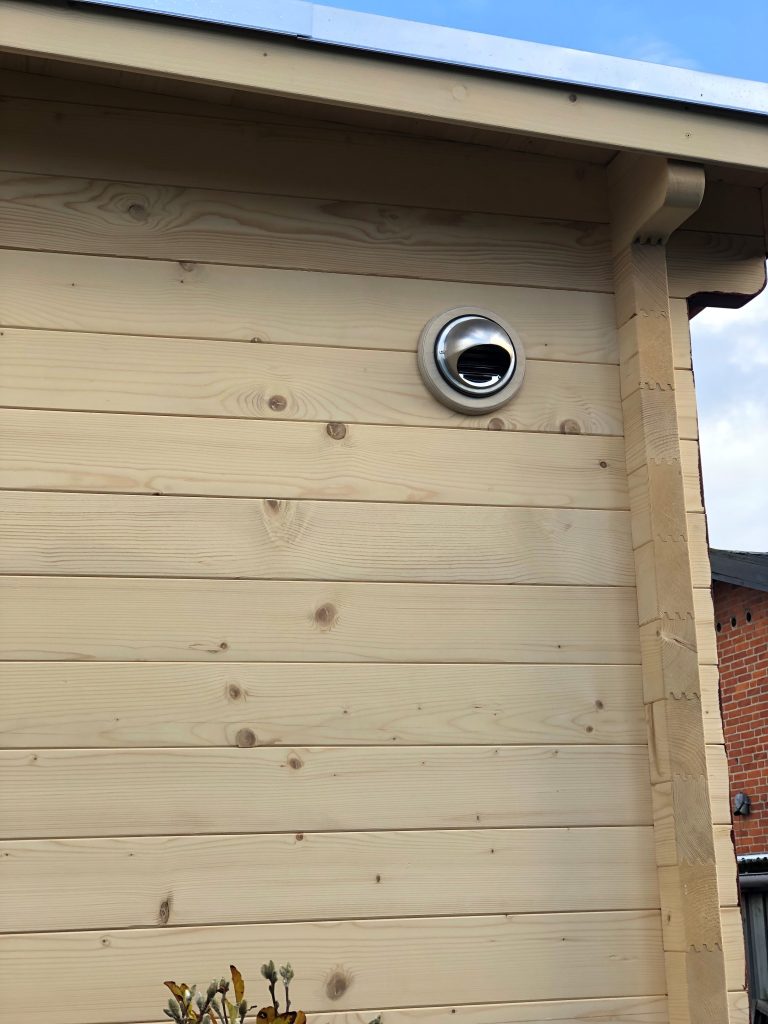
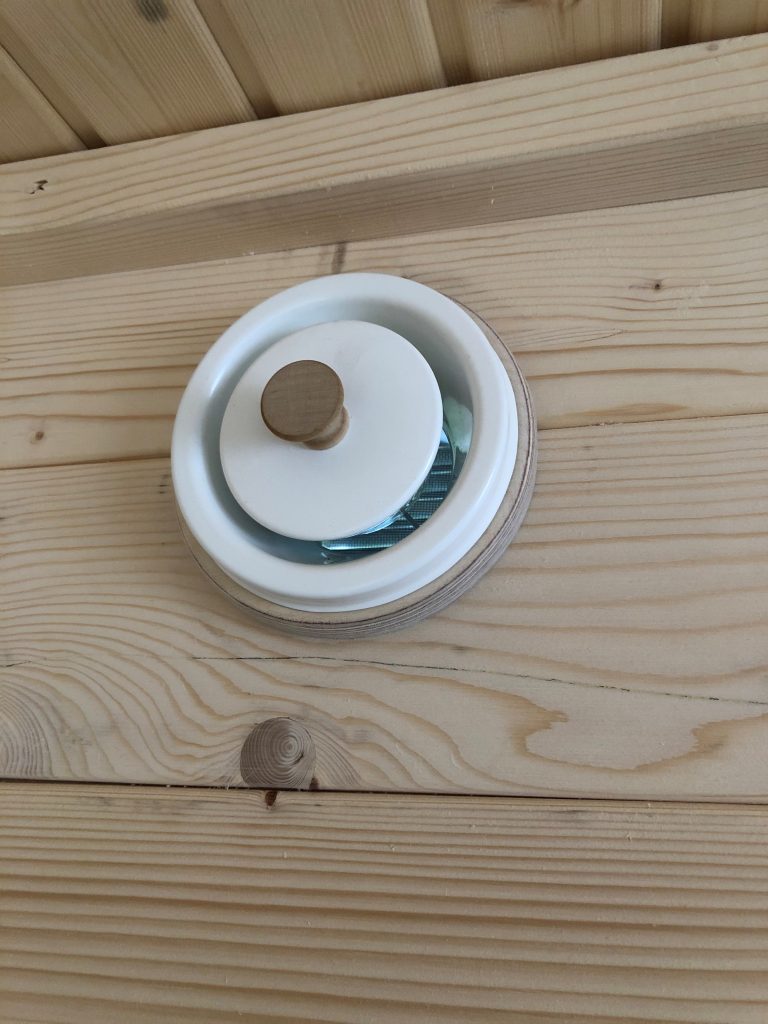
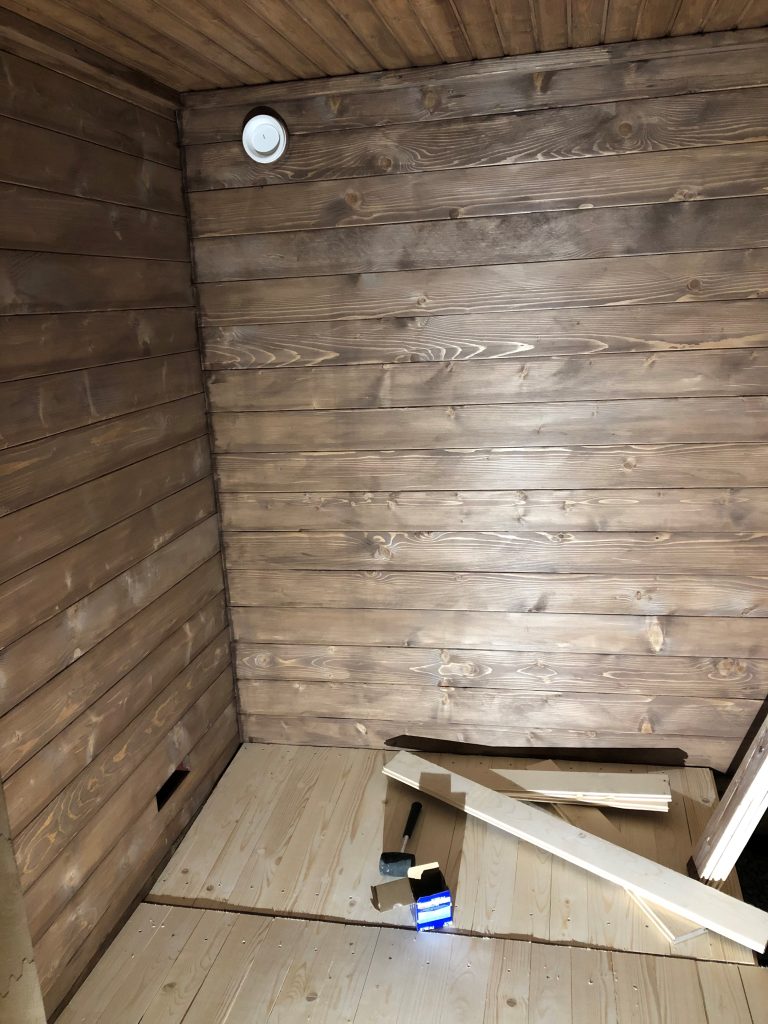
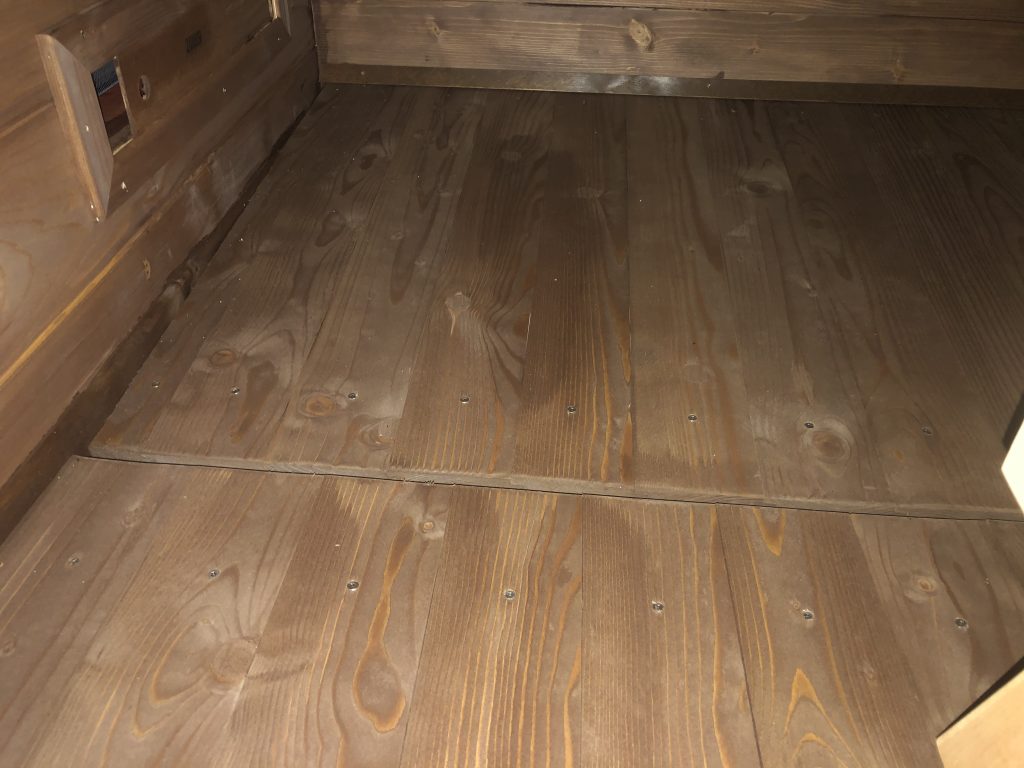
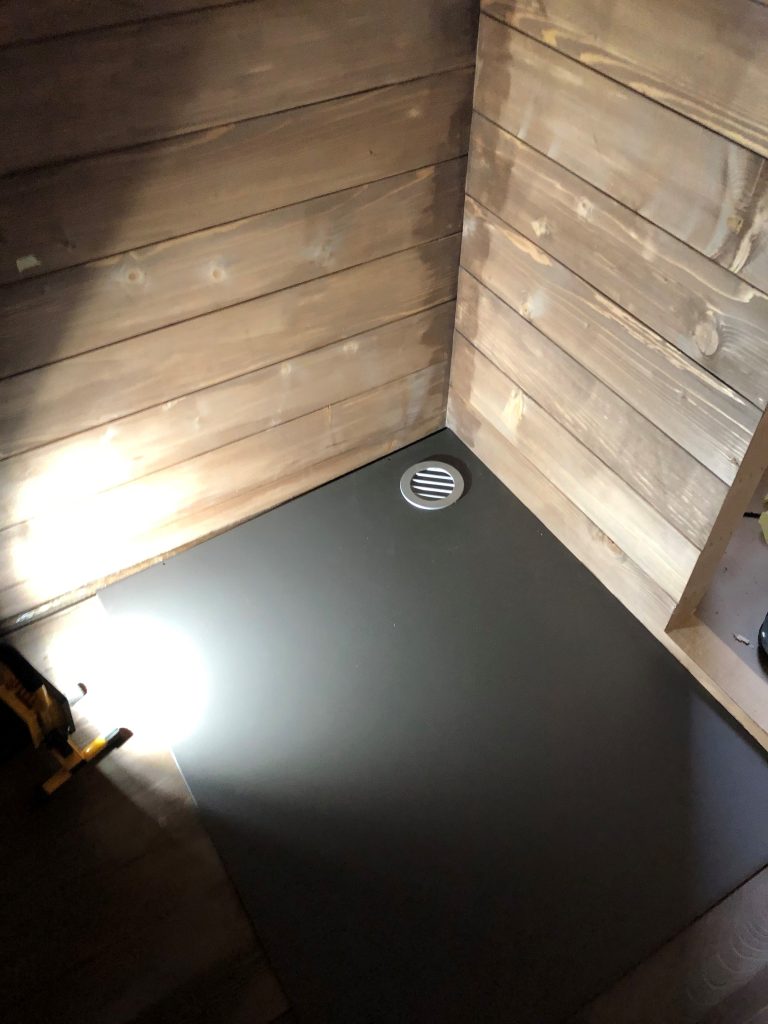
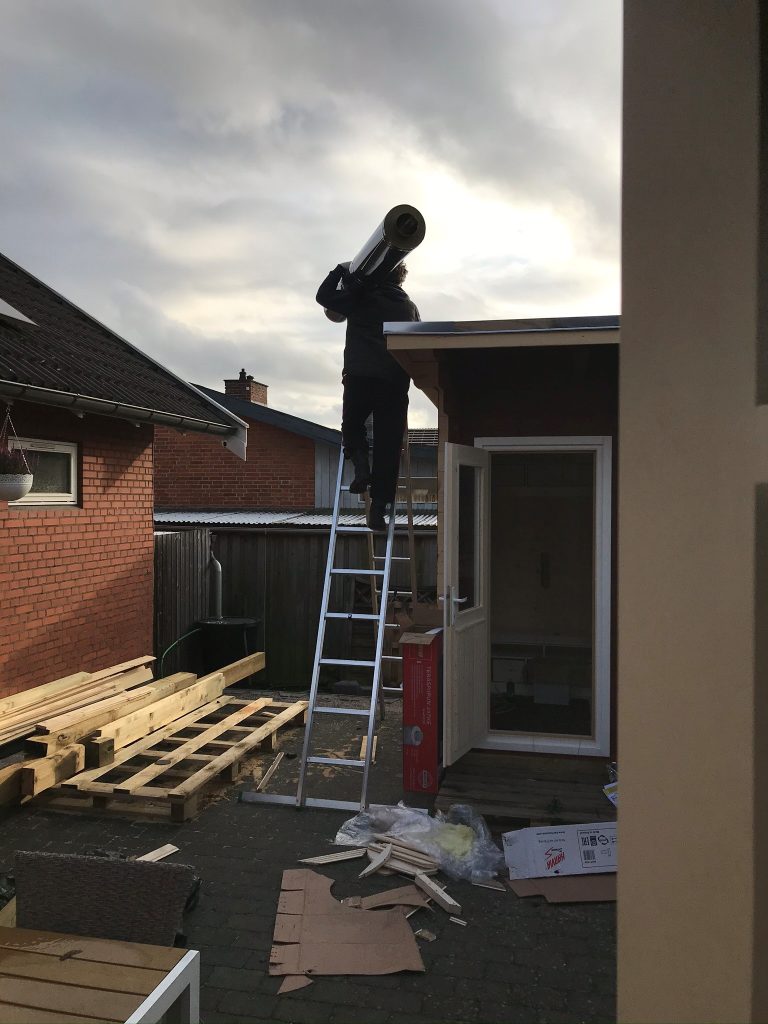
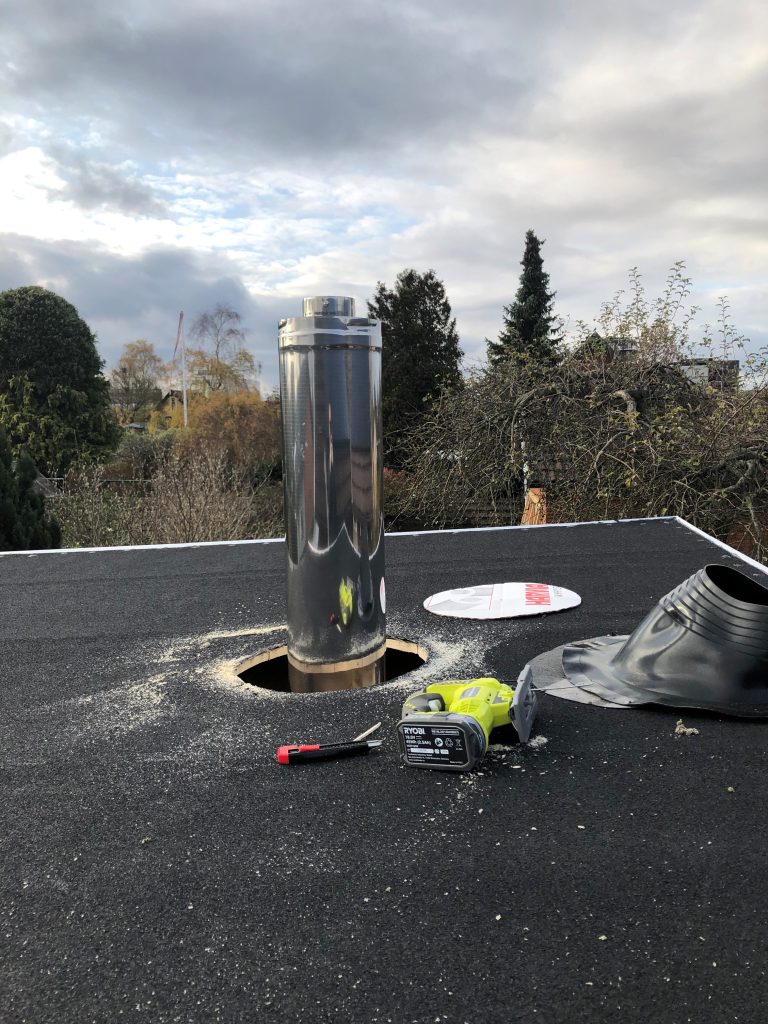
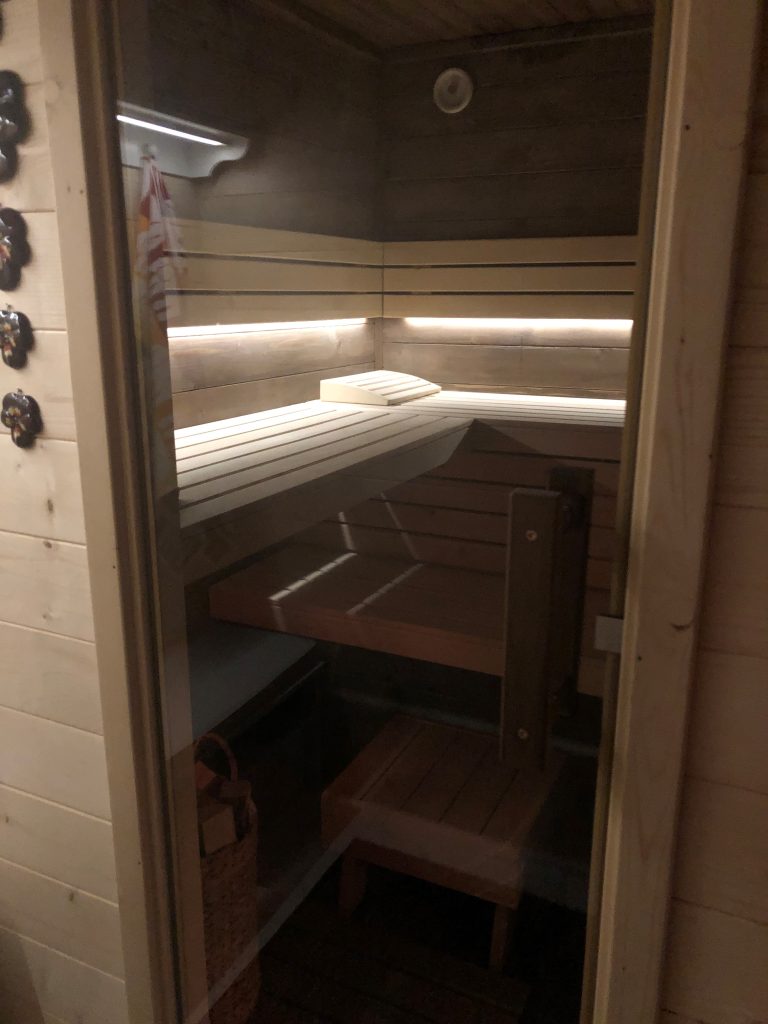
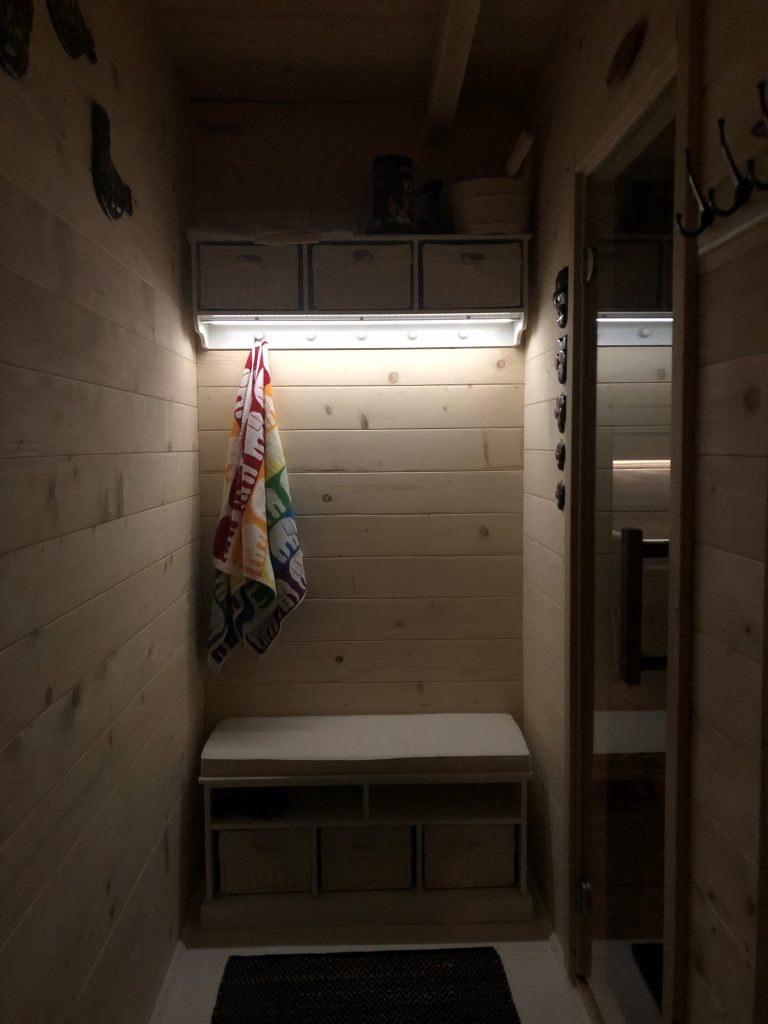
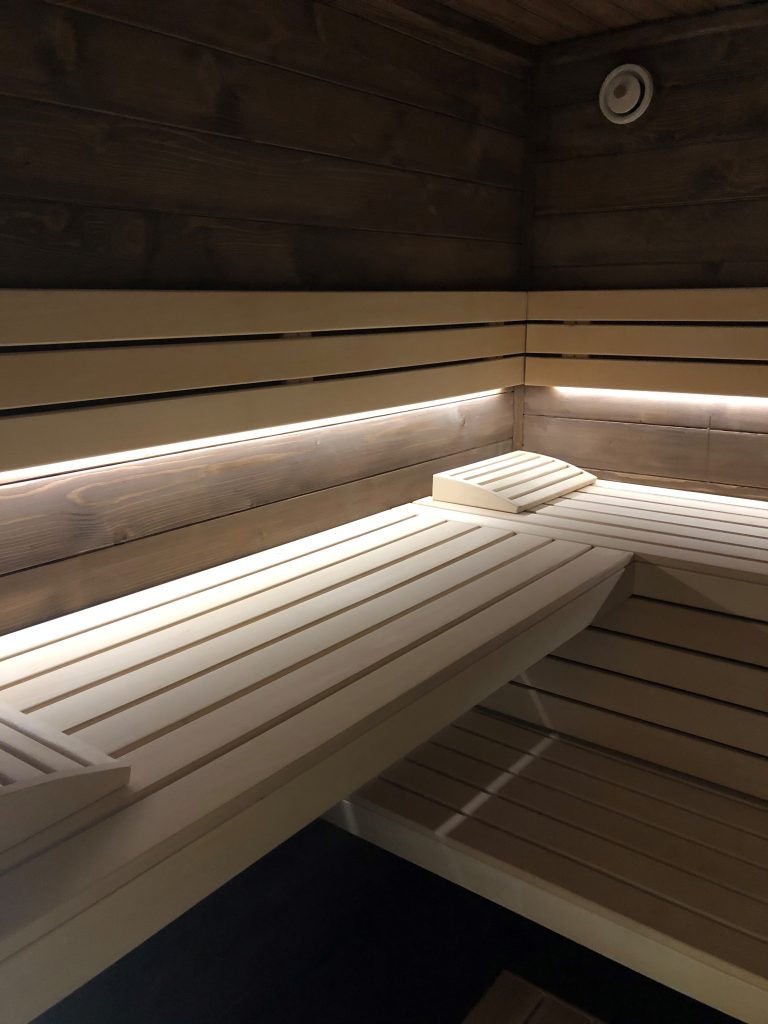
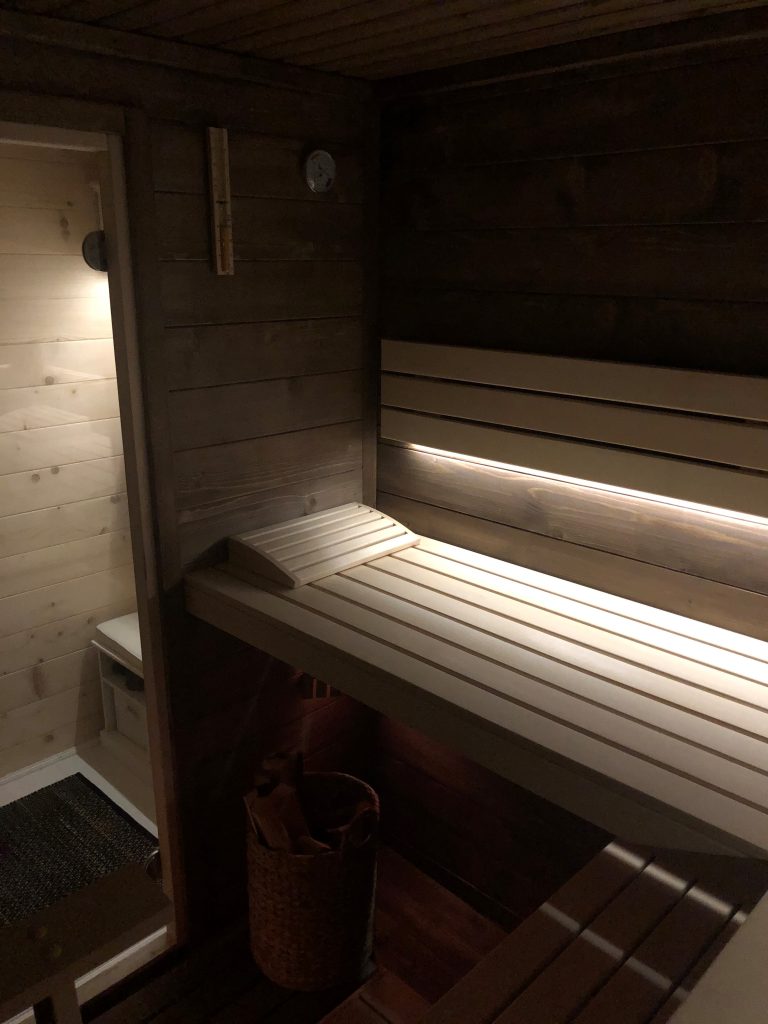
The first plan I made for the building. (Subframe not added to the height)Another angleThe floor plan. (The frame is mirrored when assembled)This is the location of the sauna. Approx. 1 meter (3ft) of the flowerbed will be removed to make space.Timber!And there it waits until the foundation has been built.Tiles removed. (And floor plan drawn)Time to fix this rubbish construction for the supporting wall.Starting to look better.Here my lower back was only 95% destroyed.And suddenly a new wall appeared! I couldn’t be bothered to replace the tiles on the edge. Those will not be needed in the future anyway as the whole tiled area will be covered with a wooden patio.Approved by both my son and the lego guy in his hand.One 6th of my foundation. 1.5m (5 ft.) tall and 15cm (5.9″) thick.I had to get a company to do this, I couldn’t find such heavy-duty screws any other way. If I chose to do a concrete slab, it would have been very problematic due to the location. I could have made concrete pillars instead but the screws were just so much simpler.Last one.Cutting the sub-frame. 15cm (6″) x 7.5cm (3″) impregnated timber.Time to prepare the underside of the building. Laying down a weed mat and digging channels for both the drain pipe and also for possible rainwater.900kg (1 ton) of 2cm (0.8″) granite chips later.Starting to assemble the sub-frame. Only the far edges are put in place for now. It will be much easier to work with the frame without the crossbeams. Each single screw could take the whole frame’s weight, so I’m not worried about that.Now it starts, first layer.Going up.Everything in place. The roof supports are not fixed yet as I need to cut the center one to make space for the chimney.Side view.Time to make space for the chimney. The center roof support is cut and supported with crossbeams from the other roof supports by the front overhang.Other side of the roof support with a crossbeam as well. (Still missing some screws)Roof is up and covered with temporary roofing felt.This is how the building looks at this point.Ventilation added so there are no closed spaces without ventilation. This is for the space between the roof and the sauna ceiling.Permanent roofing felt put in place.Front view.Making a spacer for both the outside and the inside of the manual ventilation on the top of the sauna room. Without the spacers the push/pull mechanism wouldn’t have fitted inside the wall.Some colour for the door and the window.Door and window in place. The front and the back of the building has been treated with a semi-transparent oil-based paint. I couldn’t do the sides due to constant rain, and now it is too cold. Those might need to wait until the spring unfortunately.Time for the floors. Crossbeam going in for the dressing room.This is as traditional Finnish as it can be. The floor is divided into two, and has a slope towards a central gutter. The gutter leads into a small drainage hole filled with stones at the back of the building. The slope is 6 degrees by the back wall and 3 degrees at the front.Pipe in place.A “temporary” filter what will most probably stay in place until it stops working.The end of the pipe is right above the stone filled hole.Ventilation in place.Also on the inside.Still missing paint on both of the sides. Also, the roof boards will be white whenever I have the time for it.Specially mixed sauna wax is used to make the inside surfaces darker and protect the wood.The floor is strengthened under the stove.The floor is put in place.Floor is treated with floor wax mixed to the same colour as the rest of the surfaces. Here you can also see the ventilation located below the seats.Underside of the stove has a 3mm (0.1″) powder coated steel plate due to the code requirements. The stove has a separate steel stand placed on top of this. The replacement air for the stove comes from a 10cm (4″) ventilation hole.Chimney going up.And down again.The inside is ready. View from the dressing room.The front door from the dressing room. The window has wooden blinds.Dressing room.Inside of the sauna.The stove.
Love this build! Could you explain the ceiling/ roof to me? It looks like you have a layer of 3/4 inch T&G on the bottom side of the rafters ( for the finished ceiling inside the sauna) ?. And then another layer of 3/4″ T&G on top of the rafters, with just an air gap in between?
Yes, the ceiling is T&G with insulation above. There is an air gap for ventilation between the inner ceiling and the roof. It’s very simple construction which is well insulated and ventilated.
Hi there! I love your build. I am most intrigued by the floor. I have 3 questions:
1) where did you get the gutter drain?
2) how did you slope the tongue and groove flooring? Just simply by offsetting the floor joists at increasingly lower levels toward the drain?
3) have you had any issues with this flooring method since install?
I couldn’t find an online shop which would ship the gutter, so I drove to Finland and bought it there. My family lives there, so the 1000km drive was a good summer vacation trip with the kids.
The floor slope was simply done with different height joists. I cut the top of the joists to the correct angle so those are level with the slope. There are pictures in the build log showing this. (edit: I actually didn’t add the pictures of cutting the angles to the joists, but it was simply done to 3 and 6 degrees depending of the side.)
I haven’t had any issues with the floor. This is a very traditional way of building sauna floors, so I don’t expect any issues either.


6 Comments
Wes
June 5, 2024 at 15:01Wondering how you did the calculation to offset the joists. How much lower is the last joist of the front wall slope, compared to the first joist
Silfer
June 18, 2024 at 13:40I 3D modelled the whole thing, and just checked the measurements from the model.
Wes
June 5, 2024 at 14:52Love this build! Could you explain the ceiling/ roof to me? It looks like you have a layer of 3/4 inch T&G on the bottom side of the rafters ( for the finished ceiling inside the sauna) ?. And then another layer of 3/4″ T&G on top of the rafters, with just an air gap in between?
Silfer
June 18, 2024 at 13:39Yes, the ceiling is T&G with insulation above. There is an air gap for ventilation between the inner ceiling and the roof. It’s very simple construction which is well insulated and ventilated.
Connor
December 15, 2023 at 04:58Hi there! I love your build. I am most intrigued by the floor. I have 3 questions:
1) where did you get the gutter drain?
2) how did you slope the tongue and groove flooring? Just simply by offsetting the floor joists at increasingly lower levels toward the drain?
3) have you had any issues with this flooring method since install?
Thank you in advance, from Bellingham, WA USA!
Silfer
December 27, 2023 at 09:45Hi Connor,
I couldn’t find an online shop which would ship the gutter, so I drove to Finland and bought it there. My family lives there, so the 1000km drive was a good summer vacation trip with the kids.
The floor slope was simply done with different height joists. I cut the top of the joists to the correct angle so those are level with the slope. There are pictures in the build log showing this. (edit: I actually didn’t add the pictures of cutting the angles to the joists, but it was simply done to 3 and 6 degrees depending of the side.)
I haven’t had any issues with the floor. This is a very traditional way of building sauna floors, so I don’t expect any issues either.