Metal yarn holder

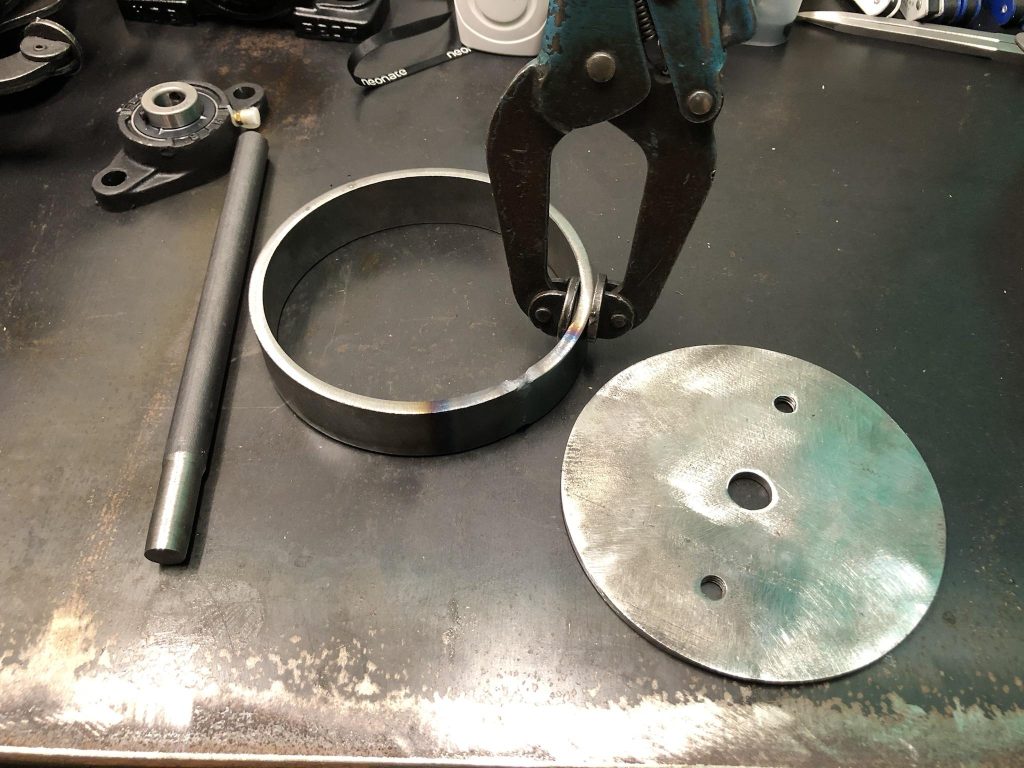
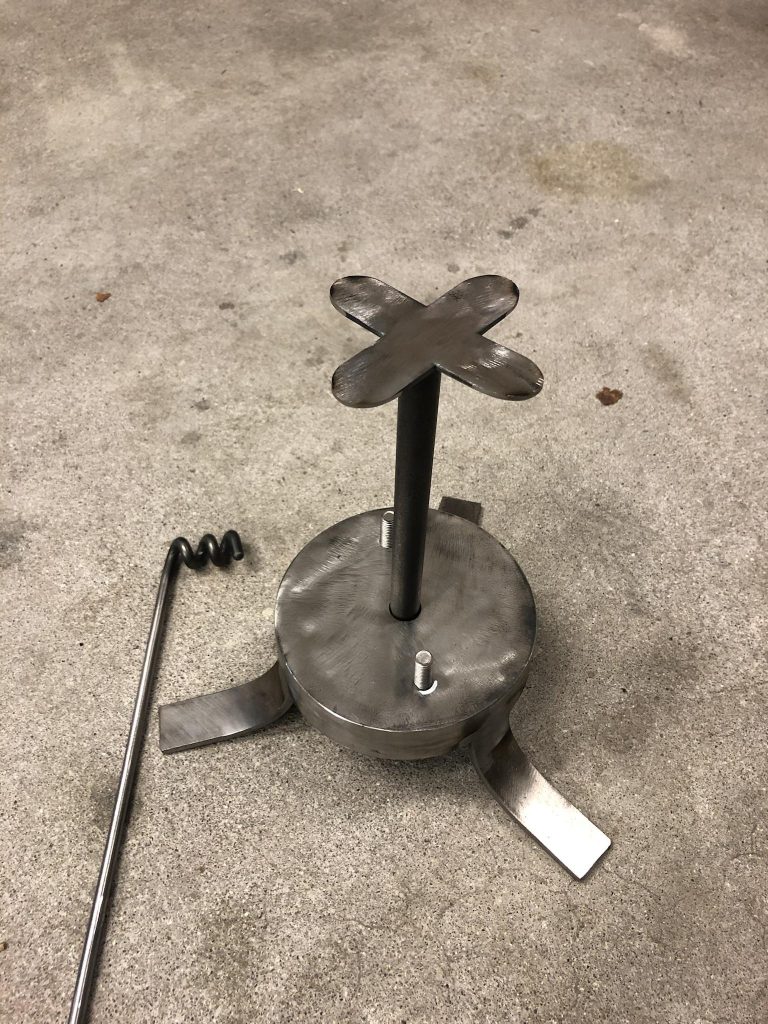
My son’s godmother is an amazing crocheter, and always hand makes all birthday and Christmas presents. As Christmas was getting close, I decided that I will hand make something for her as well; namely a metal yarn holder. The plan was to make the base so heavy that it can be placed on the floor while you sit on the sofa, without needing to be afraid that the whole thing will fall over when you pull from the yarn.

It was a rush, but I managed to pull it off. 
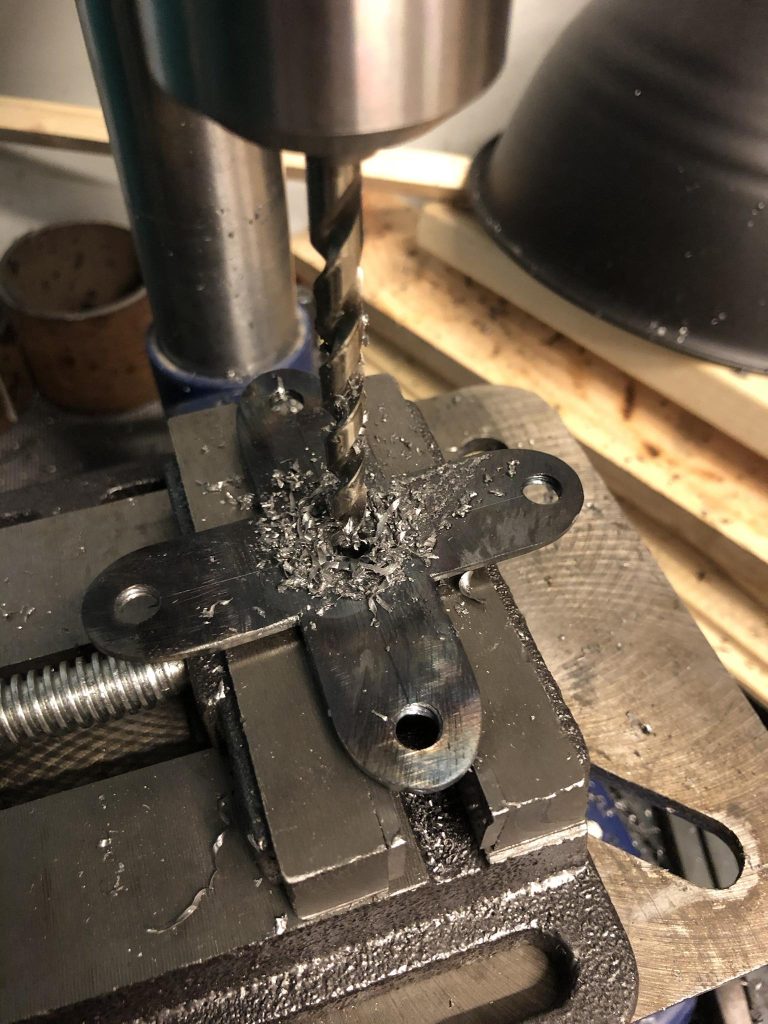
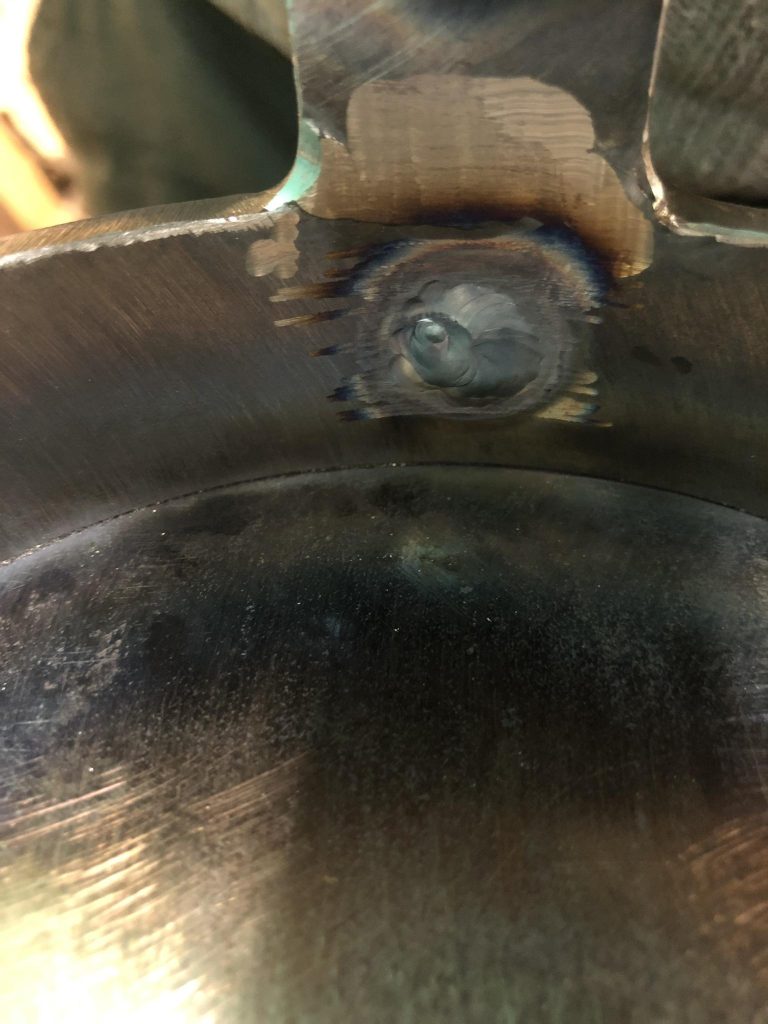
 
Final result. Works perfectly with thick yarn…
… and also with thin yarn.

Build log:

This is the starting point, let’s see how close the end result will be…
The different parts.
What’s missing from the sketch is the industrial 15mm bearing on a cast iron casing.
150mm x 5mm mild steel with 20mm center hole and 2x 10mm threaded holes.
Industrial bearing
Rough cut, ready for the grinder.
Belt sander to the rescue. Much closer to a circle than before.
The shaft has to be a little bit smaller to fit into the bearing. I need a lathe…
Making the skirt around the base plate. 40mm x 5mm mild steel. Bent with a cheap ebay bender.
Close enough
A little TIG and now we have a circle.
Grinder makes me the welder I ain’t.
Match!
Here is the end result. I’m missing two pictures that just vanished; One when I add a slight bevel to the edges before welding, and one with the raw weld. You are not missing anything interesting.
I also took a 8mm mild steel bar, heated it with a miniature blowtorch and bent it around another 8mm bar to a spiral.
I chose not to weld the backside of the base as this is not structural in anyway.
Making the legs from the same 40mm x 5mm mild steel.
Ready for welding
These welds kicked my butt, I just couldn’t get the piece to a comfortable position for some reason.
The grinder is my friend.
First test fitting. Everything seems to line up as expected.
Time for the bracket for the wooden plate. I didn’t have any thin enough material, so I massacred a 20mm x 20mm L-profile instead.
And again I’m missing some pictures here. I measured twice and cut 5 times before it was correct, my brain was already on a Christmas vacation. The picture of the welds is missing as well, just imagine a set of mediocre TIG welds.
The axle might need to be shortened a bit…
Holes for the threads
Now the axle is a better size!
Not perfect but neither am I. I think I really need to get a lathe…
Finally, a picture of welds!
Hole which will be threaded for attaching the wooden bar.
Threading
8mm hole for the yarn guide
Heating the metal again and bending it to the correct angle
I also added a little bend under the spiral so the piece doesn’t look wonky when it is upright.
Welded on place
The bar was only welded from the backside
142mm x 9mm mahogany plank cut into the correct size, sanded and holes drilled. I couldn’t find my larger drill bit for countersinking holes, so I decided to massacre it with a larger drill bit instead.
The center axle where the yarn is placed on. These looks like something else though…
Bolts cut to size for attaching the wooden plate.
First dry assembly, everything seems to fit.
M8 threaded bar epoxied into a hole on the wooden bar. This is how you attach it to the base, and it also makes it possible to change the size depending on what size yarn you use.
It was very difficult to sand the end of the bar nicely, so I decided to just attach it to my drill and run it on the belt sander.
Primer.
Matt black spray paint.
The wooden pieces are treated with teak oil. (Ignore the smallest and messiest welding nook on the background)
Assembling the base for the final time.
The paint ended up very nice.
The bearing and some felt pads are put into place as well.
This is how it looks like with the larger 34mm bar, the smaller bar is 28mm
The larger bar is perfect for thicker yarn, and the base won’t butch even if you tug a bit harder. The total weight ended up being 2.6kg.

Leave a Reply

This site uses Akismet to reduce spam. Learn how your comment data is processed.