Our cellar staircase was missing a bannister so I decided to give a go on building one. I was lacking most tools required for bending metal, so a lot of that work was improvised. The result was well beyond my expectations considering that I had never done this kind of work.
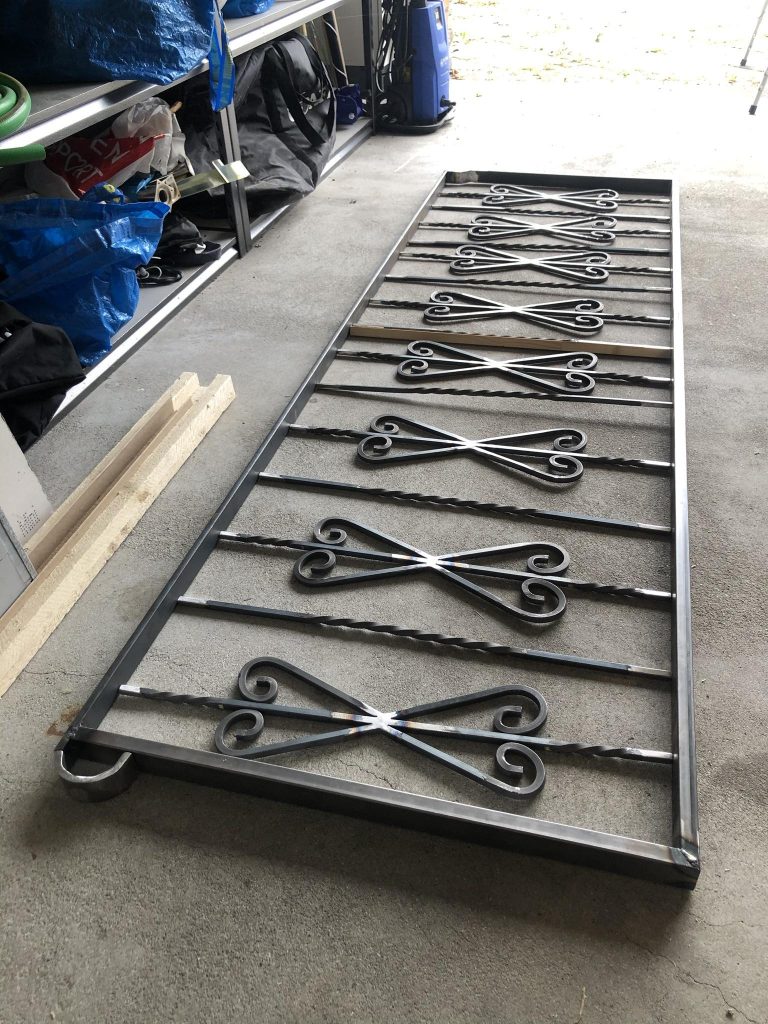
Close-up of the final result.The final result.
Build log:
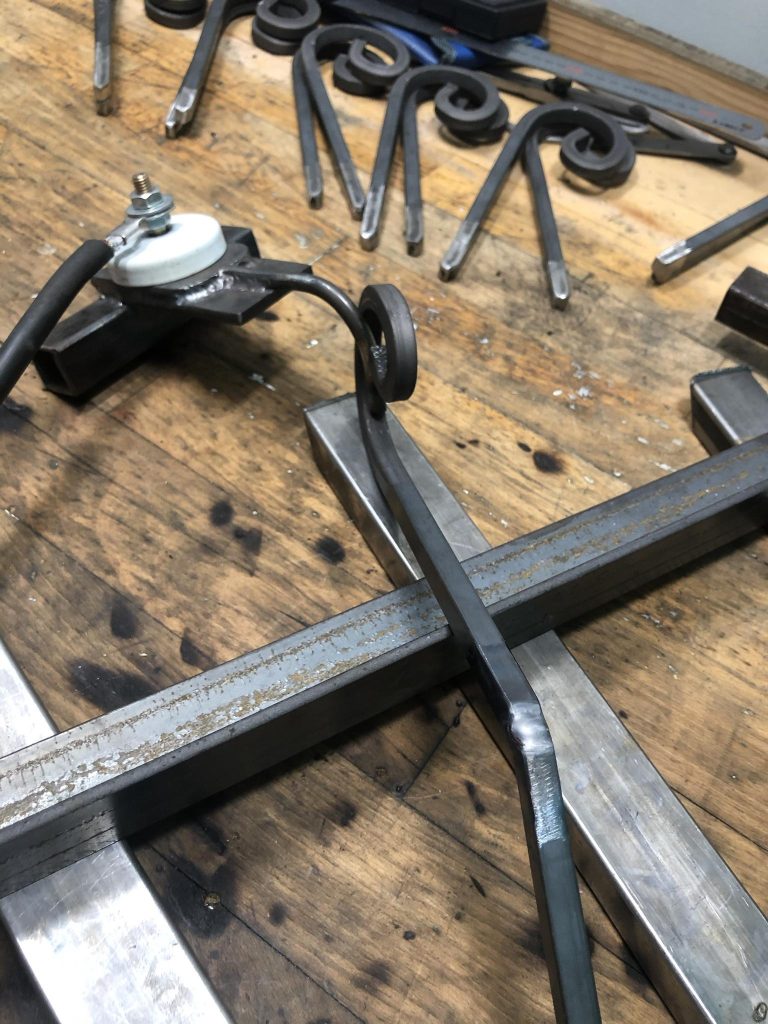
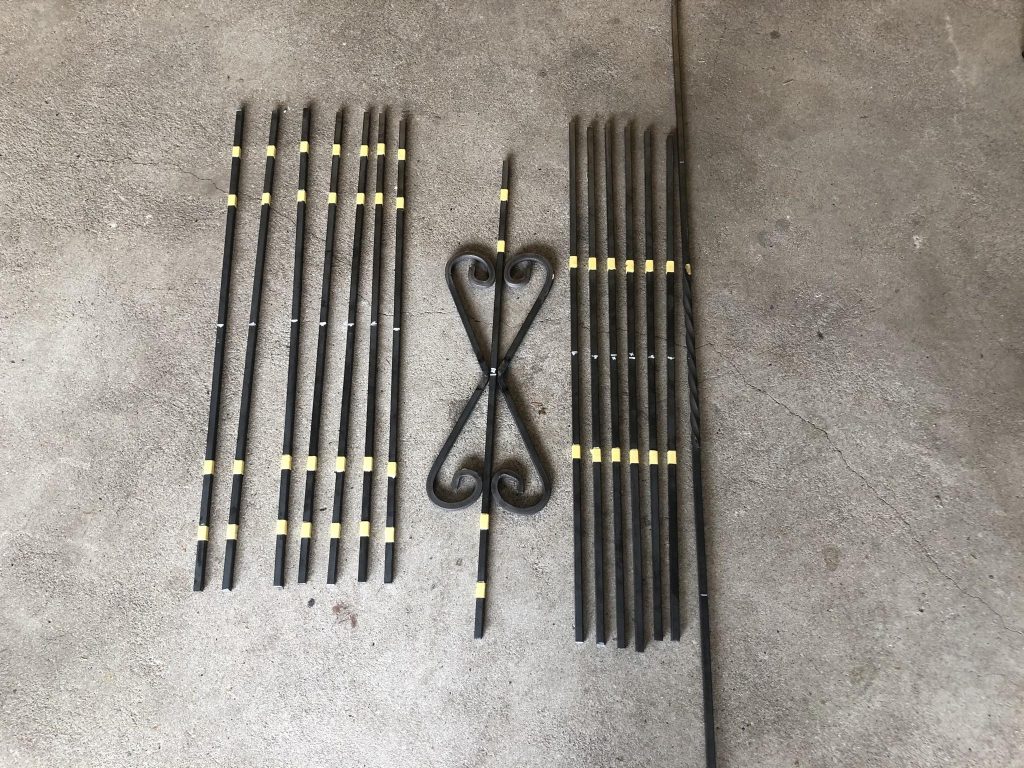
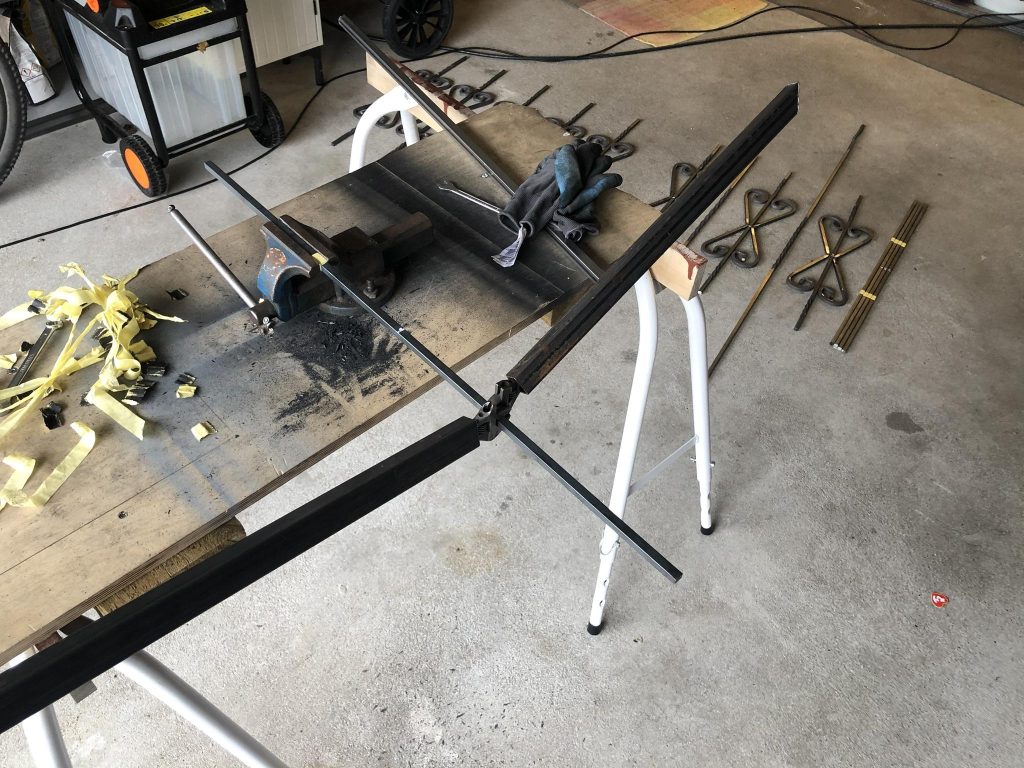
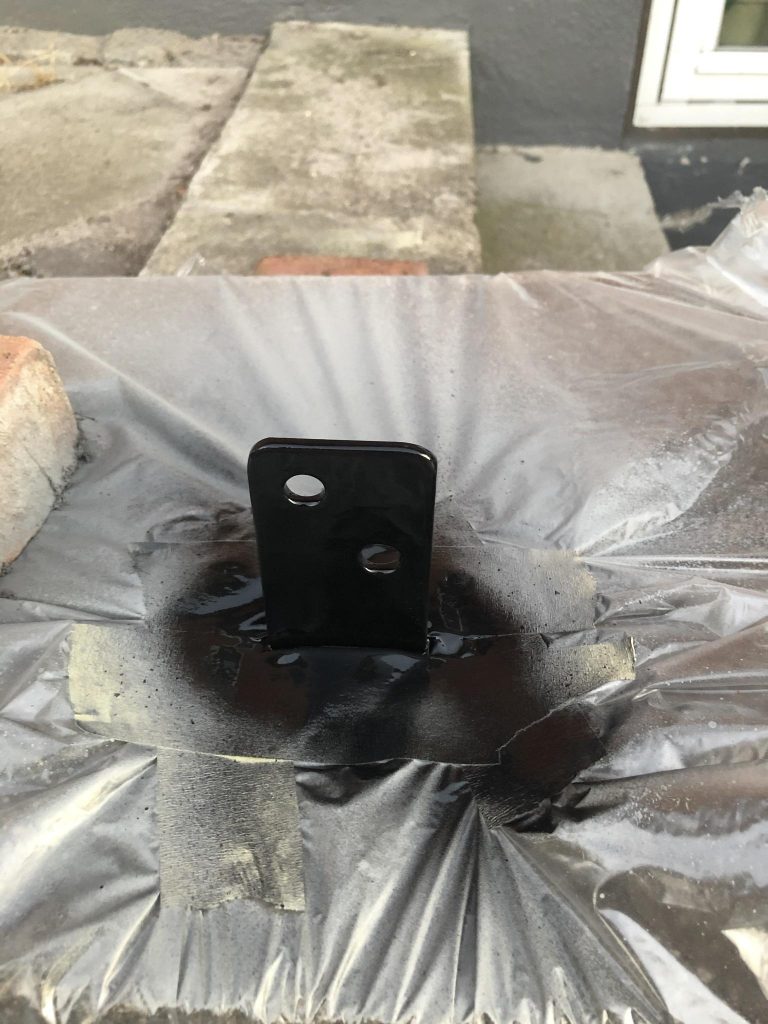
This is where I started from.At this point I’m still not decided if I should take the easy route and make the spindles out of rectangular profile, or out of solid bars which would be bent. Nevertheless, a simple frame is a good starting point.To clear a window frame close to the banister, a bend had to be made to the frame.I chose to try making ornamental spindles even though I don’t have any of the necessary tools for that. I was playing with the idea of making a jig for this but abandoned the idea after I realised how much work it would require.Time to improvise. 10mm (little over 3/8”) bar can easily be bent on a vice with a square pipe as a lever. First bend.Second bend.Third bend.All done. I decided to cut the bars with a chop saw and weld the middle corner of the design. It would have been impossible to do the tight bend with just a vice.Preparing for the welds.It’s time to weld. TIG is the weapon of my choice.Not perfect but good enough. A flap disk will handle the rest.All done, a total of 8 groups of two.It was also impossible to bend the end of the banister. The metal is 10mm x 40mm (0.4” x 1.6”), so I decided to cheat and just make it with cuts and welding.Spot welds.Ready, but requires cleaning.Nice and tidy. Flap disk did the job quickly.Preparing for twists on the spindles. There will be 8 groups such as the example shown here, and 7 straight spindles with a long twist between them. The masking tape marks the spots for the twists.The short twists were easy. Minimal risk of lateral bending of the bar, and with a long lever not so much force was needed.The long twists were a pain. The bar kept on bending sideways, and a constant correction was needed.Starting to look like something. Short twists were 3/4 turns, and long twists 2 1/4 turns.Excel was used to keep track of the spacing and the work remaining.The ornamental groups were welded together.The spindles are cut to the correct length with a chop saw and prepared for welding.Time to assemble. TIG to the rescue.It’s starting to look like a banister! I’m starting to become hopeful that this might work out as expected.Before assembling, the wall side screw holes were drilled and countersunk.To make the supports for mounting the bannister, I wanted to use solid steel. Of course I didn’t have any on the right size, so I decided to weld together a solid bar.TIG without a filler.TIG with a filler.After welding them on, the supports need some holes. The banister will be mounted with M10 bolts, so 10mm holes are drilled.Drilling.Ready supports. The welds will be cleaned with a straight grinder before painting.Prepping the actual spot where the banister will be mounted. The house’s previous owner had “prepared” the mounts on the concrete but never added a banister. The supports are 2cm (0.8”) out of alignment, and I’m worried if they are solid enough. I might need to make an additional support mounted behind the bannister.If nothing else, the mounts look nice in black after the corners were rounded with a flap disk.Starting to prepare for paint.Nice and shiny.Primer.Matt black ended up looking very nice. I thought about maybe powder coating the bannister but decided to just spray paint it. It should last at least for few years.Mounted and ready banister.The supports on the bottom of the bannister are spaced so that the mounts on the concrete fit on both sides. This solved the alignment issue and you can barely notice it.Looks pretty ok even if you look closely.Another angle.First support where the concrete mount is placed behind it.Second support where the concrete mount is placed in front of it.This was the reason for the random bend on the frame. The window frame is cleared nicely.Mounting on the wall.