Trike Trailer

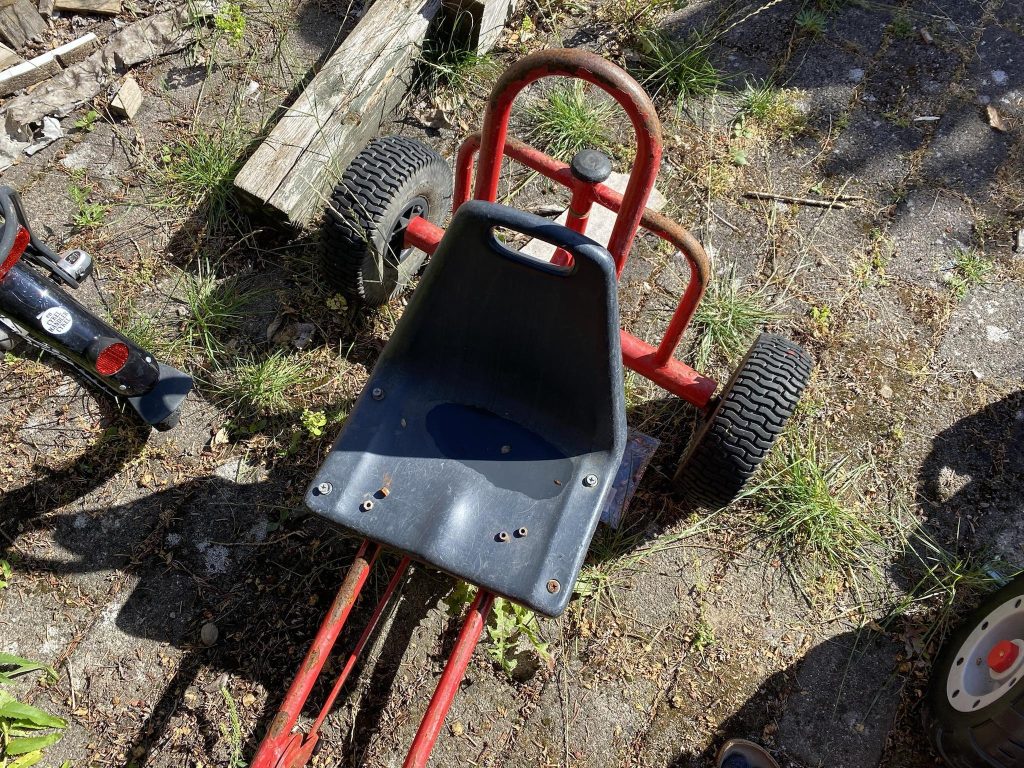
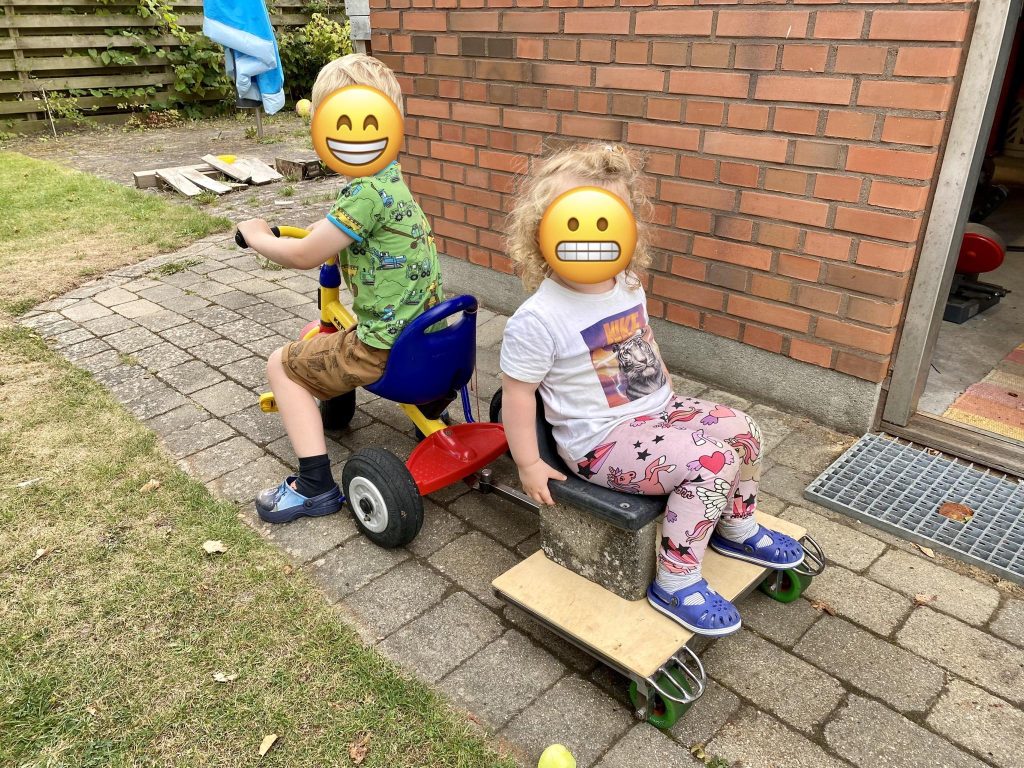
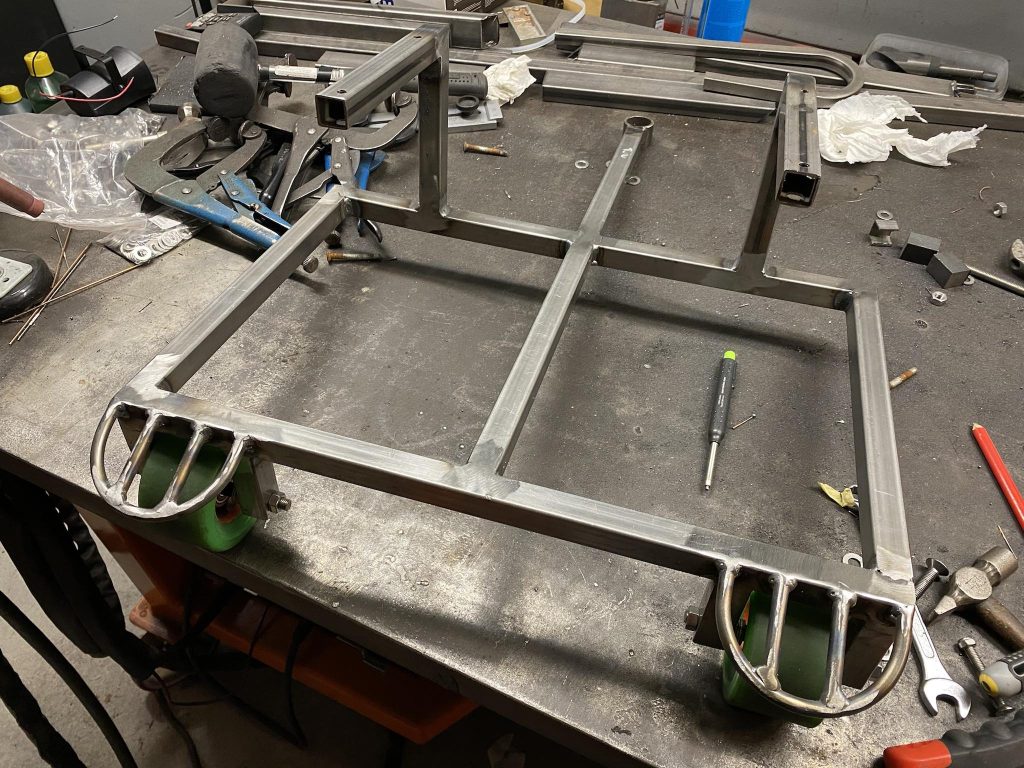
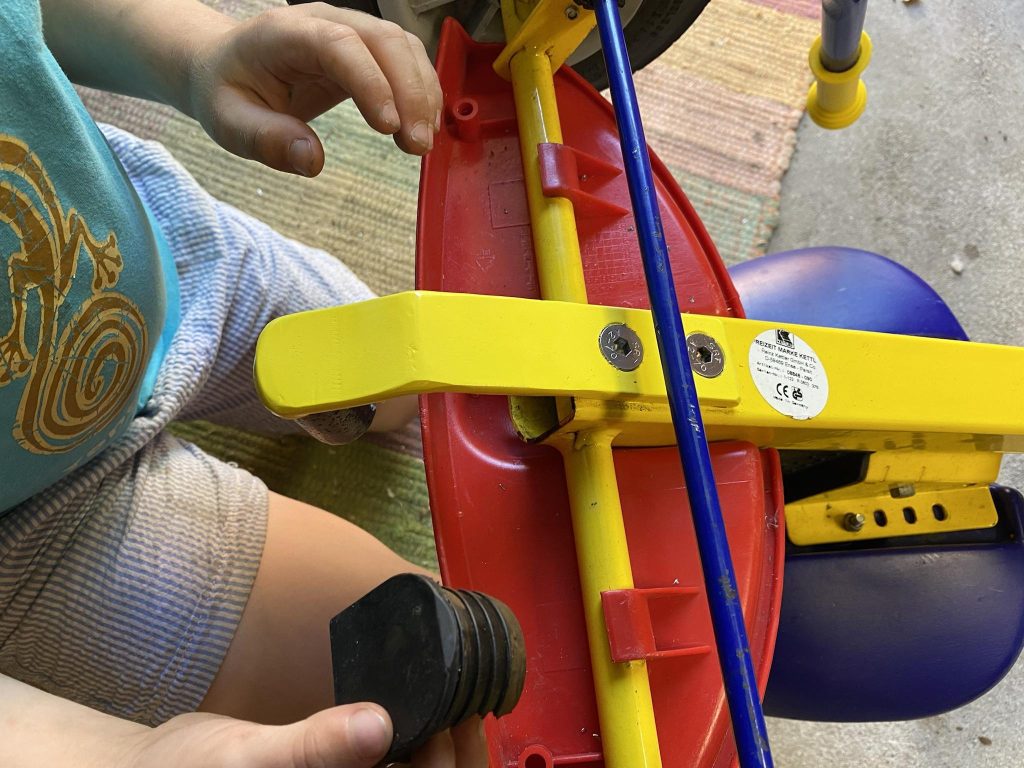
My kids were always arguing about who is allowed to ride the small trike on my backyard, so I decided to make a trailer with a seat for it.

Time spent was three evenings, couple hours each + painting.

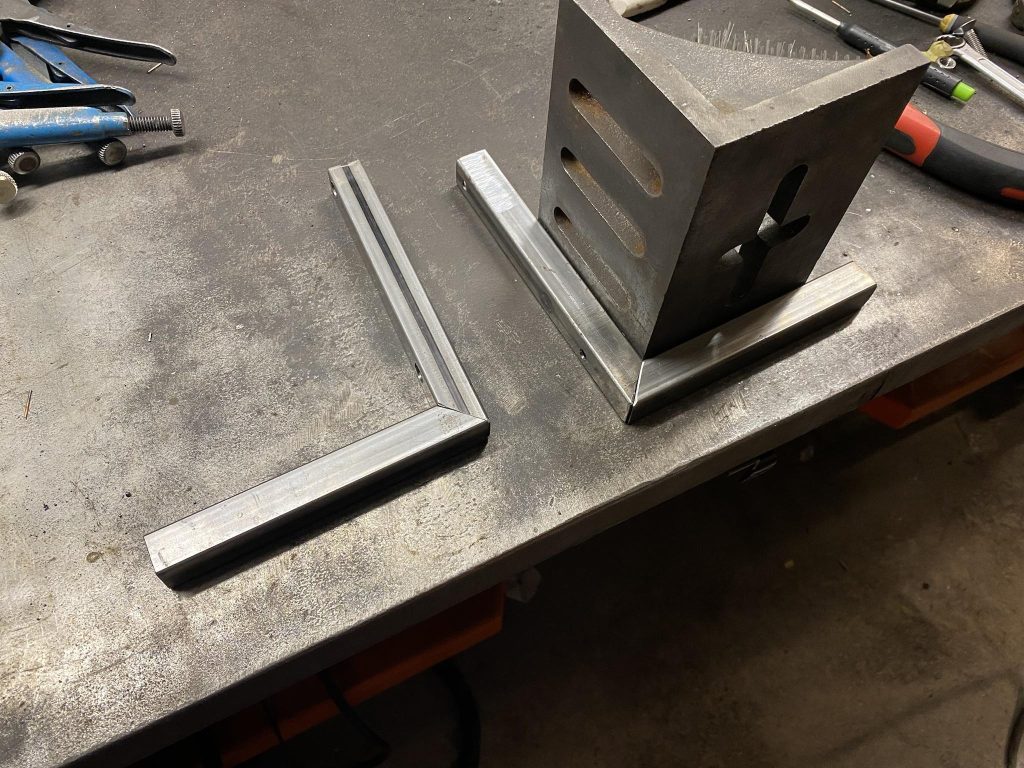
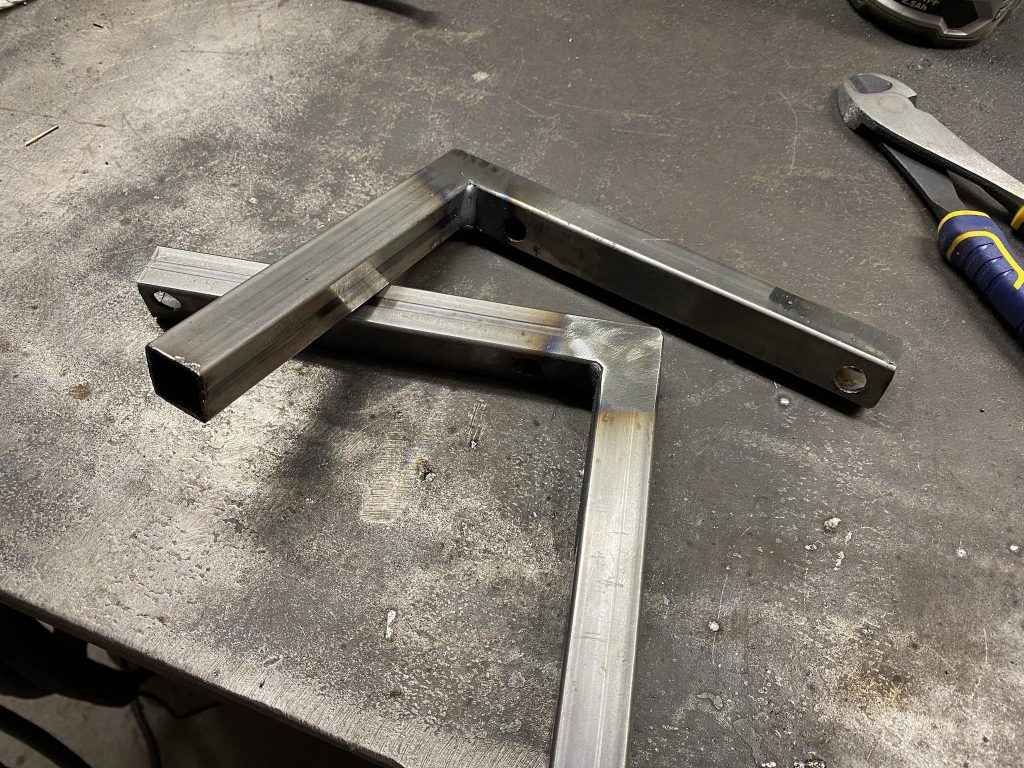
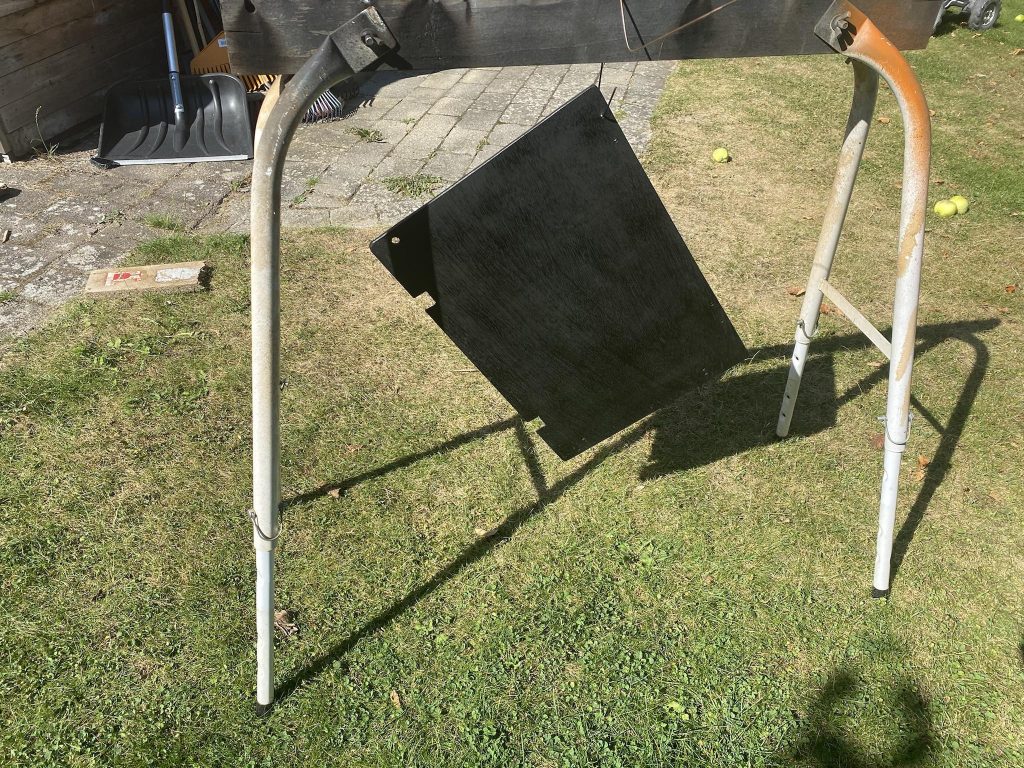
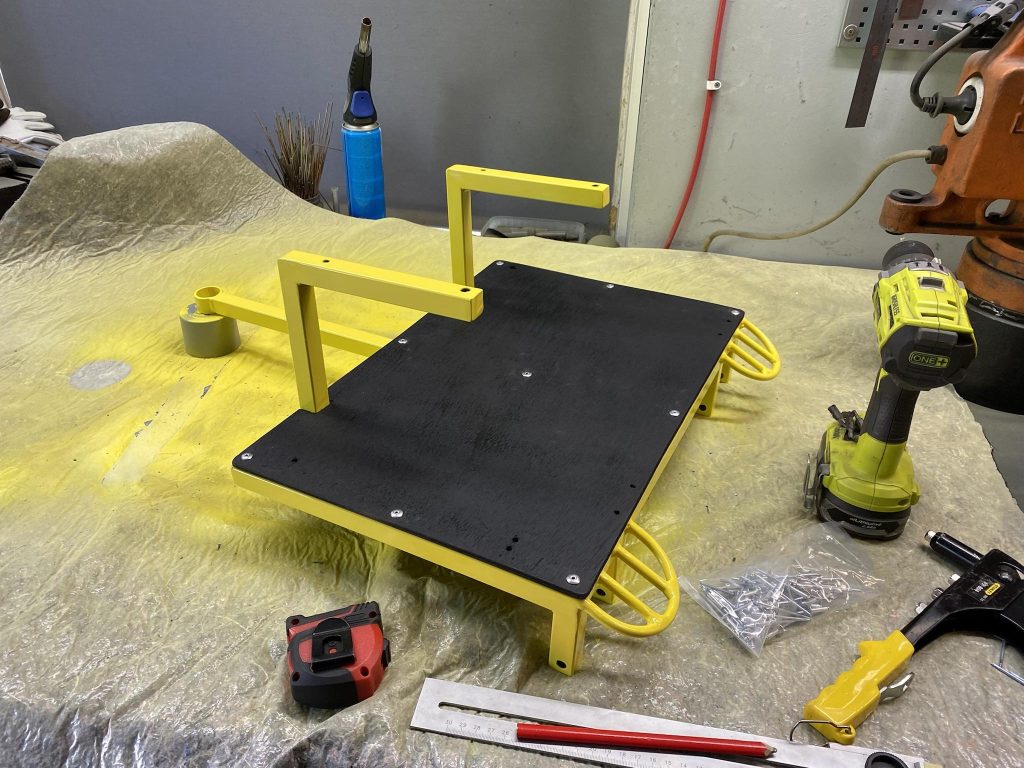
The cost of materials is unknown as I only used whatever I found from the garage; metal cut-offs and an old piece of plywood.

The amount of time my kids will argue about who will be driving and who will be sitting on the trailer; unlimited.
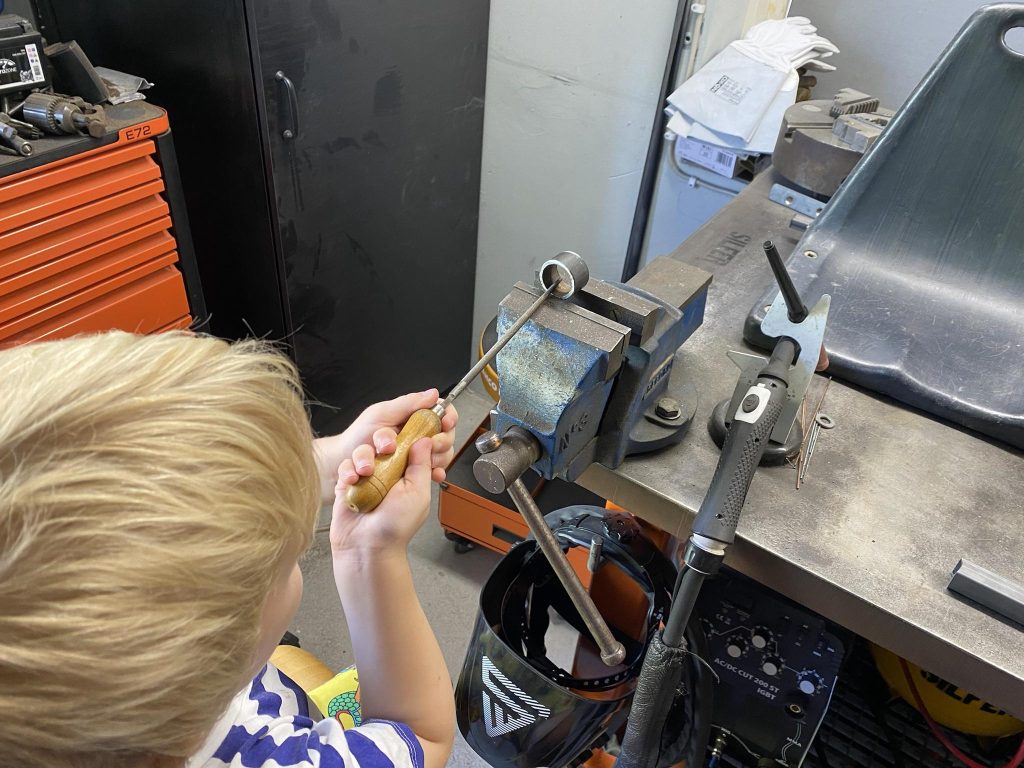
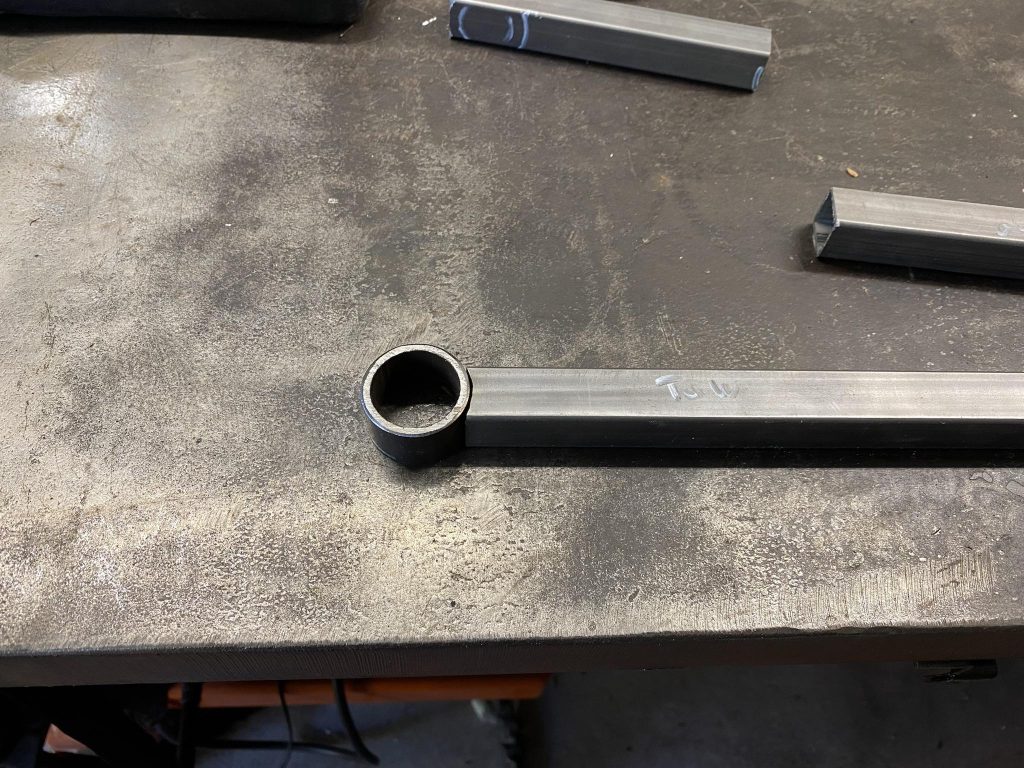
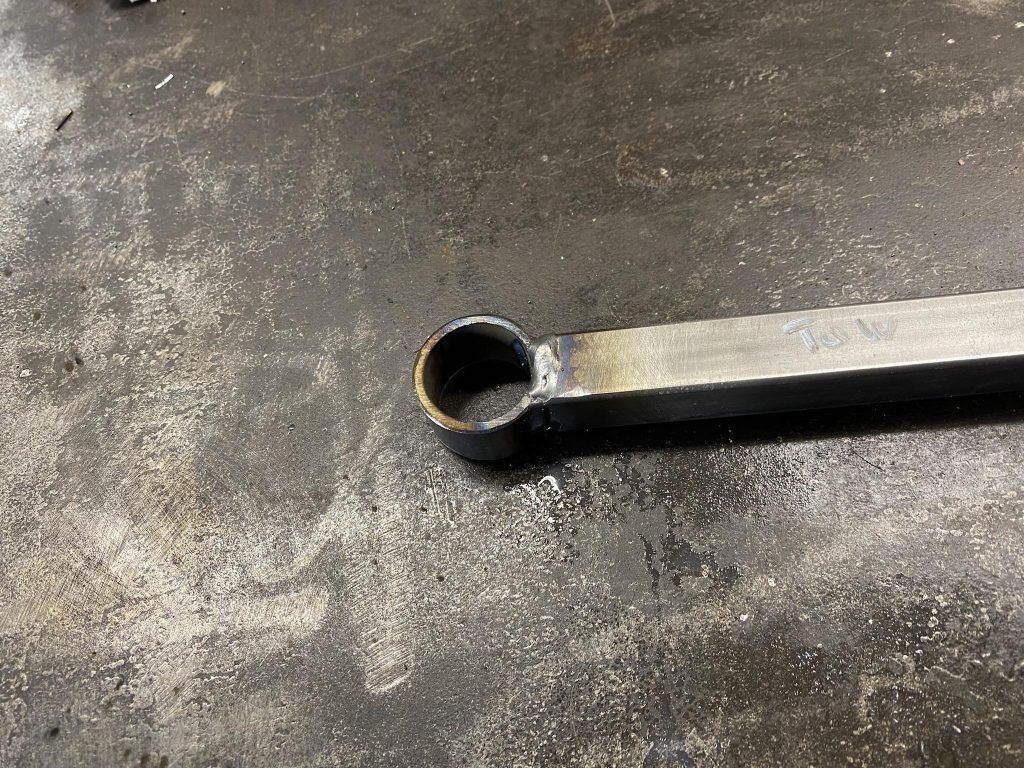
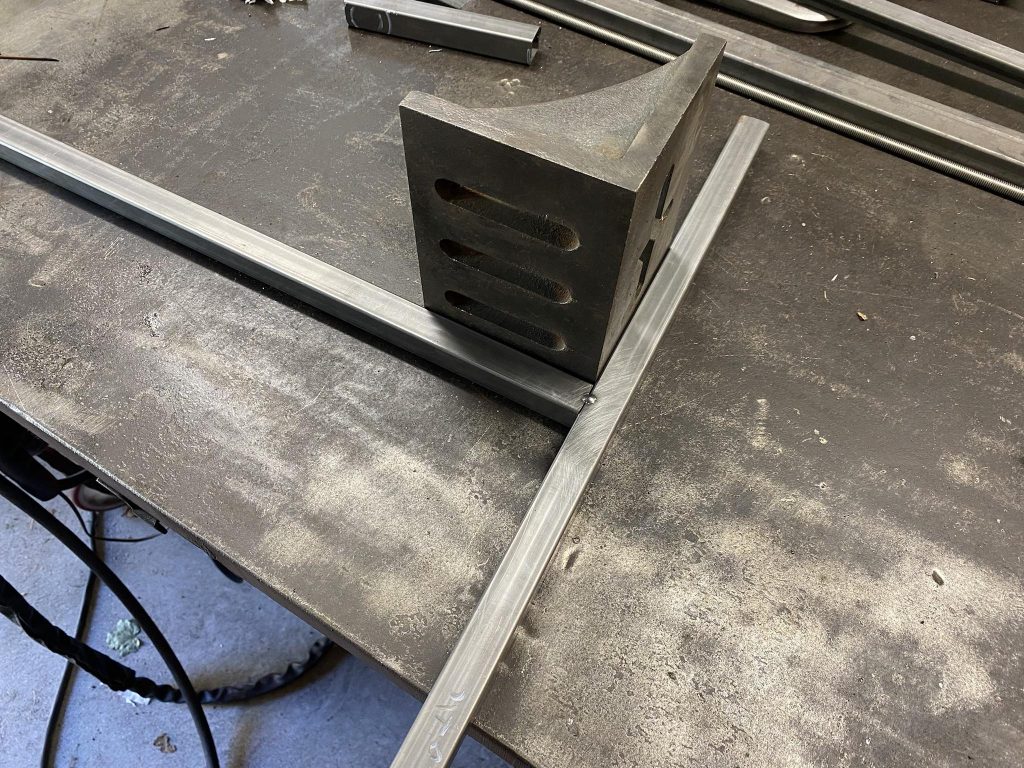
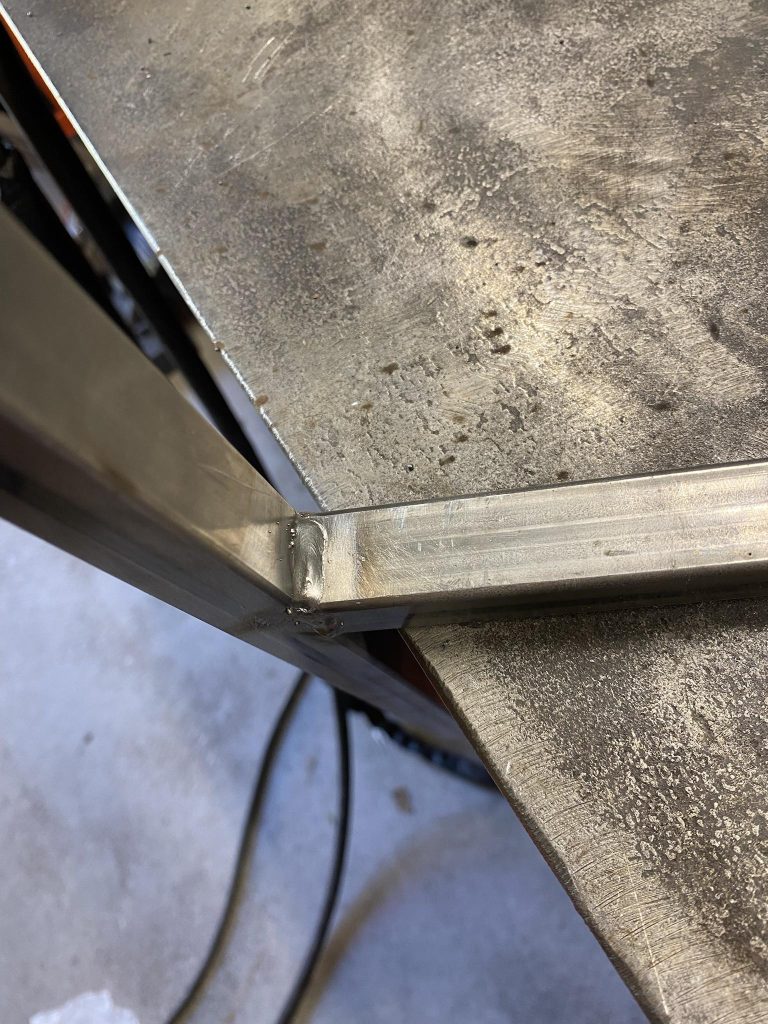
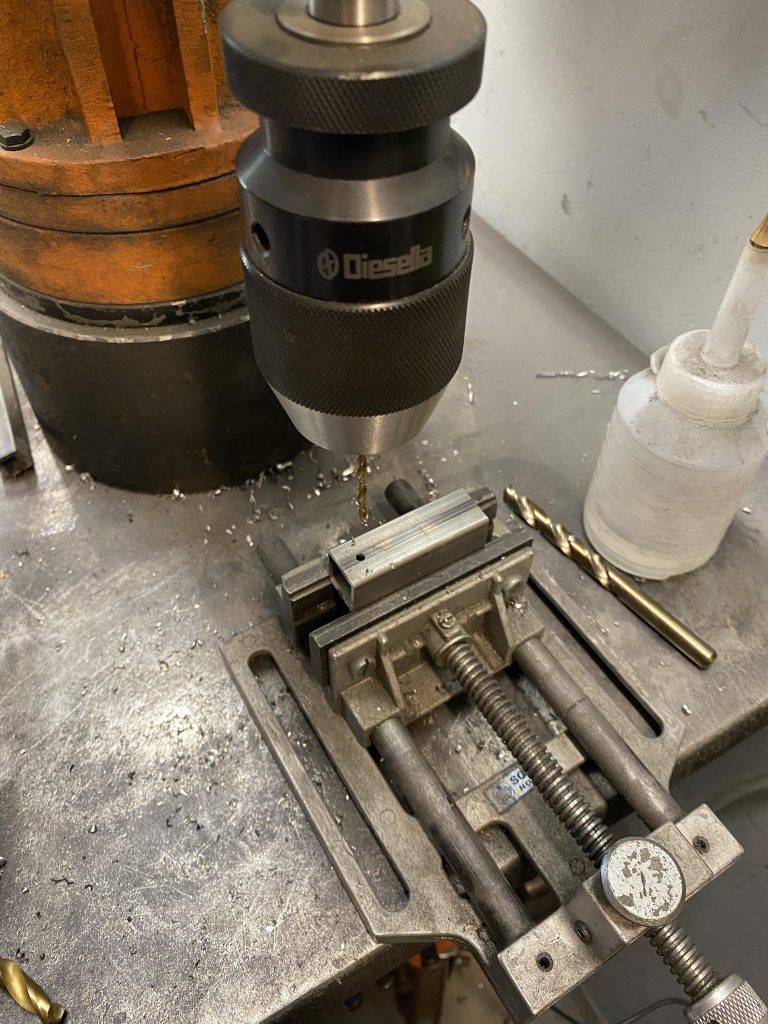
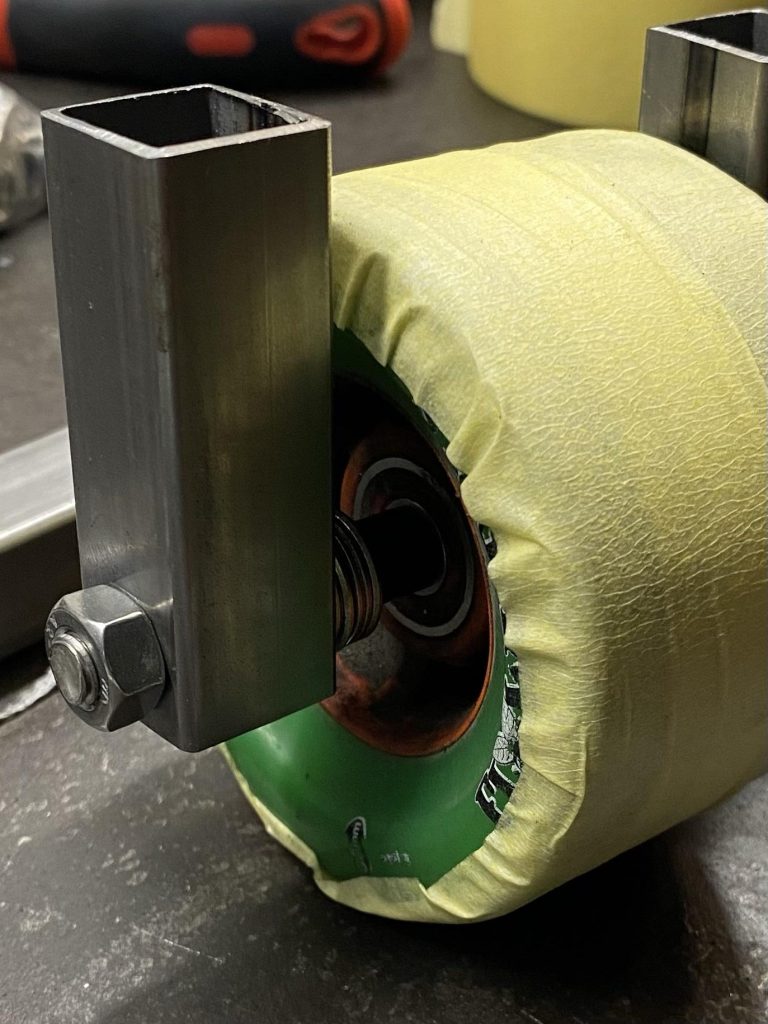
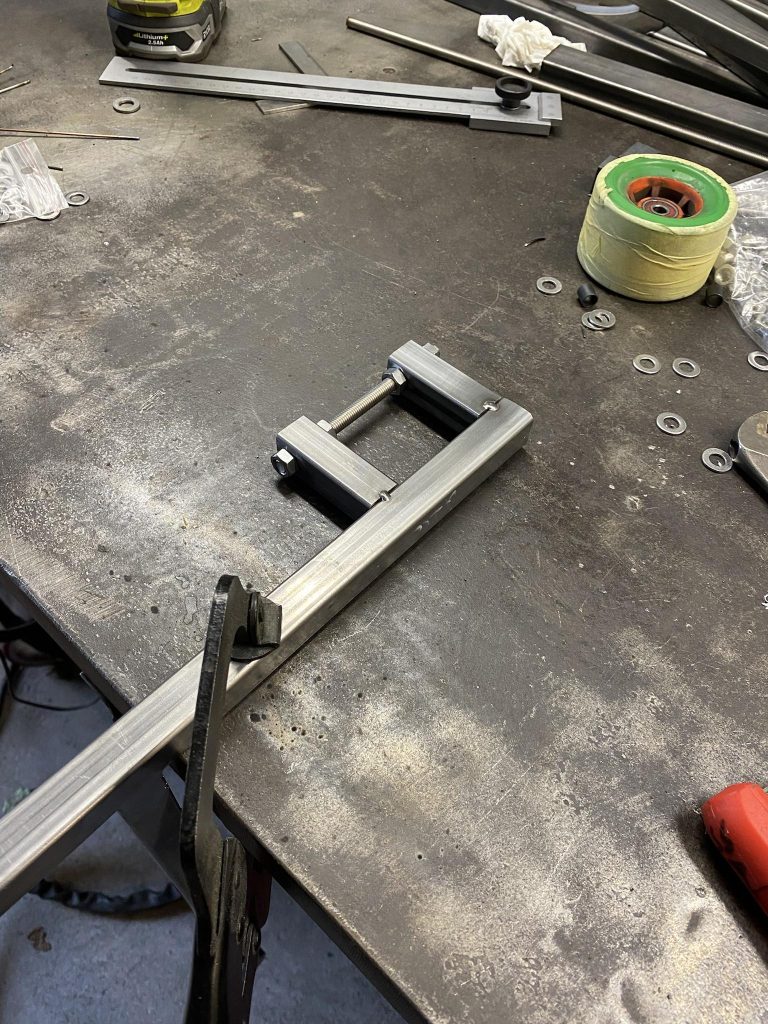
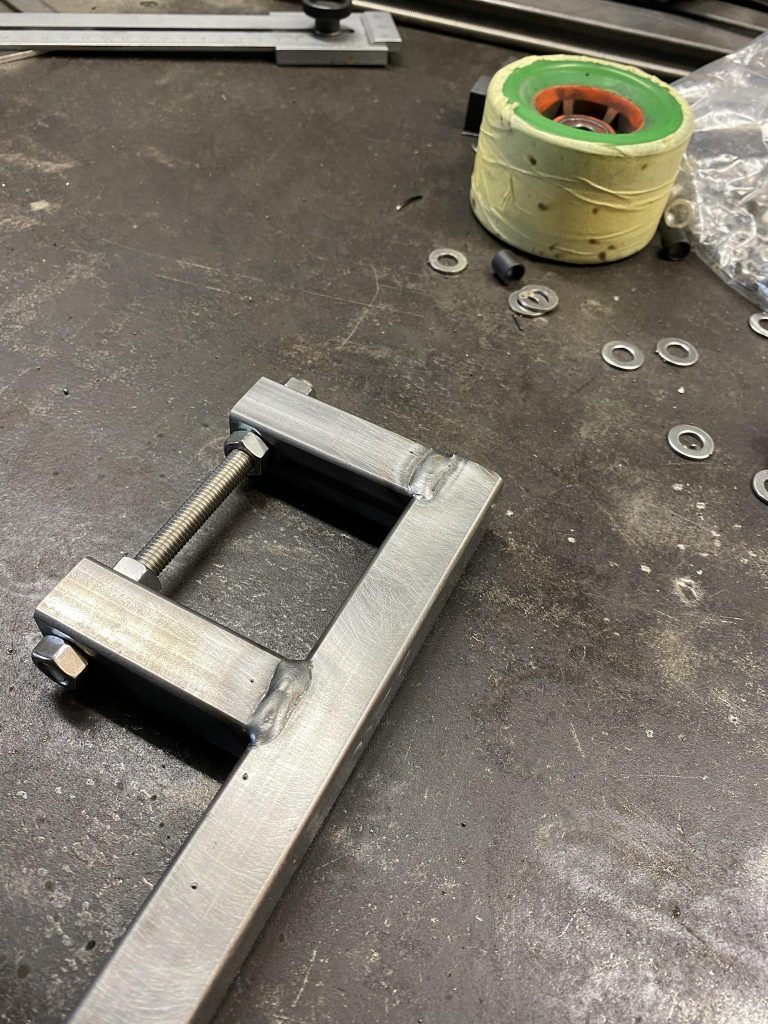
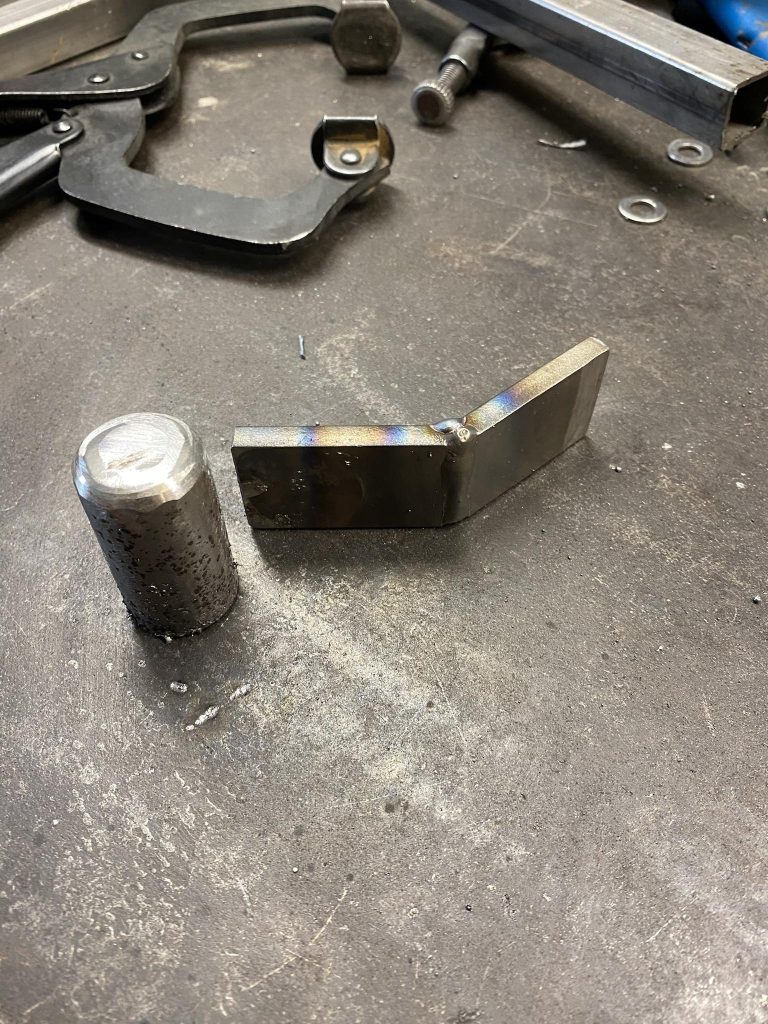
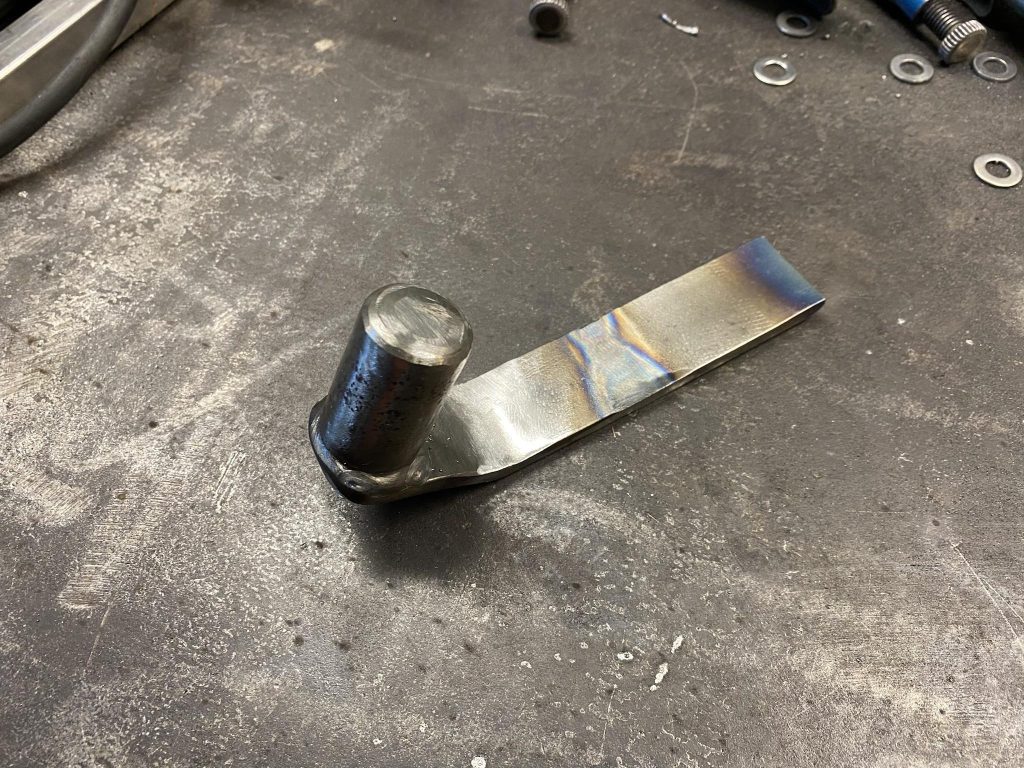
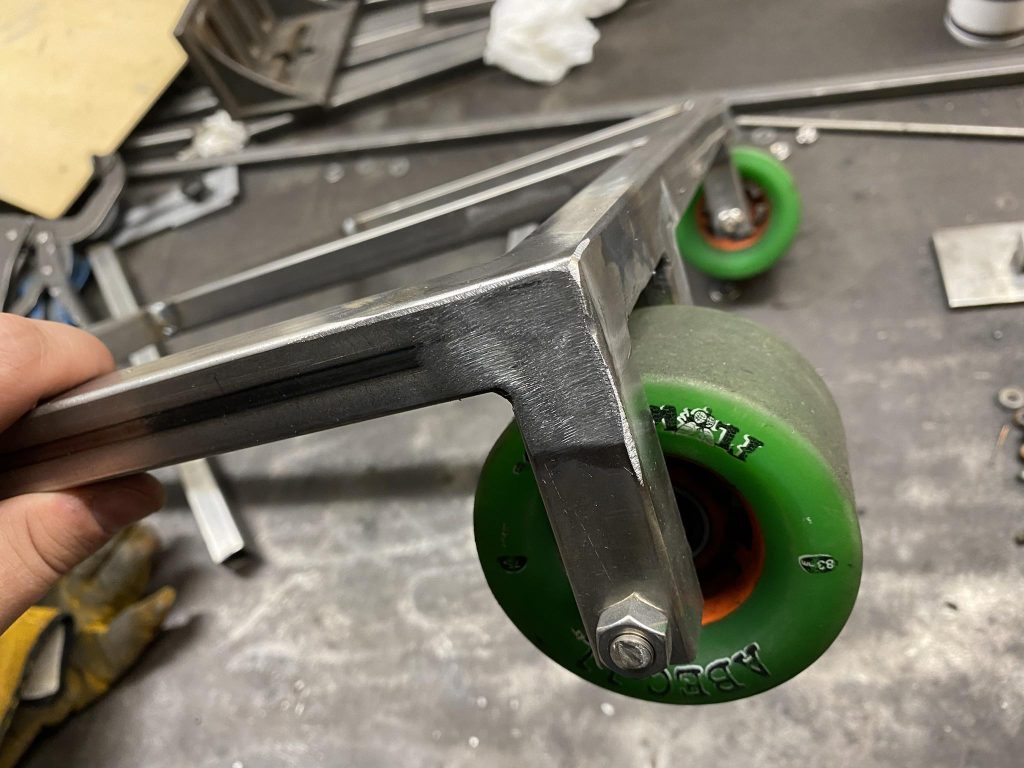
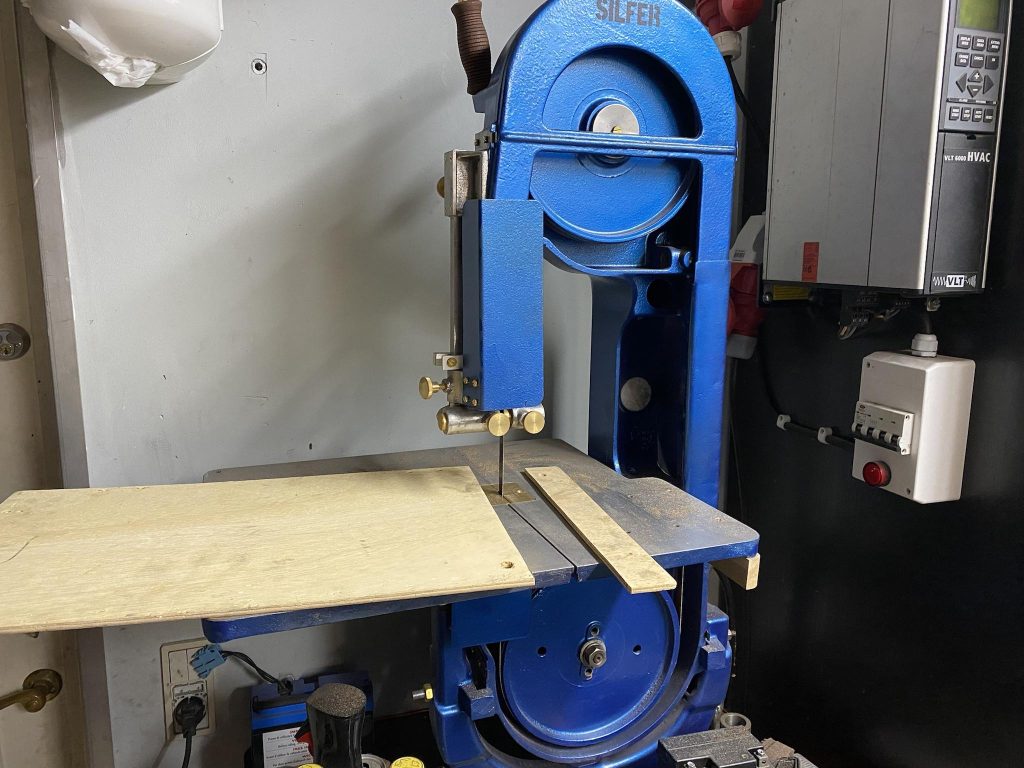
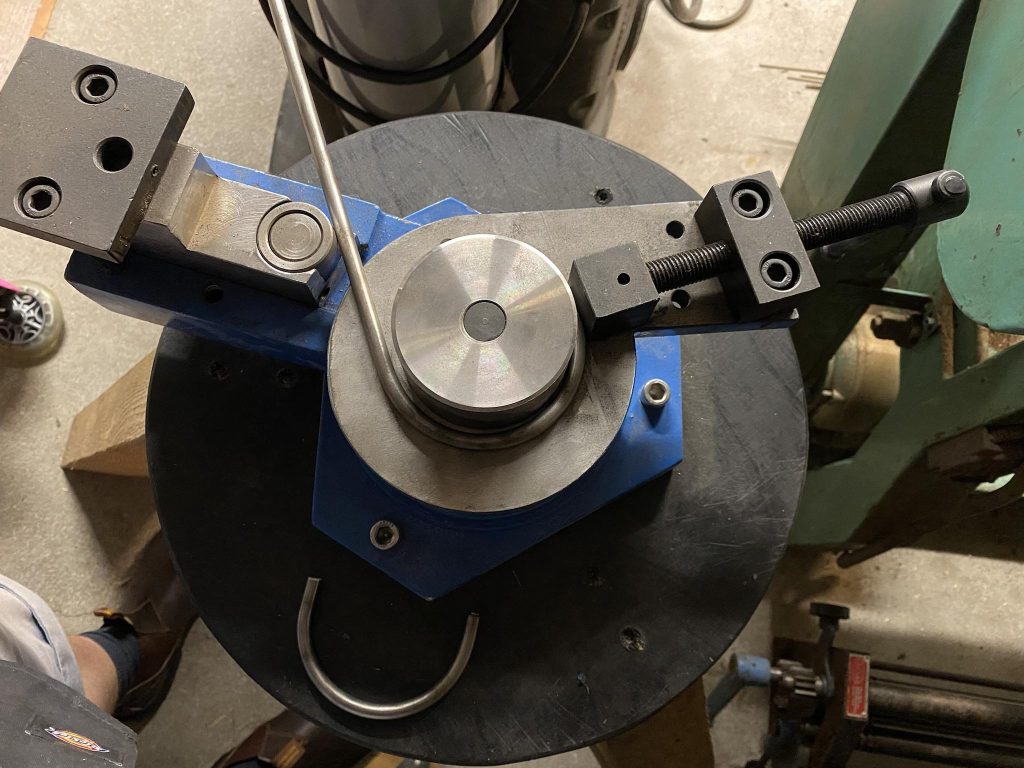
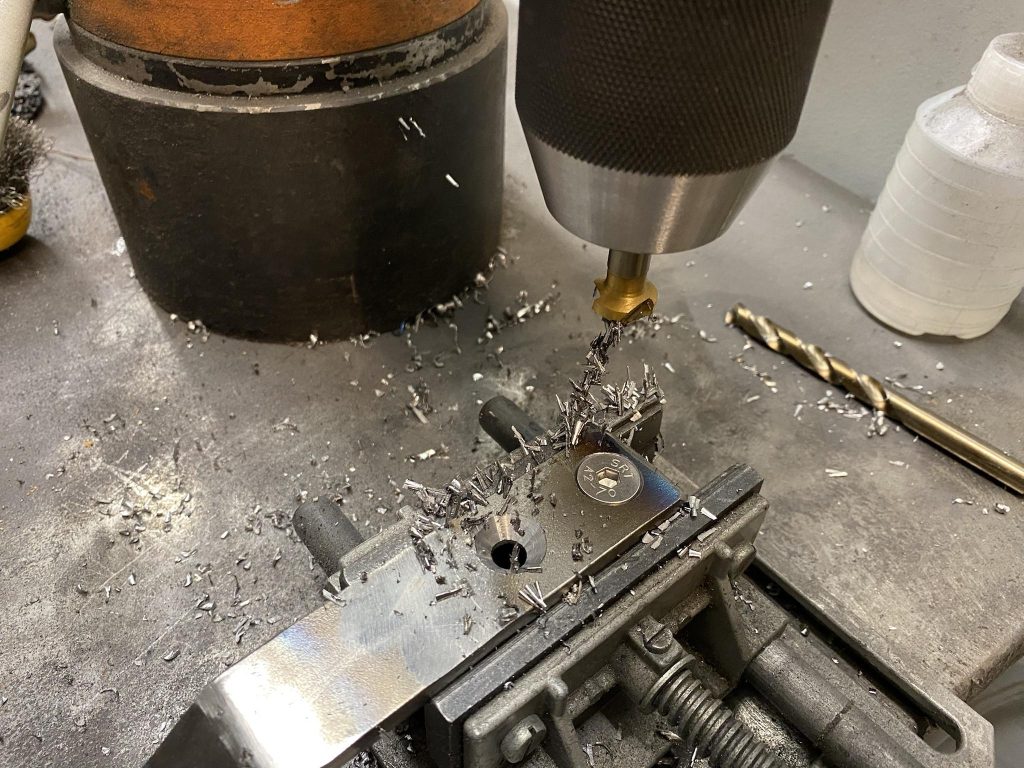
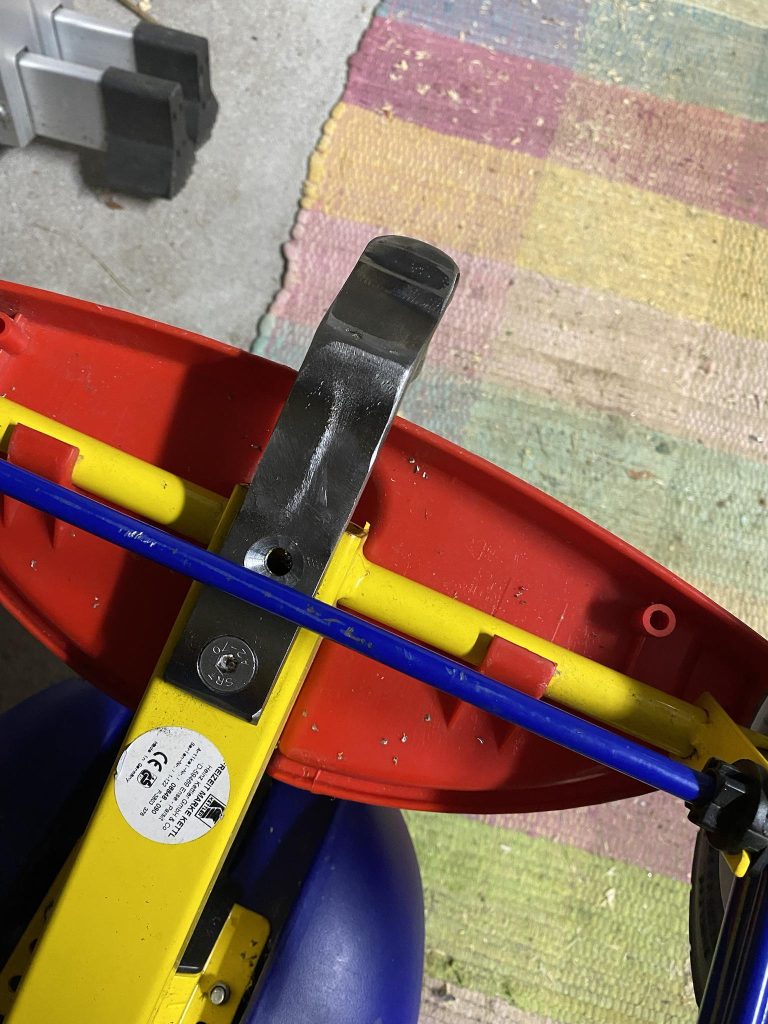
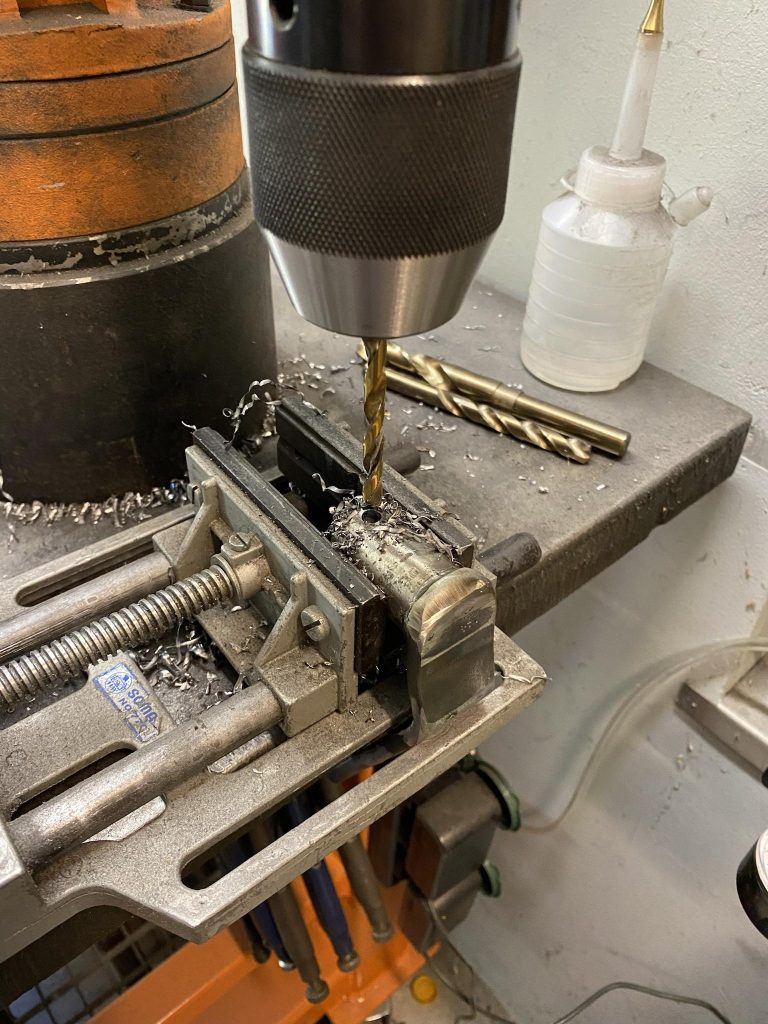
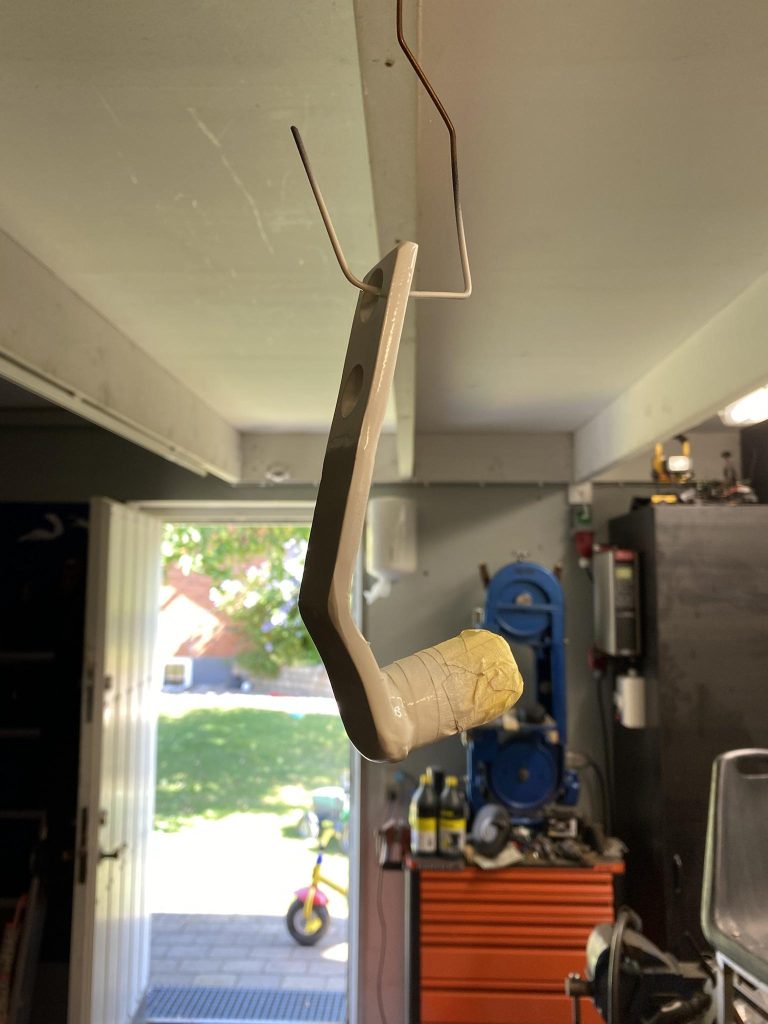
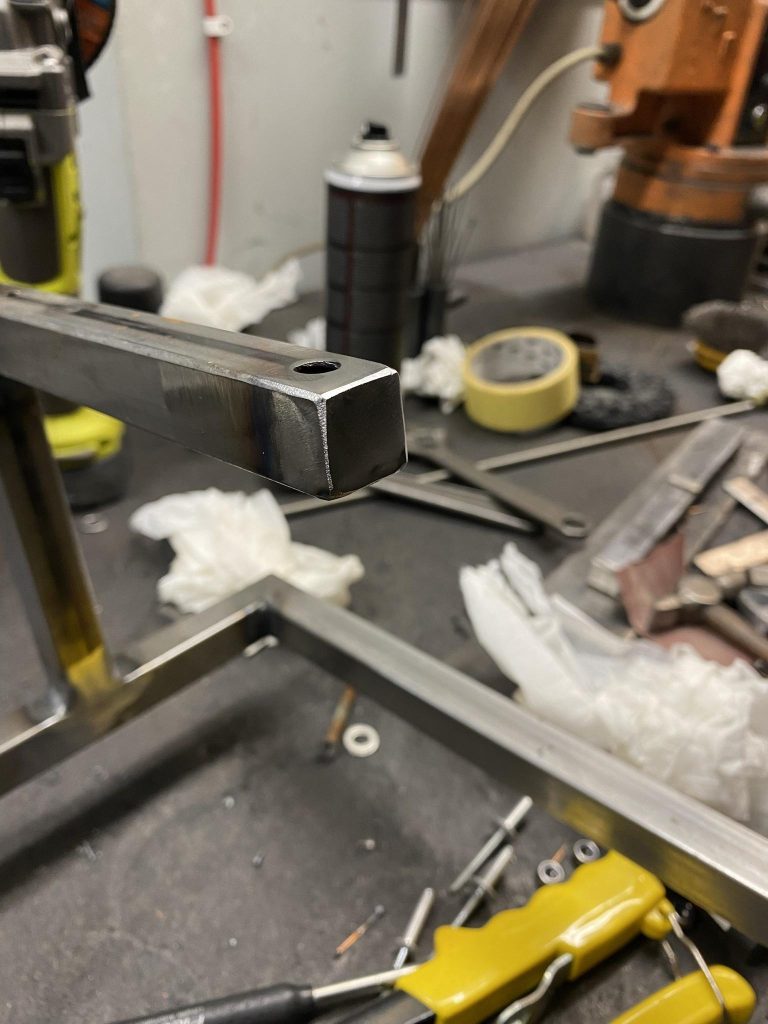
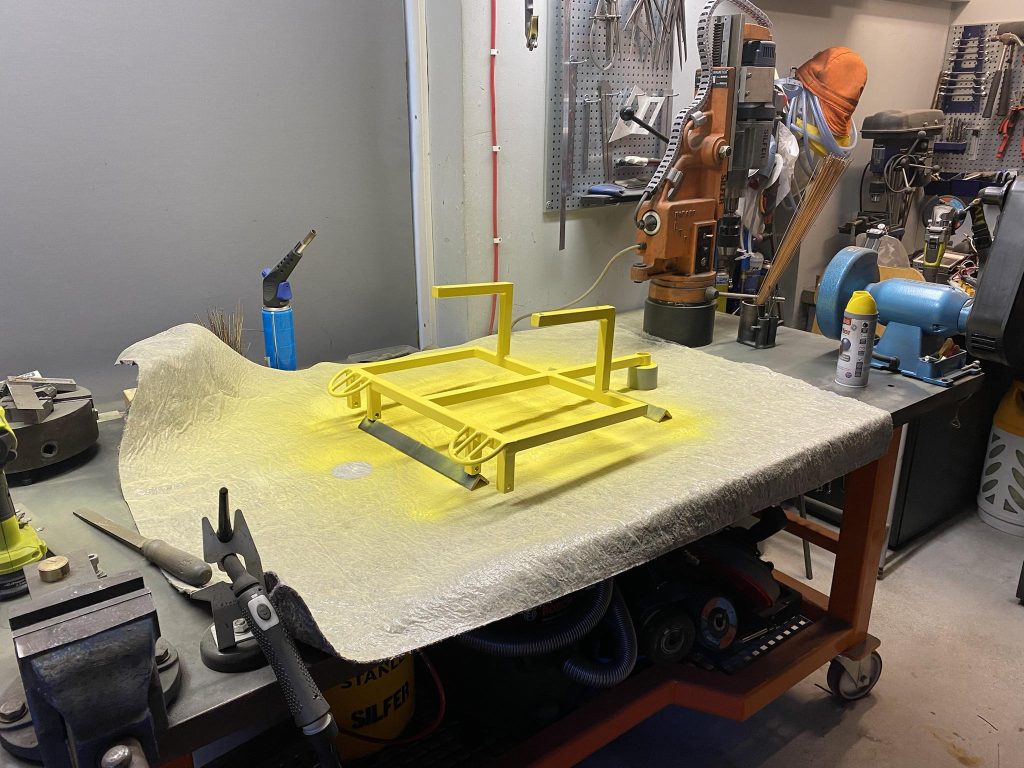
Final result.

Build Log:

Starting the project and sourcing the seat from an old pedal buggy.
This is the plan, trailer with backwards facing seat for a passenger.
Trying to teach the kids early on to build their own stuff. Not much they can do here beside deburring.
Simple hook for the hitch. I don’t want it to rock too much so this style should be good.
Welded.
Cross axle which is as far back as possible so the trailer doesn’t tilt backwards when stood on.
Welded…
… and made looking nice with flapdisk.
Brackets for the old longboard wheels I found from the garage.
3mm starter hole…
… expanded to 8mm hole for the through axle.
This is how it looks with the wheel.
I spaced the brackets with bearing spacers and normal spacers.
Spaced for tacks…
… and ready for welding.
Welded.
Test drive.
Time for the hitch. The actual nob is made out of some mystery metal I had. I believe that it’s from an old axle.
I didn’t have enough of the material so I had to extend it.
Ready for welds…
… welded.
Making the rest of the frame and plugging the hole at the end of the previously made part. I have no idea why I didn’t make it with 45 degree angle to start with.
The front of the frame.
The plug turned out well.
Some old piece of plywood will act as the floor.
There are some old holes but it’ll work fine.
There was a flaw in my design. Small feet could get caught between the frame and the wheels so I need to make a cover for that.
Looks straight out of Mad Max!
Holes for mounting the hitch.
It’ll work fine.
Looks like it was made for the trike.
Test drive again.
Testing what height the seat should have.
Preparing brackets for the seat.
Preparing for welds.
Cleaned up.
The frame is almost ready…
… and even the seat fits!
Additional hole on the hitch in case I need to lock it in place somehow.
Primer.
Some help from a chisel and sharp knife and the floor fits in place.
Painting the floor.
Plugging the last pipe. Doesn’t look amazing…
… but gladly I still know how to use a grinder!
Primer.
Very yellow!
The floor is riveted in place…
… and the hitch bolted in place as well.
Ready! Now looking forward to the fights that will ensue about who is biking and who is sitting at the back…

Leave a Reply

This site uses Akismet to reduce spam. Learn how your comment data is processed.