Silfer Works Racing Team – Introducing a new Soapbox Car!
September 8, 2024
My neighbour told me that there is a soapbox car race planned for the neighbourhood kids in three weeks. I of course loved the idea! Just one problem: We don’t have a soapbox car…
It would be pretty tight with only three weeks to the race, but I was sure that I was able to pull it off. Three weeks is still quite a lot of time if I plan the work well and order all the necessary parts in time. (Insert foreshadowing here…)
After all the work, this is how the brand new race car ended up looking:
Ready to race.It even has it’s own service vehicle which can pull it around as a trailer.Silfer Works Racing Team has been born!
Build Log:
The wheels and axles have arrived! Time to start planning the basic layout. I decided to go with a wider center section on the frame. I didn’t have time to make a full 3D rendering of the car, but I used CAD for the angles and lengths of the frame.Cut and tacked.The design is very simple, but I’m glad for my welding table which is great for keeping things straight while welding.My son was observing most of the welding. He said that he prefers MIG as it creates such cool sparks. Too bad for him as I used TIG for most of the frame.The frame is made out of 4cm x 2cm x 1.5mm box section.As the rear wheels are much larger, I angled the front bumper so it is not pointing downwards.The rear axles were welded in place with MIG. Not pretty but these will hold for sure.It looks like we need a seat!I re-used the seat from the Trike Trailer build I made few years back. Both of the kids are too big for that now anyway.
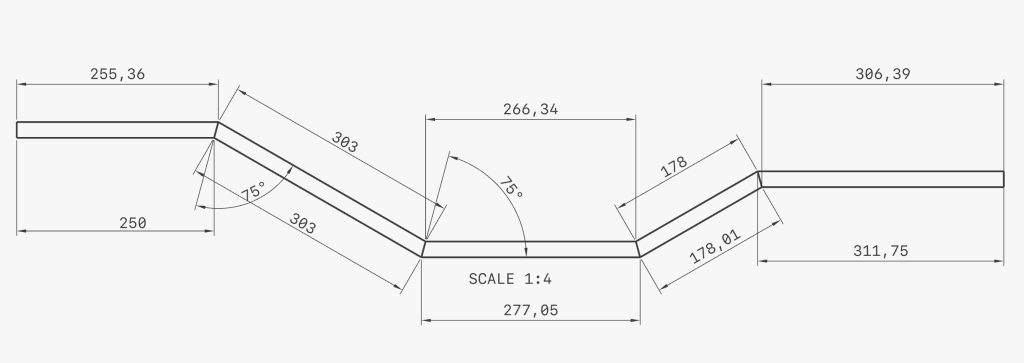
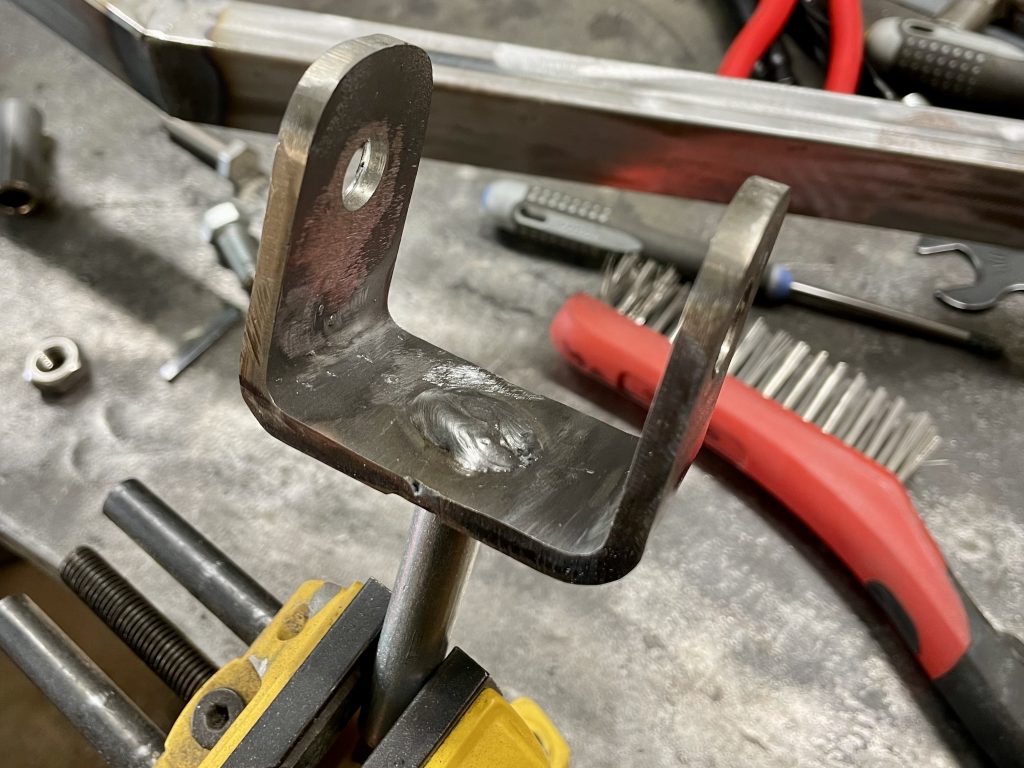
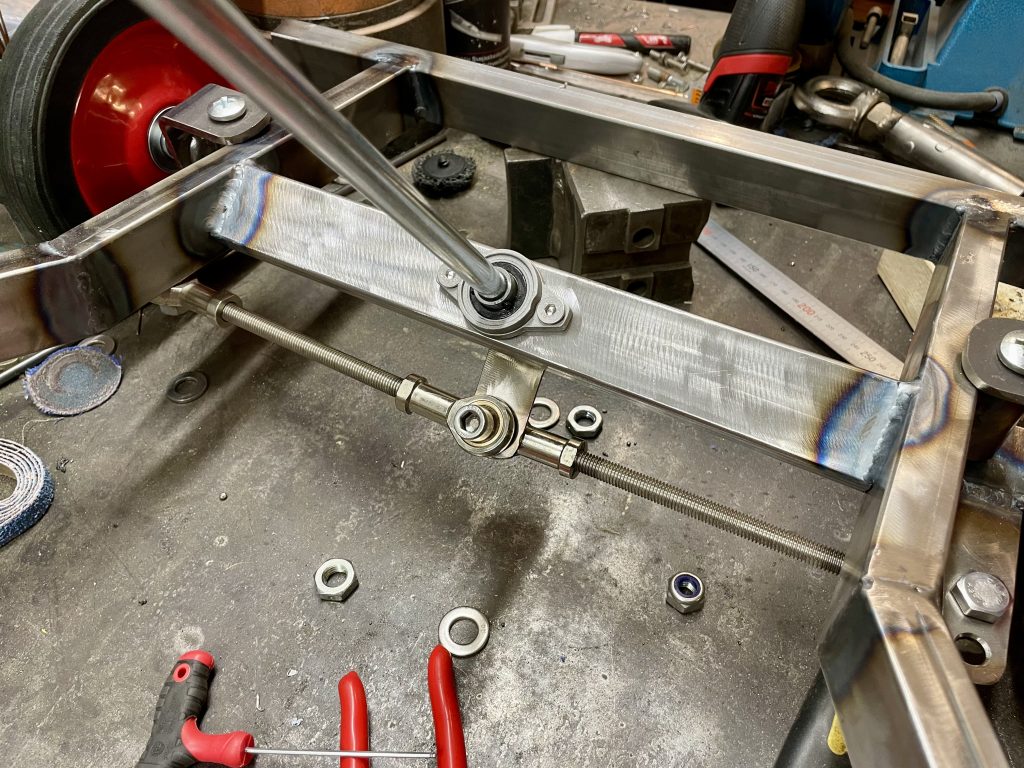
This is angled upwards as well due to the large rear wheels.These parts will turn into the steering mechanism. After some shaping later, we are ready for the axles.I’ve started to use the step drill for most of my holes. It leaves much better quality holes, and I don’t need to pre-drill.The axles I got are slightly too short for the box section I used for this. I cut it in half, made it a bit shorter, and now I’m ready to weld the parts back together.The parts are welded back together, and the wheel axle is welded in with MIG.After some additional parts are added, we have a ready steering mechanism. The parts are welded to the frame. This time I have a slightly smaller test person.I’m using a 12mm axle for the steering. I decided to go with this double sided connector as it should achieve Ackerman steering geometry. (The inside wheels should turn sharper than the outside)Yeah, that was dumb. I simplified the whole thing. It is also attached to the frame through an industrial bearing.An unexpected benefit of the long bolts used for the bearing: I can use those for steering end stops. All I need is to make the linkage more narrow if I need a wider range of movement.I was debating if I should buy a steering wheel or make one. I decided to make one which looks like an airplane yoke. Here I’m bending the basic shape with my beefy pipe bender.M10 bolts are added to the ends. These will be used to attach the handles.Grinding so the welds are not visible.A center support is added. It has a hole for the steering axle.With the handles screwed on, this looks pretty good!
Editors note: All of the things above was done in a single weekend. I was very happy as the three weeks deadline seemed to be very easy to reach. The day after I had build the steering wheel, I got ill. I was in bed for nearly two weeks with pneumonia…
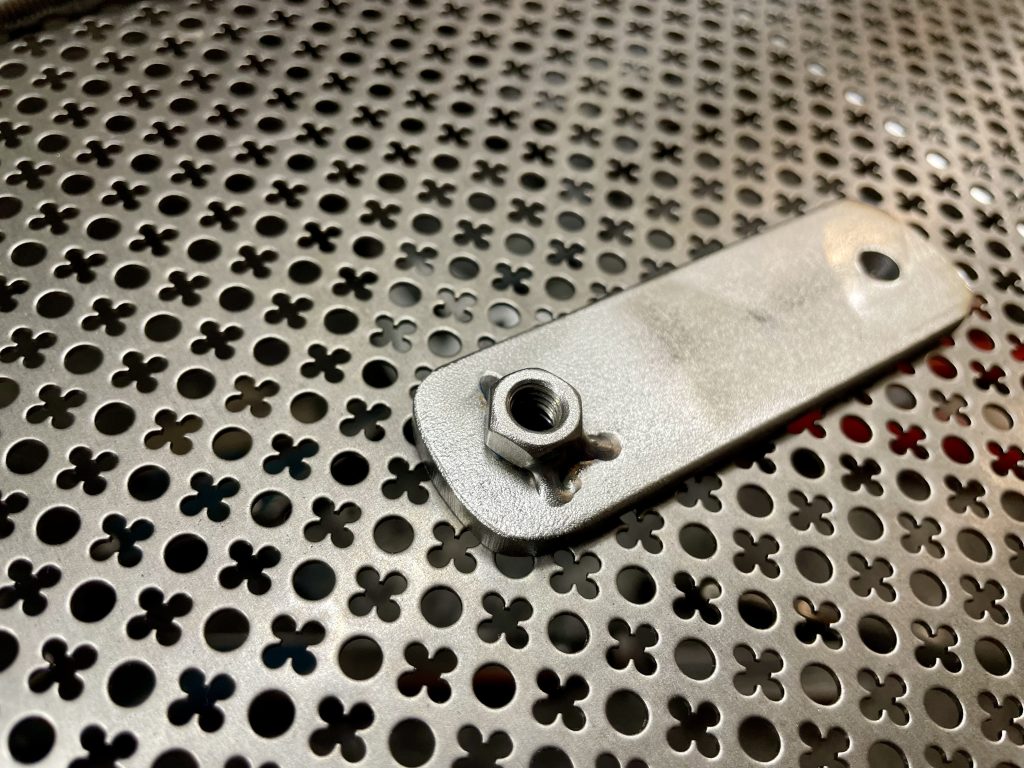
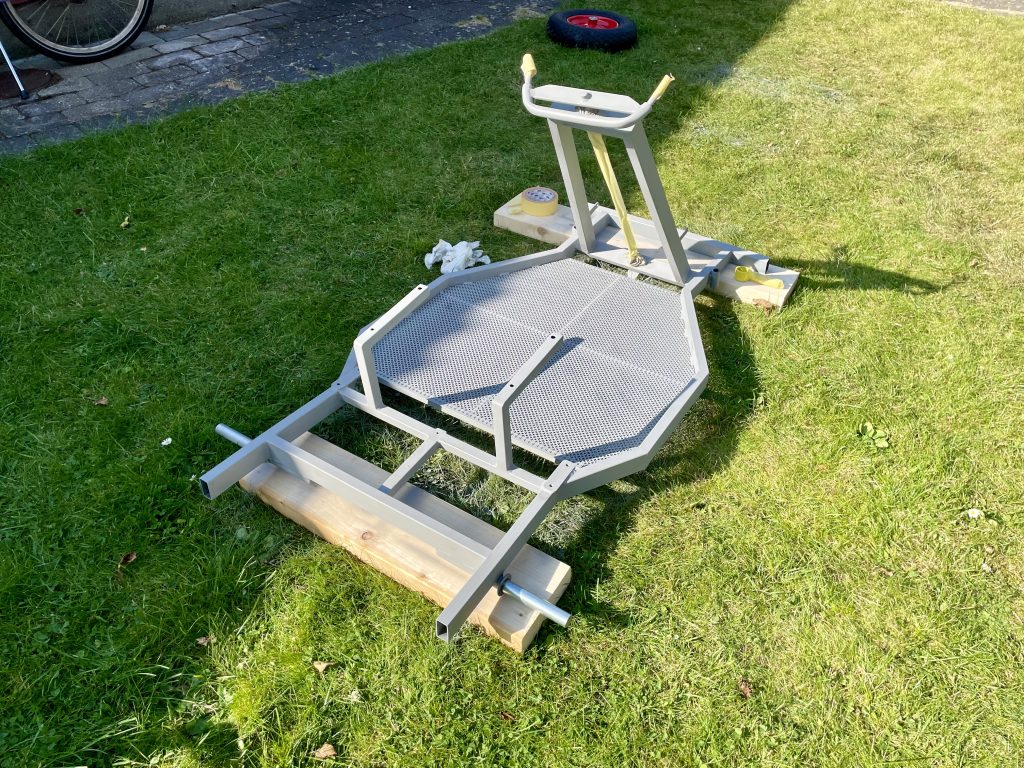
At this point I had 3 days left before the big race. I better get a move on if I want to get this done… Anyway, the car needs somewhere where the steering wheel can be attached.It’s starting to look functional. I had planned to make much more elaborate frame where the steering column attaches, but I don’t have enough time for that. The floor needs a frame as well.Tacked. Now I know the shape of it so I can cut some sheet metal.CAD (cardboard aided design)I chose to go with a perforated sheet instead. It looks cool, and is also a bit lighter.The car also needs a brake lever: M10 bolt welded to a pipe and ground smooth.The thread is there for attaching the knob.The axle used for the brake needs to be attached somehow. It’s in a bit tricky spot on one side, so I welded a captive nut on that side.The captive nut is inside the hole, and this way I don’t need to bolt it all the way through.The axle is ready for brakes!Both the “brake shoes” on both sides and the brake lever are welded in place with MIG.The frame is ready to be welded fully. I need to do this before I attach the floor.At this point the frame weights 10.5kg. Not too bad considering that it is fully metal.The floor is tacked in place with MIG…… and ground smooth.It looks great even if you look closely.The steering wheel is welded in place. Notice the little extra piece of axle that is sticking out. There is a good reason for that which you will see soon!A proper racing car needs a towing eyelet. To do this I needed a large hole on the front…… Two M20 nuts welded together…… And a big ass tap to clean the threads after the nuts were welded in.The eyelet itself is made out of a small piece of pipe and M20 threaded bar.Ready to paint. Primer.You can never go wrong with matte black paint.Instead of welding the frame shut, I used plastic caps instead.I’m using starlocks to attach the wheels. I also left enough on the steering wheel so I can add one there as well.Looks much better!Final touches. A proper race car of course needs to be branded. Transparent red acrylic. I also made a “registration plate” for the back of the car.Registration plate is riveted in place.And so is the front of the car. The car of course needs lights as well if we are going to do 24h of Le Mans!The car is ready! It can be pulled to the racetrack by the service vehicle.The towing eyelet attaches to the service vehicle’s hook.Race day! The other cars were more of a classical design than ours. Not too bad with only 5 days of building. I’m just glad that I had planned it out before, otherwise I wouldn’t have been able to make it in time.