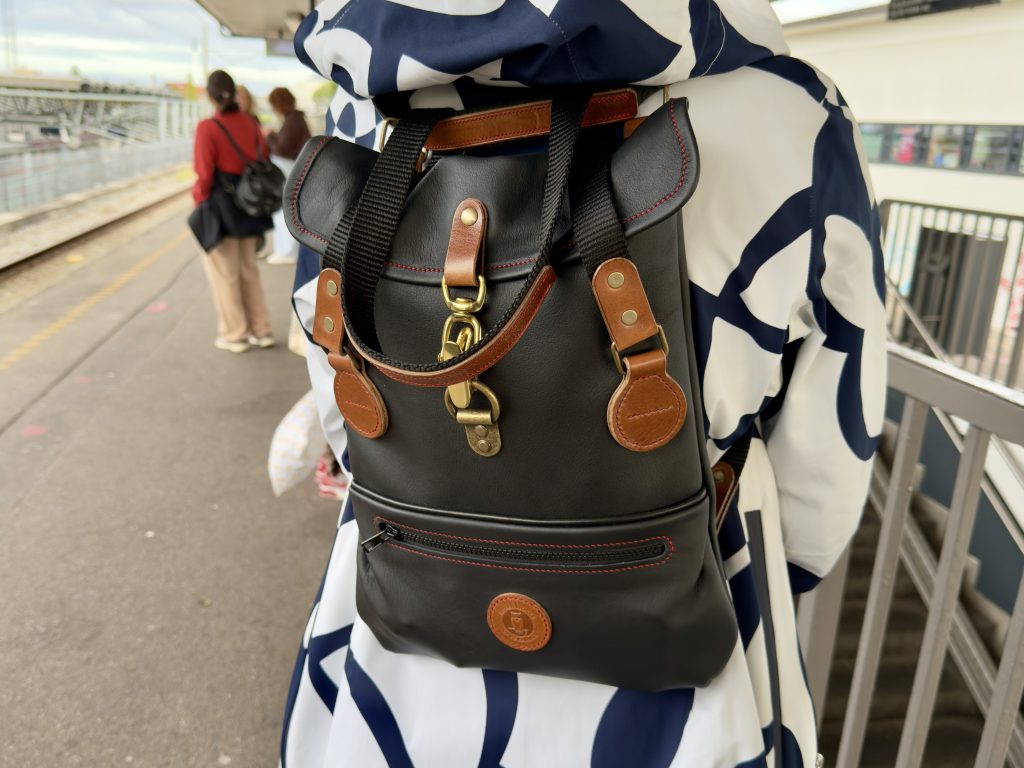
Some months back I bought a large piece of black chrome tanned leather without really knowing what I was going to make out of it. I usually haven’t been using chrome because of it being much weaker than proper vegetable tanned leather is, and the edge finishing is a pain. On the other hand, it is very nice and soft. Why not make a simple tote out of it?
I started to design it, and remembered an old design for a Fjällräven tote that could be converted to a backpack by pulling the rear strap out. I decided to make my own version of it, and use brown vegetable tanned leather for all the attachments. At some point the “simple” part of the design was lost, and it ended up being rather elaborate… After I realised how much sewing I had planned for myself on the edges, I had to park the project to reconsider my life choices.
I ended up buying a sewing machine, and suddenly this bag became the first project I was going to make with that. It was the perfect project for trying out the new machine that I had never used before (ignoring the fact that it was my first time doing piping and wrapping the edges, first lined bag, first time using chrometan in a large scale, and first inside out design!).
So with other words, it was a perfect simple low risk design to practice with the new machine. (hah)
It turned out pretty well in the end.
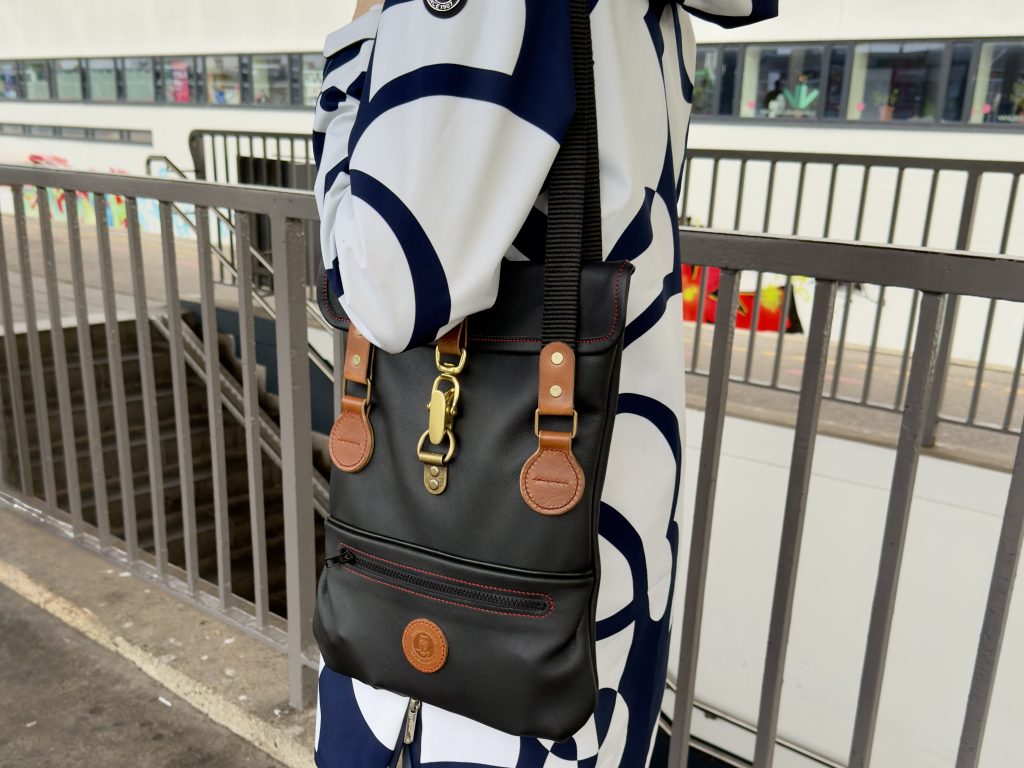
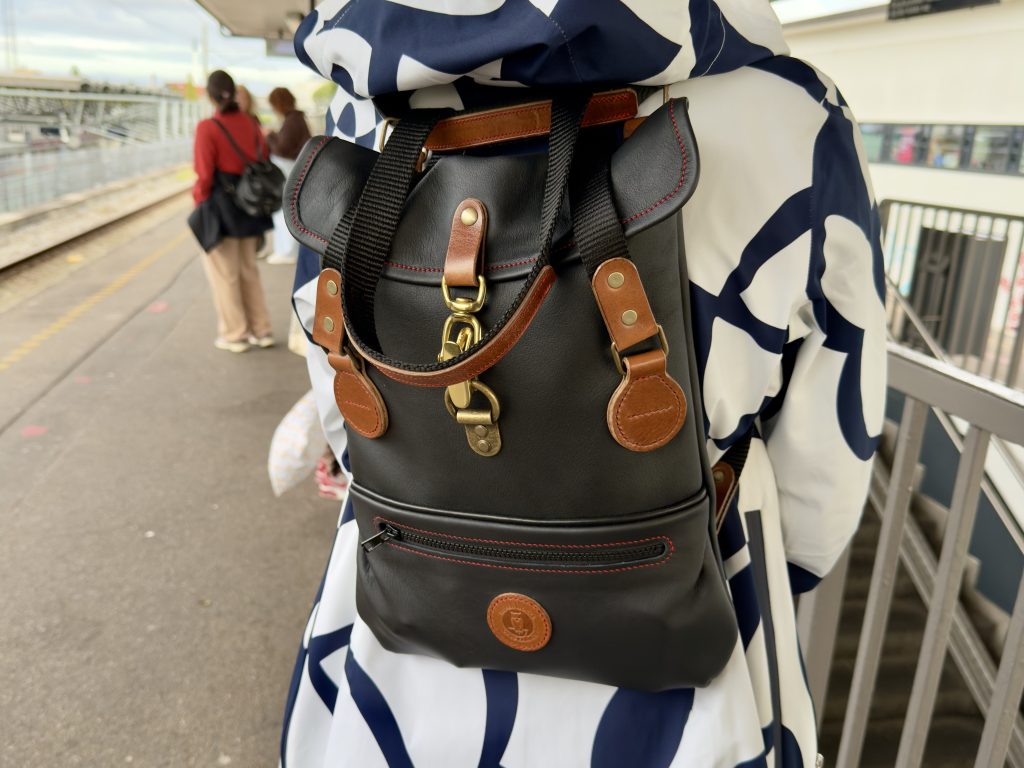
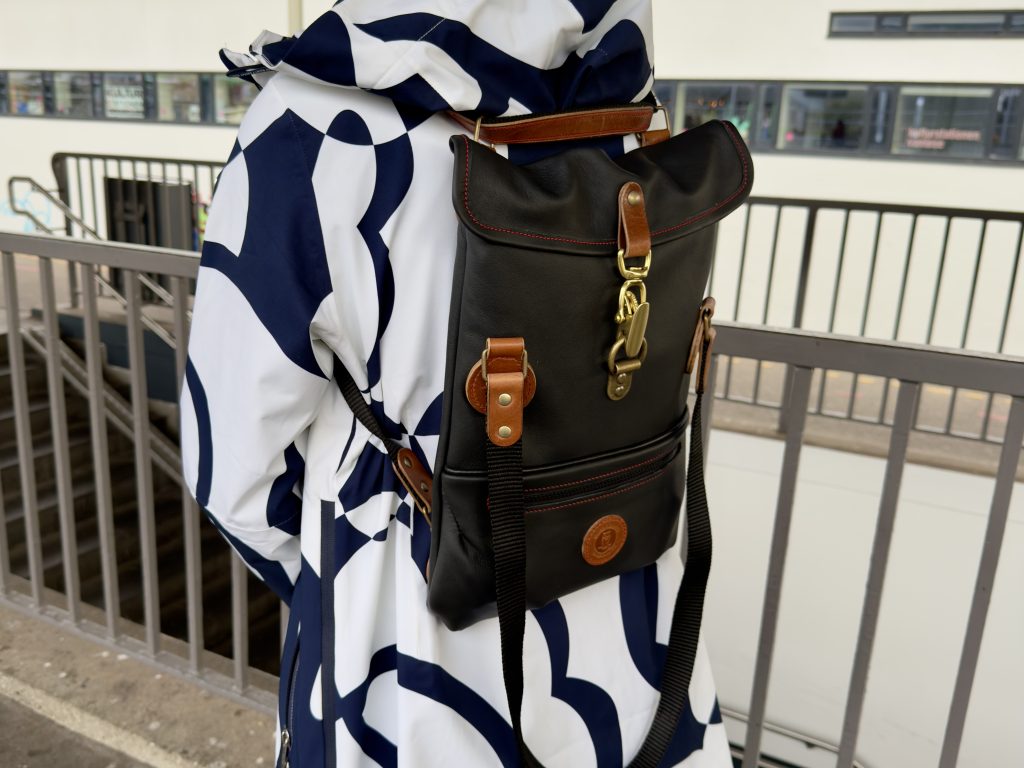
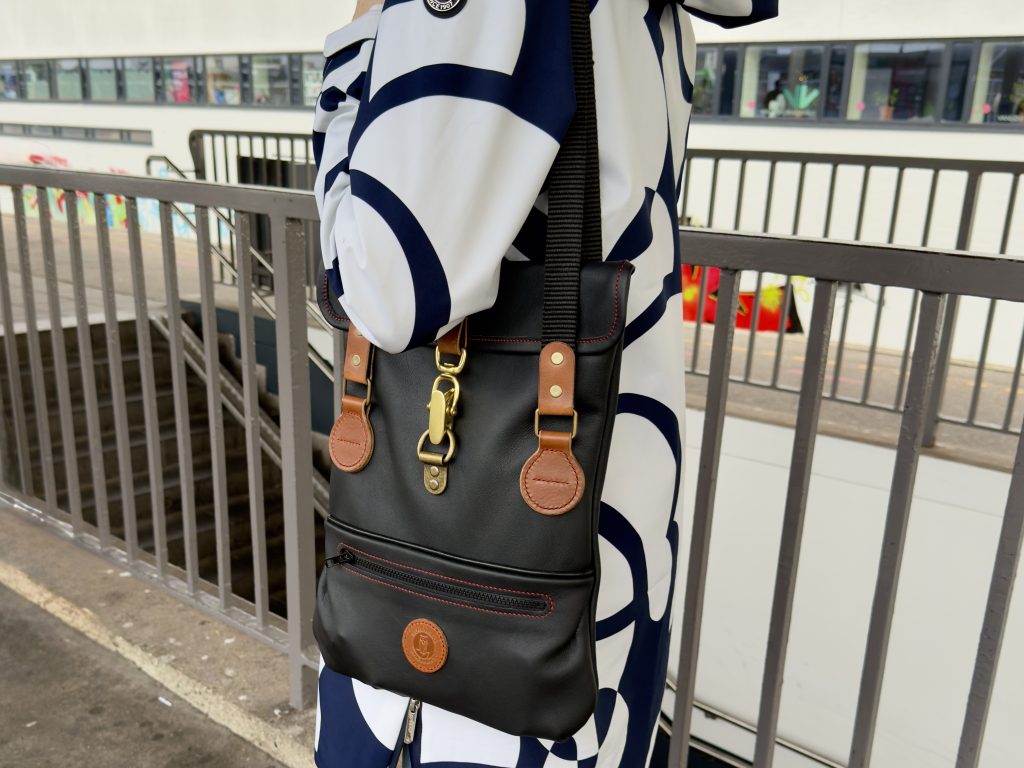
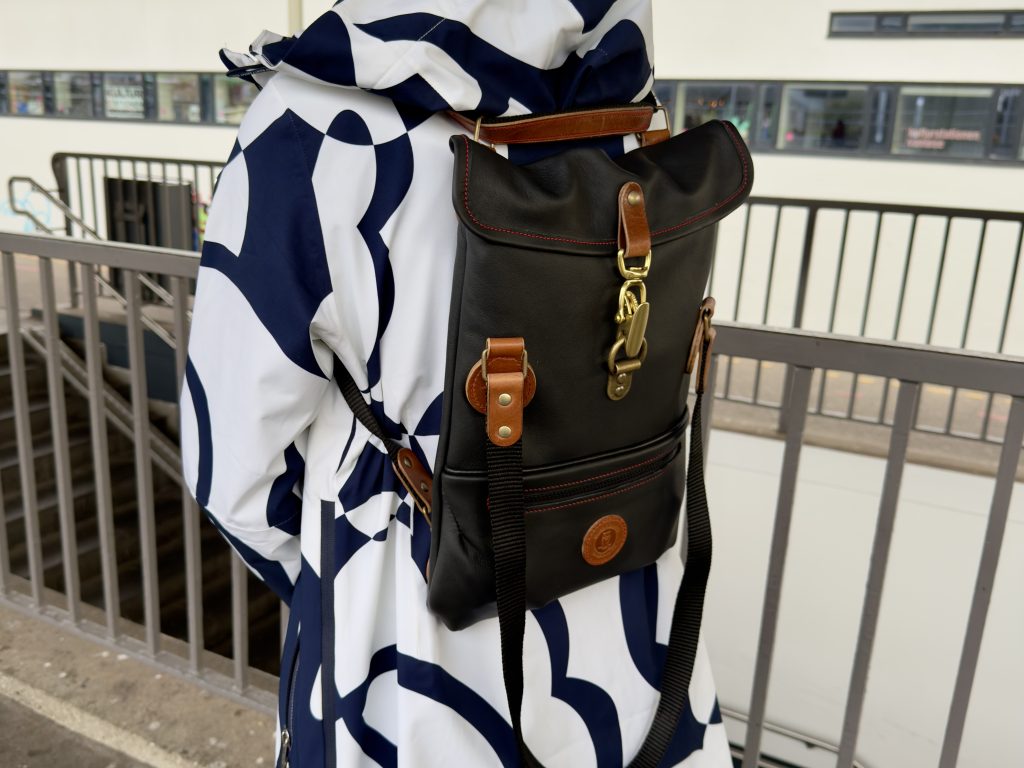
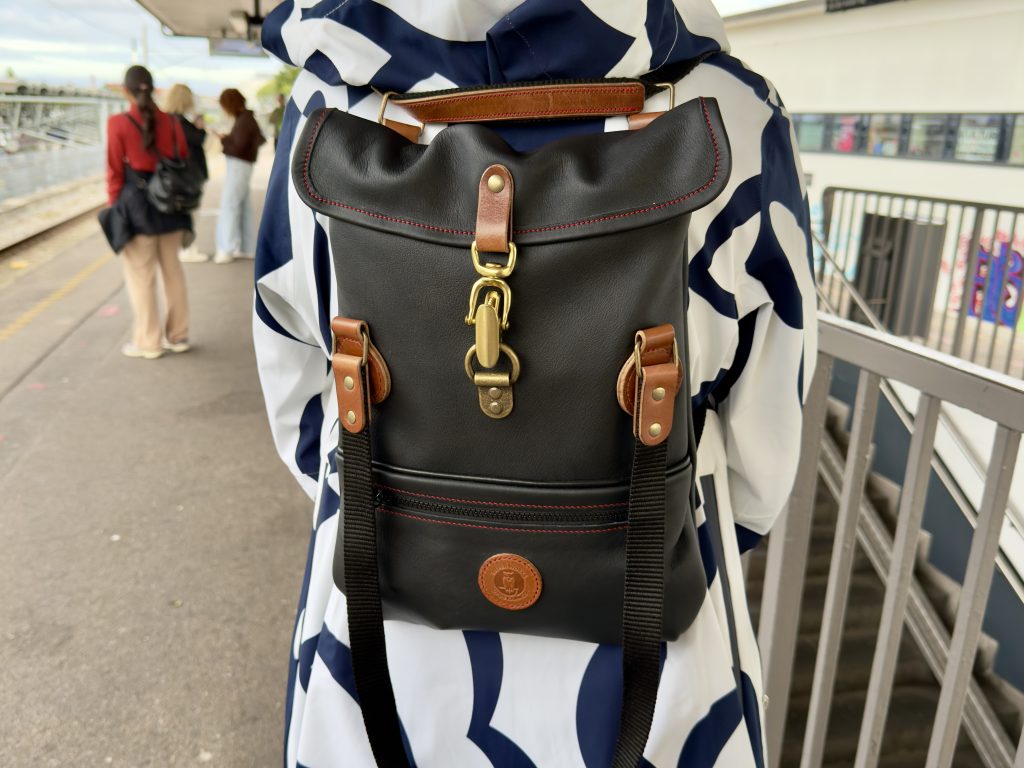
Tote -mode. Both straps are stretched upwards.Backpack -mode. The rear strap is pulled outwards into two backpack straps.The bag is meant to be a small computer bag for my wife. It only holds her MacBook Air, a reMarkable tablet, and keys and other small stuff in the rear pocket.
Build Log:
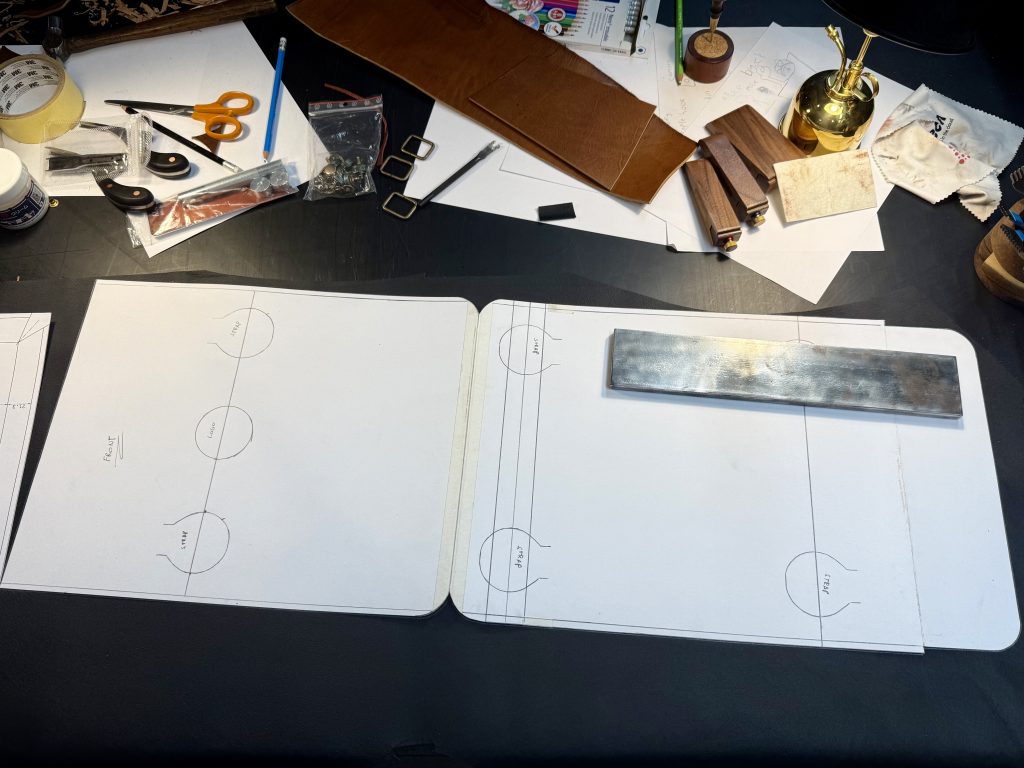
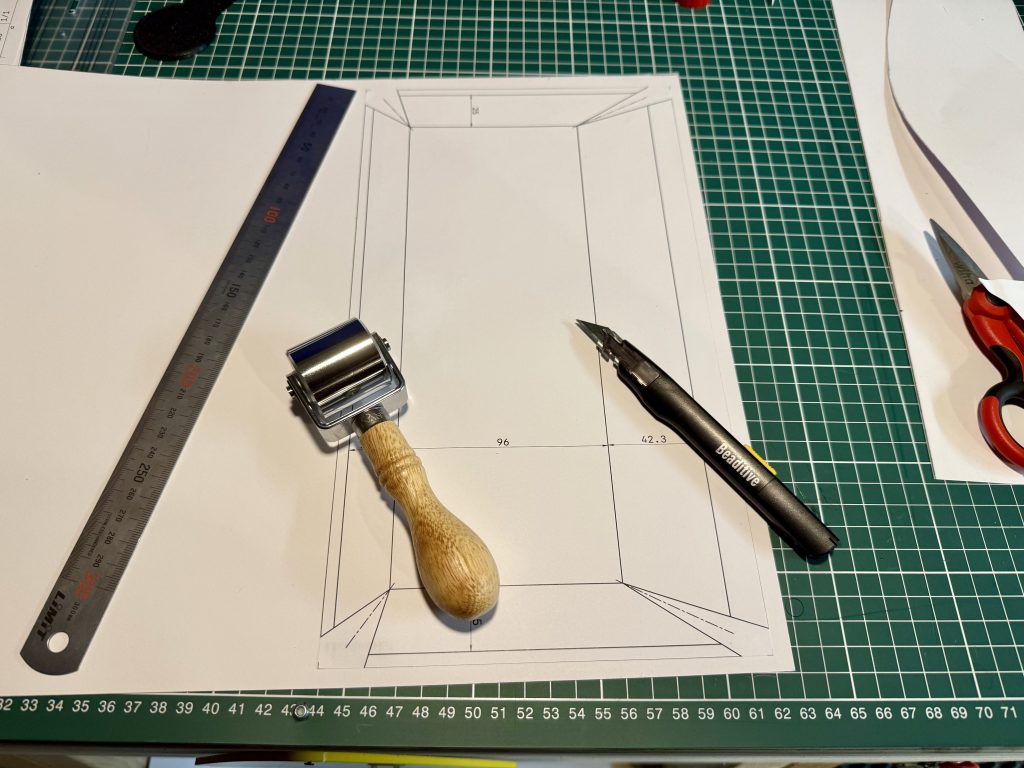
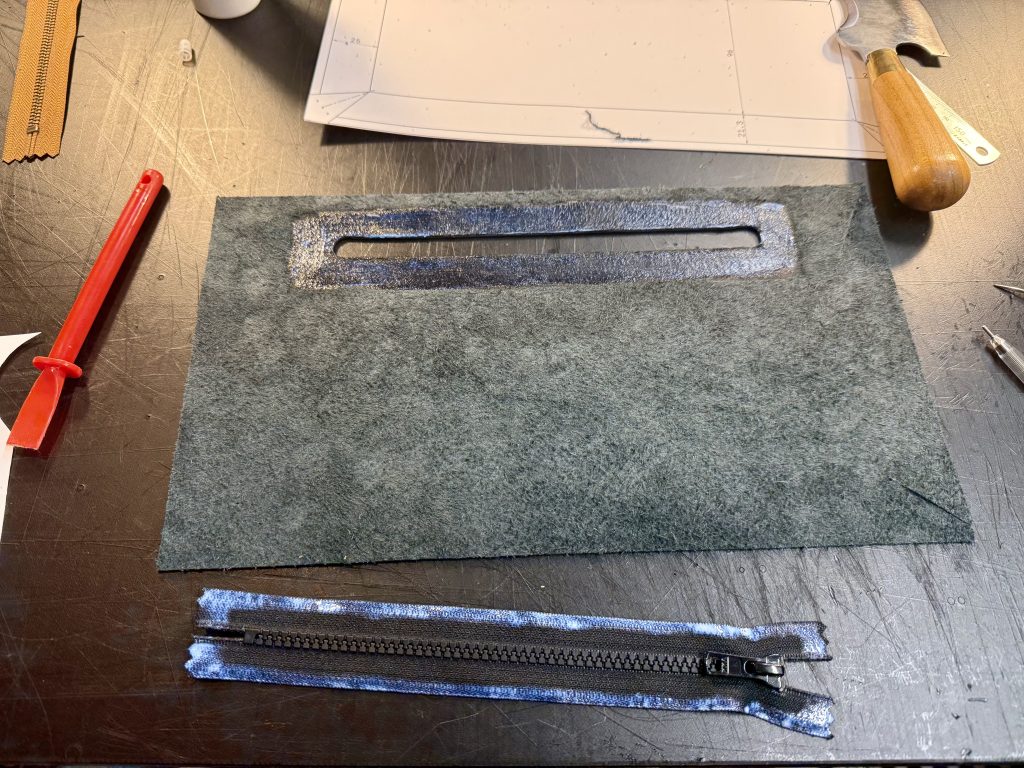
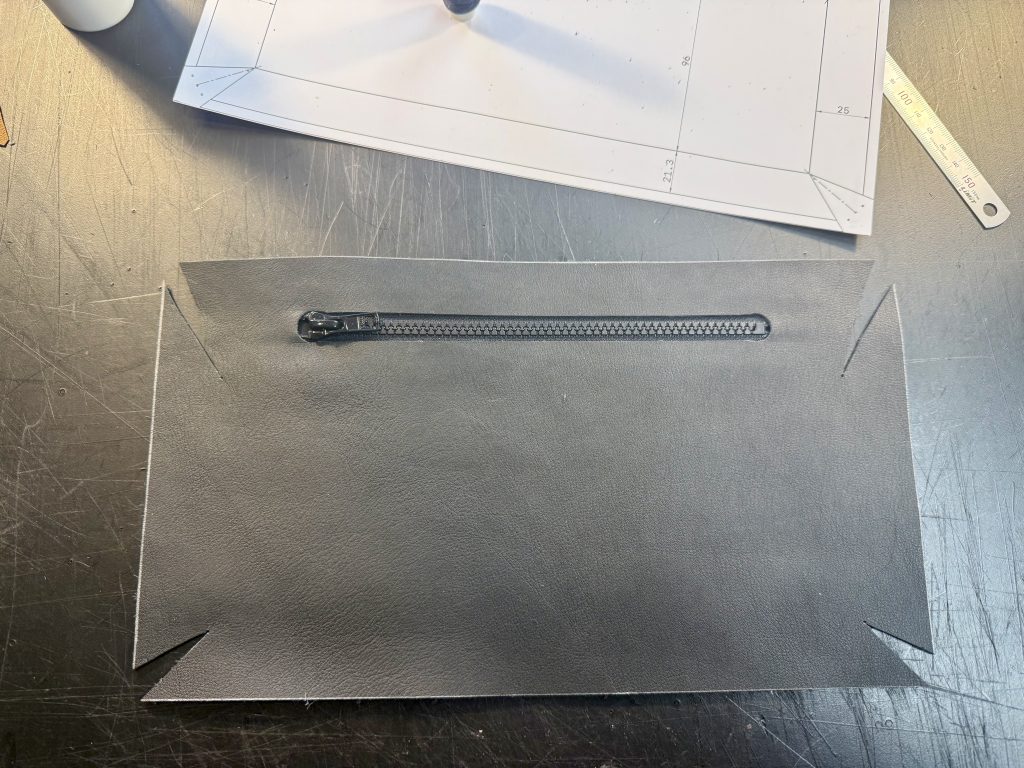
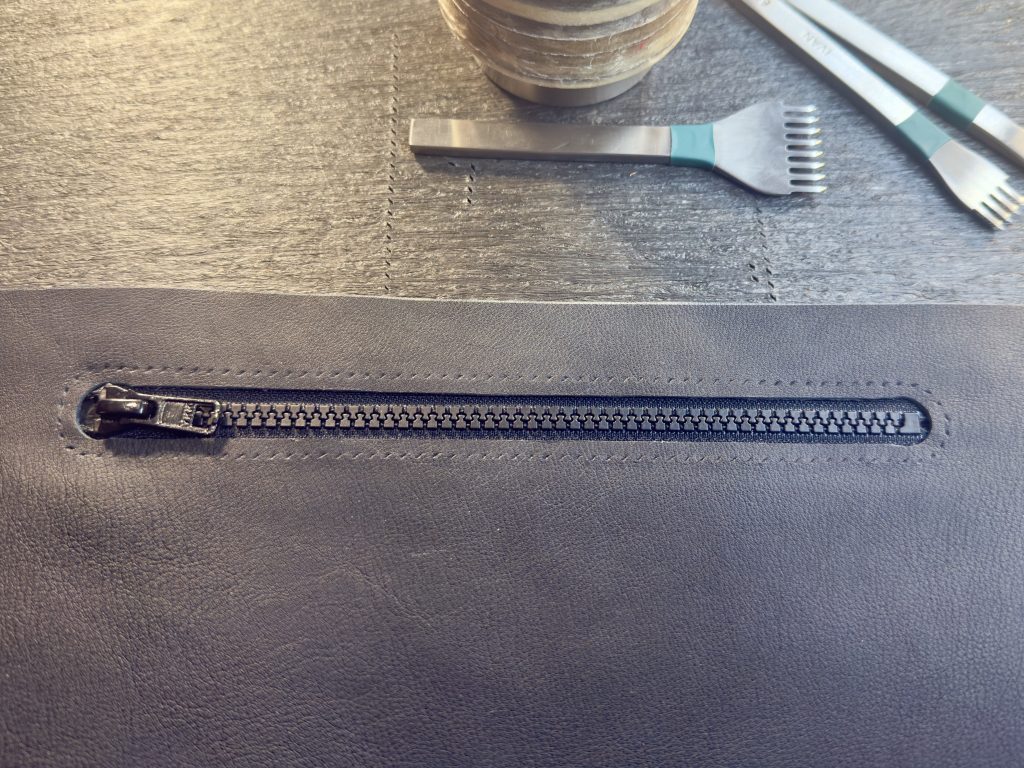
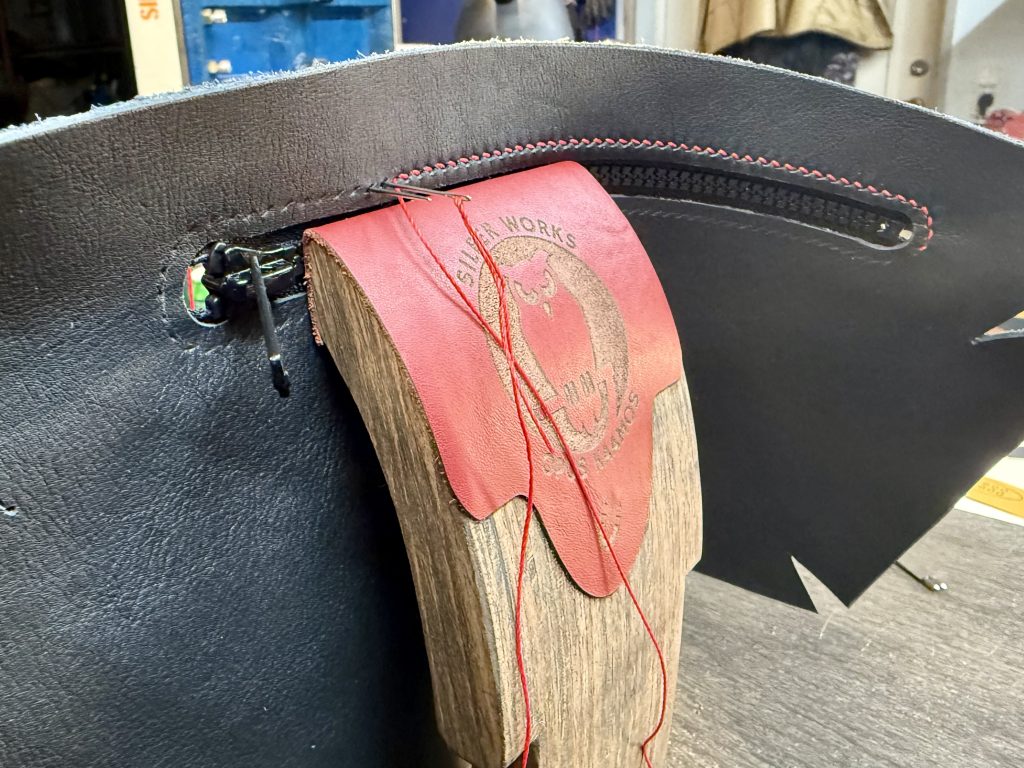
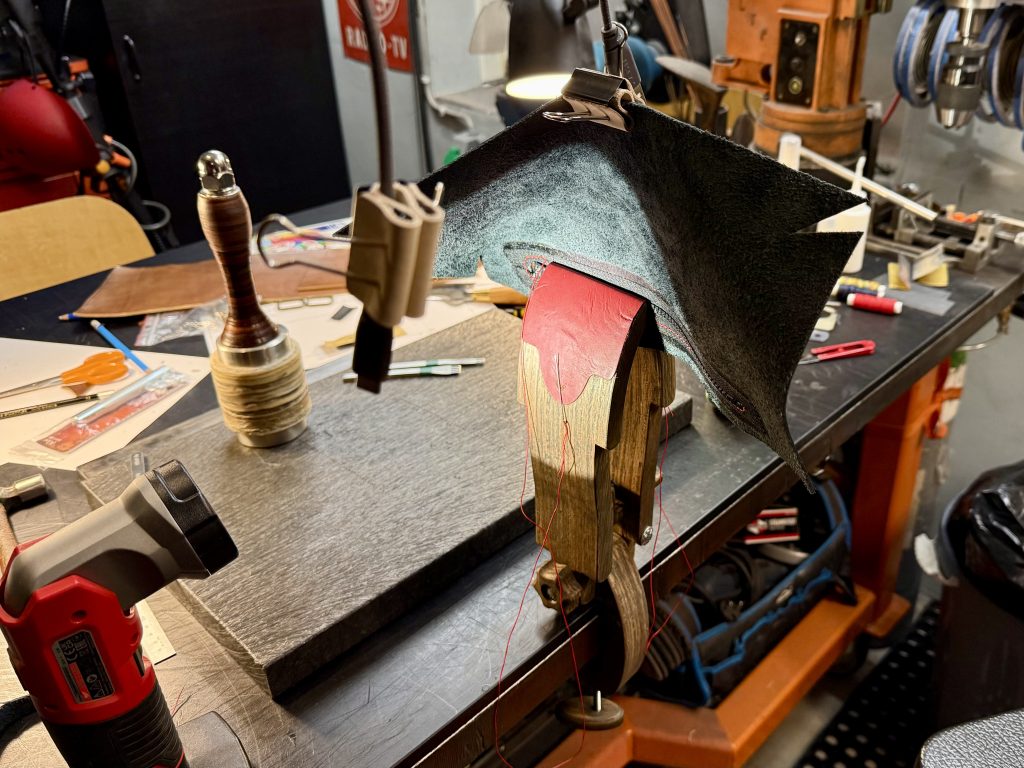
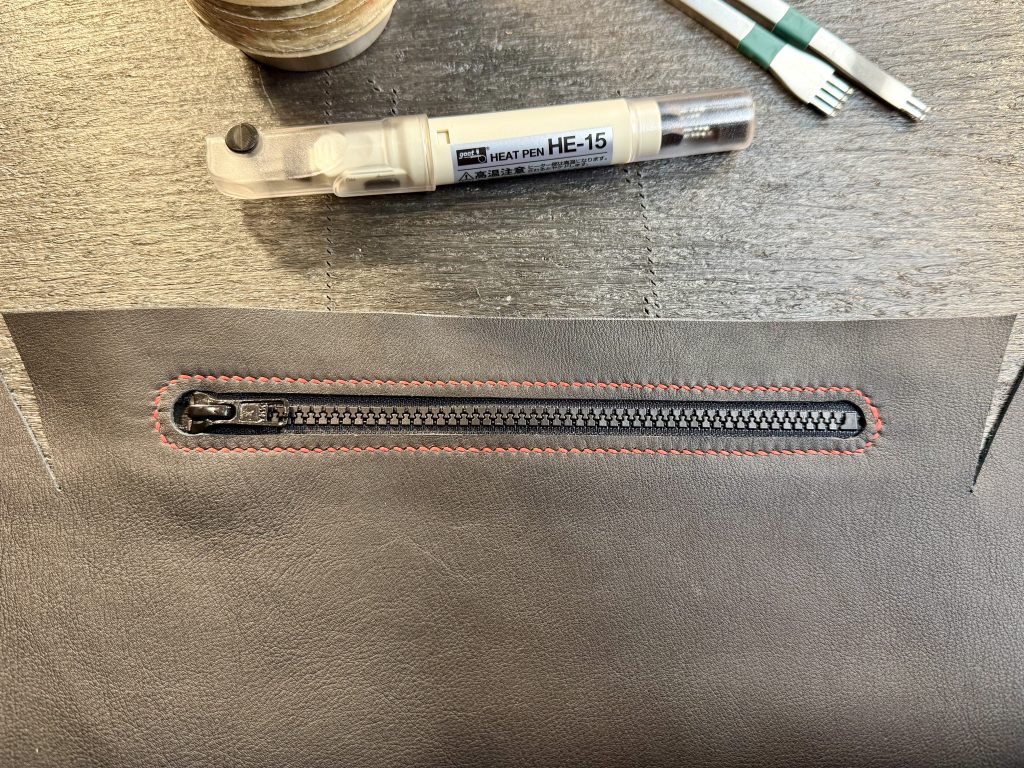
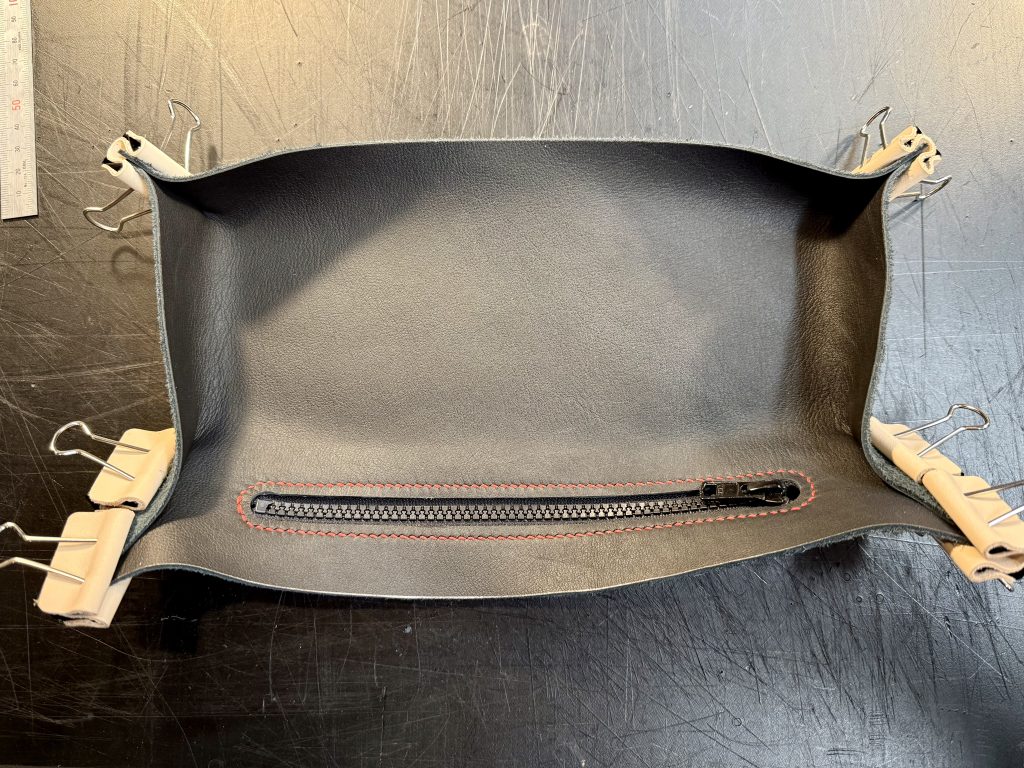
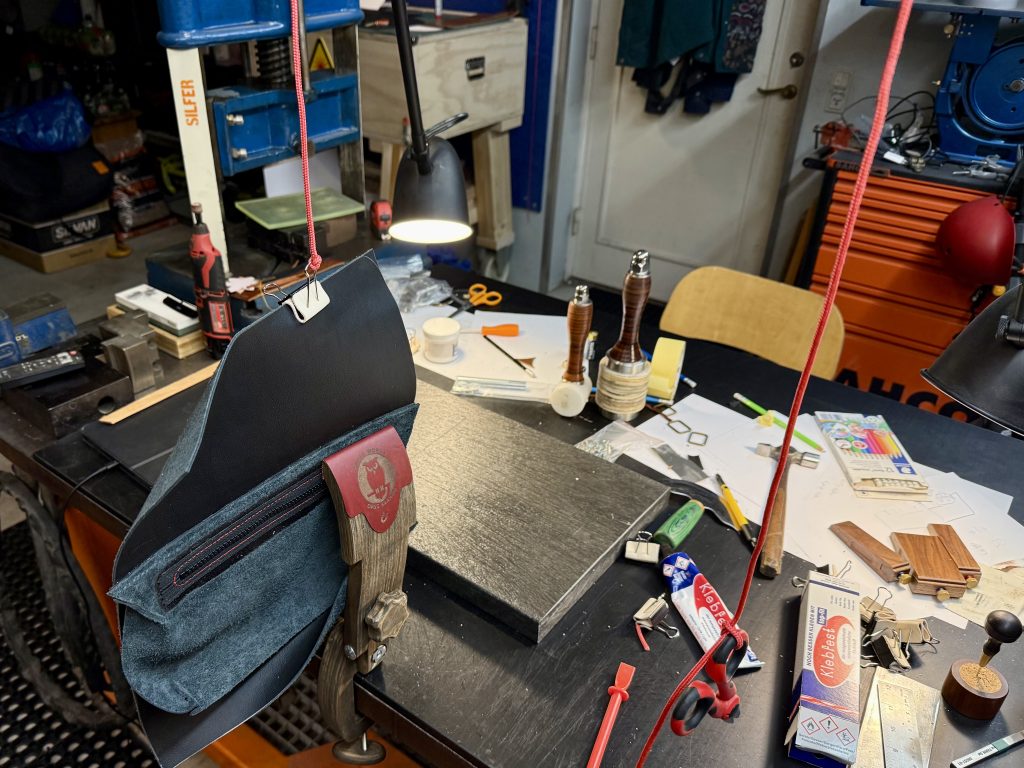
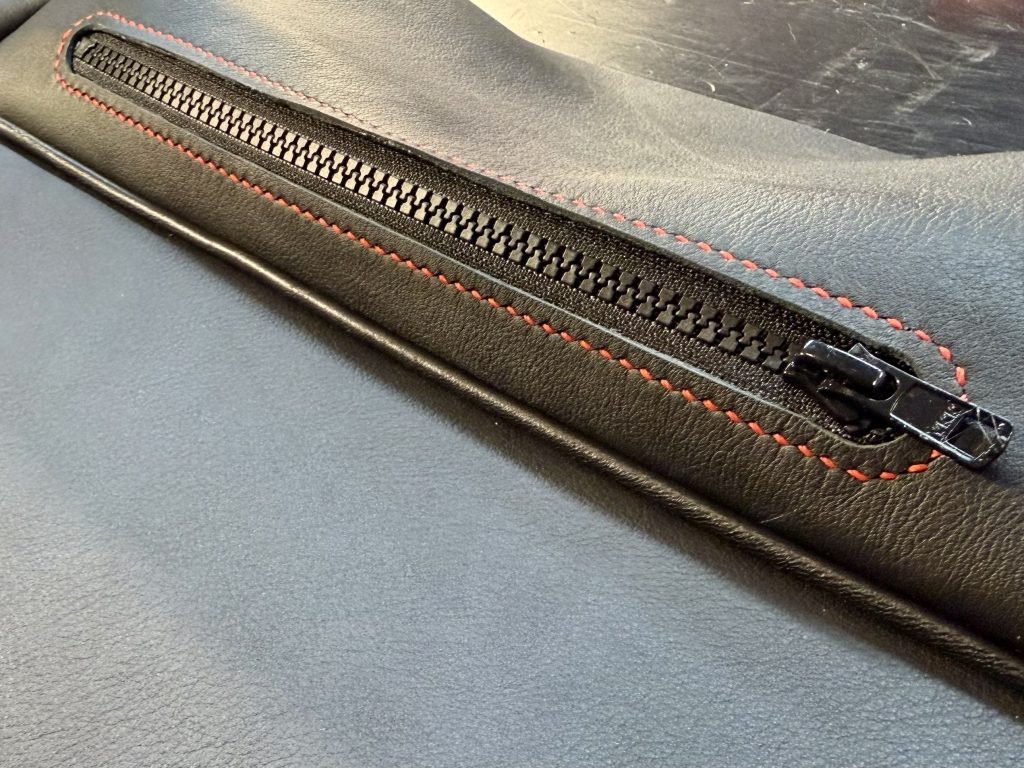
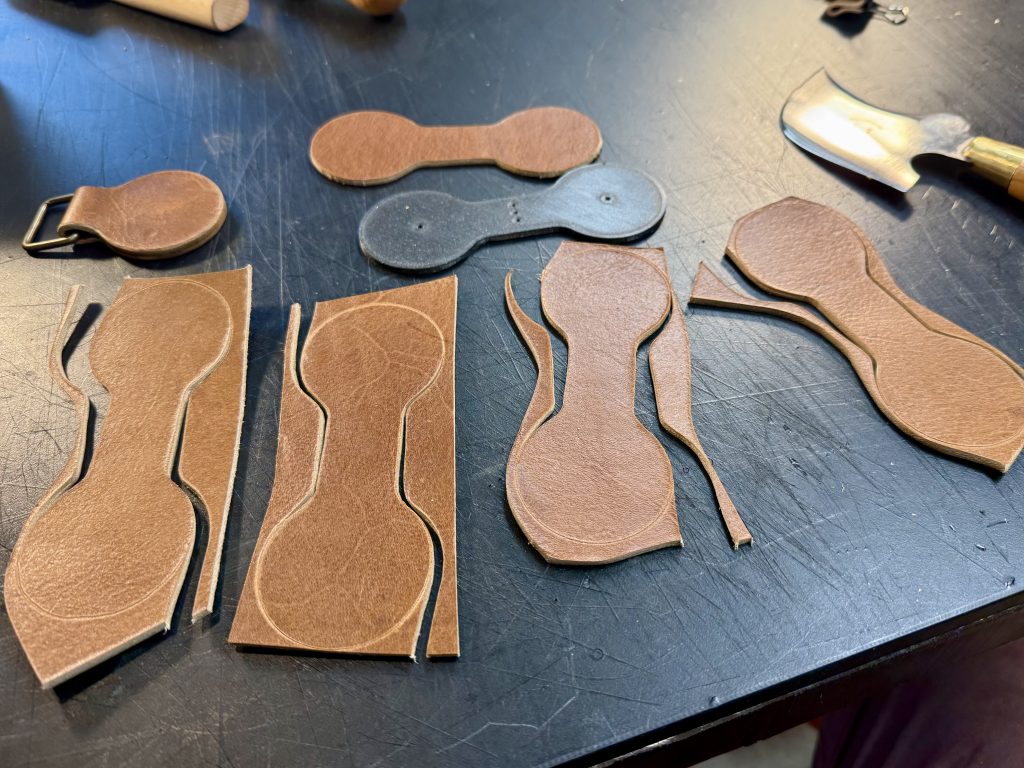
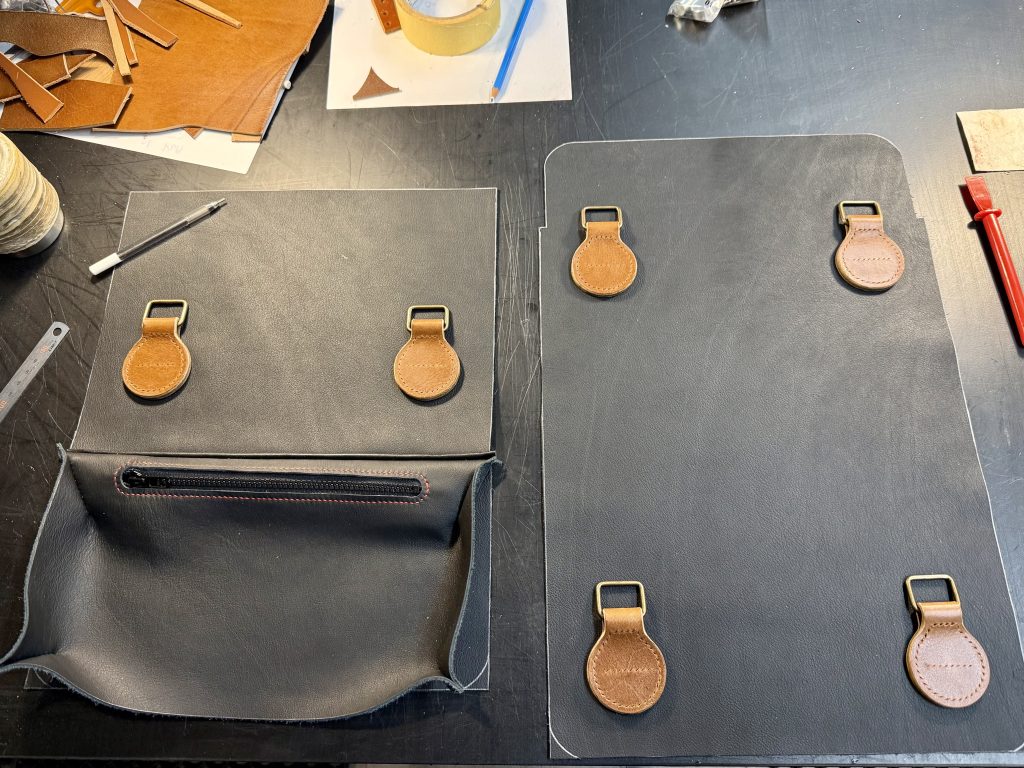
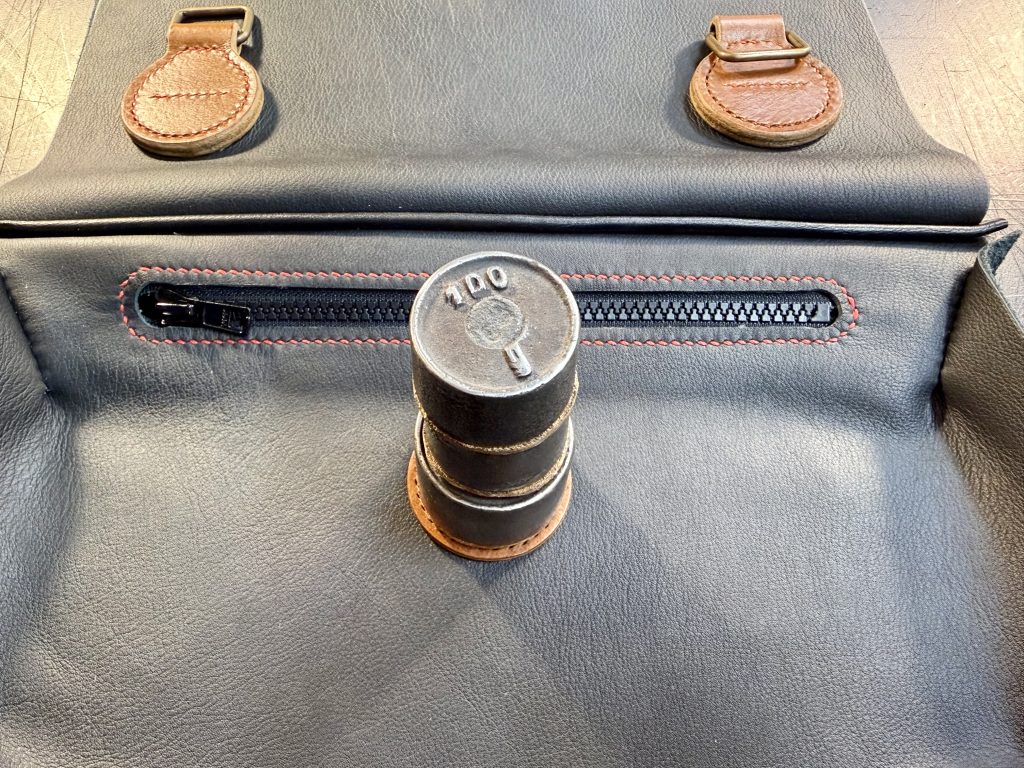
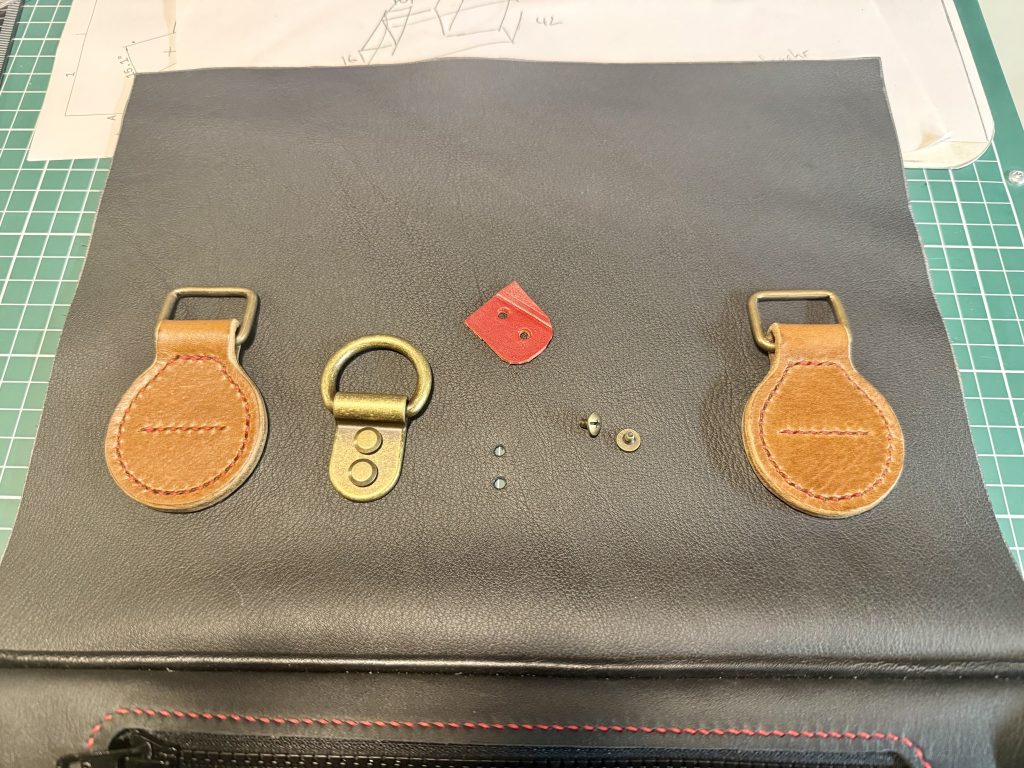
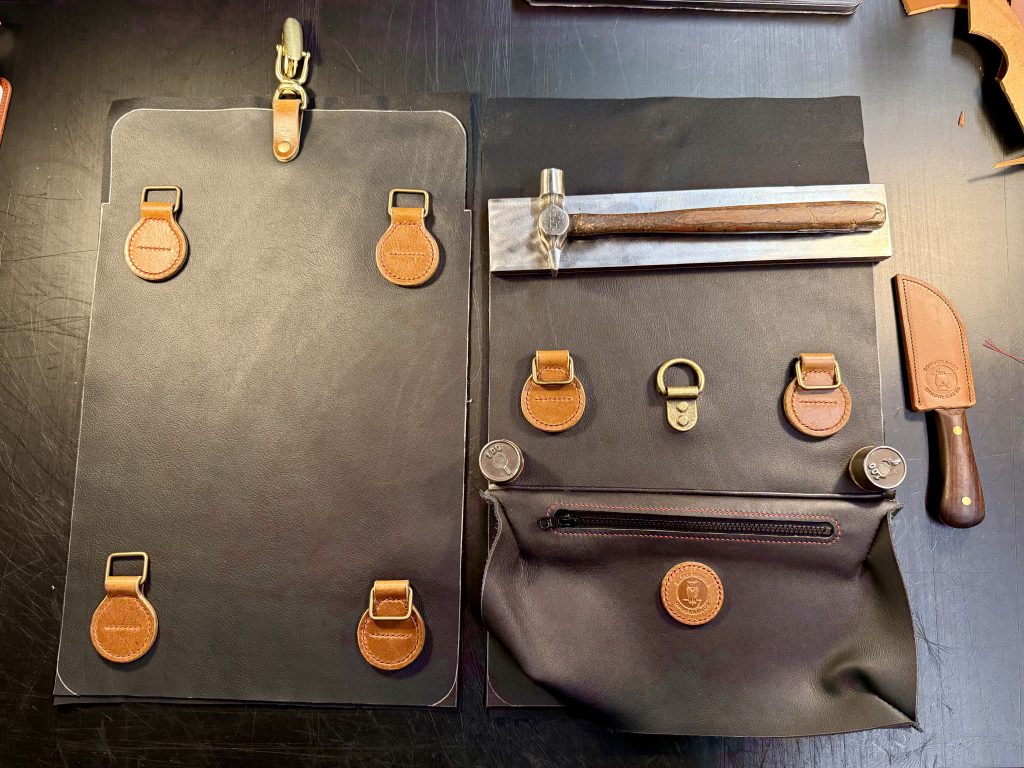
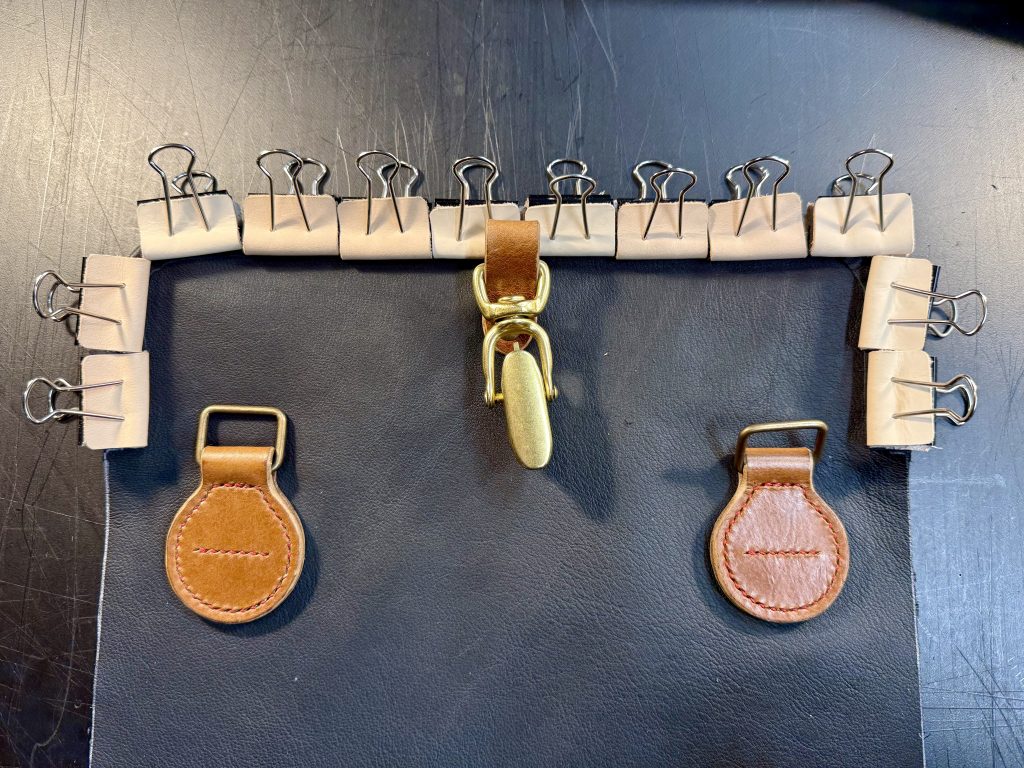
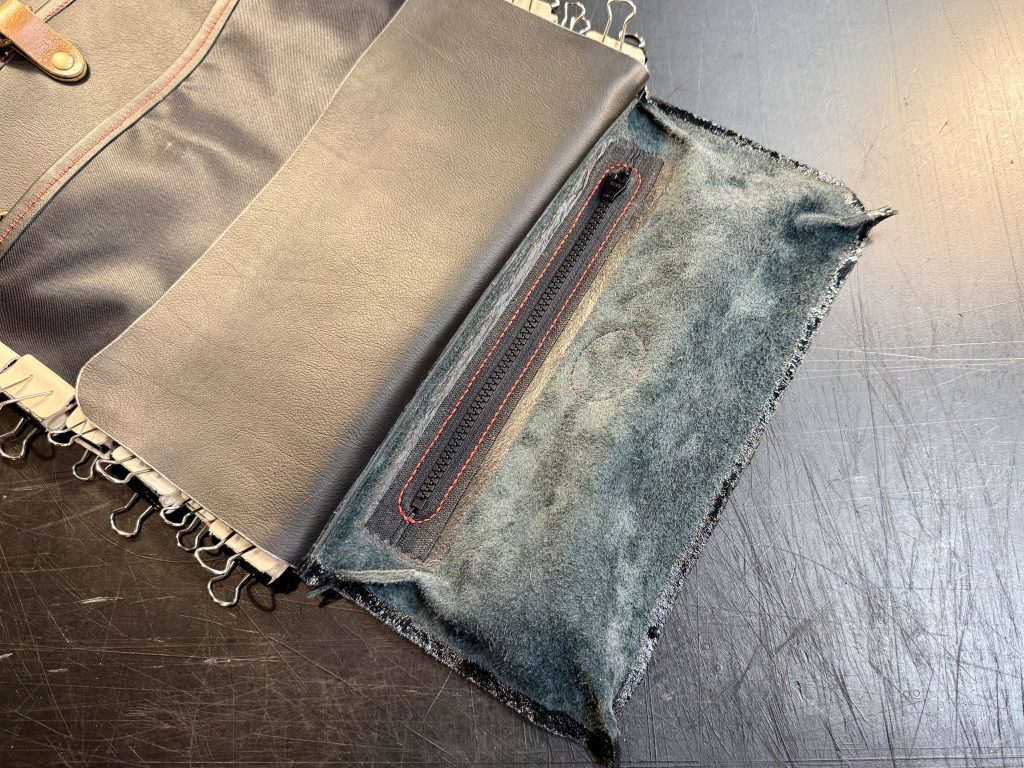
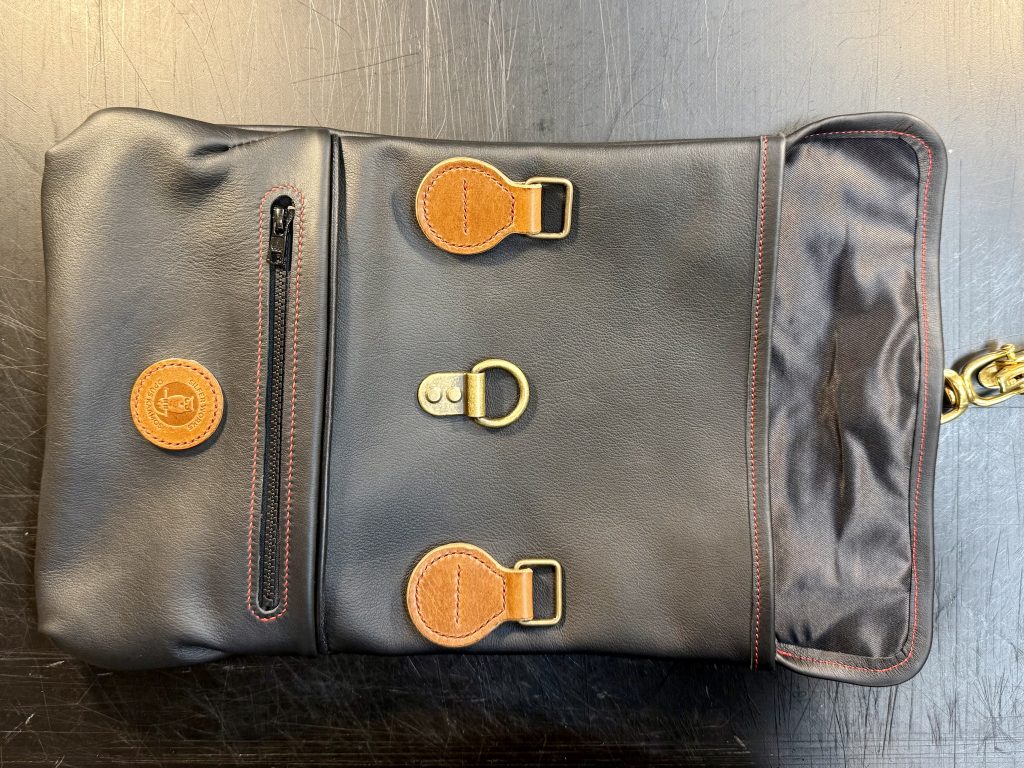
The design was rather simple: two large pieces of chrome with vegtan anchors for the straps.The pocket design was easiest to do with a computer. This way all the angles were perfect and no guesswork was required. Making the pocket with a zipper.Here you can see the angles for the pocket. The top of it will have much shallower angle than the bottom. This way it shouldn’t sag, while there is still space to hold items on the bottom.The zipper is hand-stitched with 3.5mm spacing. I had to be very careful with the stitch tension as the chrometan might rip if I go crazy.To get the orientation right on the stitching pony, I had to improvise with the rigging.Turned out good. It’ll settle nicely with some use. Right. Time to throw any ideas of “simple” out of the window. I’ve never done piping before, so I improved. I used a weed trimmer plastic string as the core.The whole thing was glued together before attempting to stitch it.I stitched the pocket into the right shape at this point as well. The pocket is stitched to the front of the bag with the piping, with help from more improvised rigging.Nice. It turned out awesome!I modeled and 3D printed the template for the vegtan strap anchors. The bag’s design features a lot of circular shapes, including the anchors.The anchors were hand-stitched to the bag.I also included my maker’s mark on a round medallion on the pocket.
At this point there was a couple of months pause on the project after I realised how long it would take to hand-stitch the sides. It was first after I finished the Workshop v3.5 I continued from here.
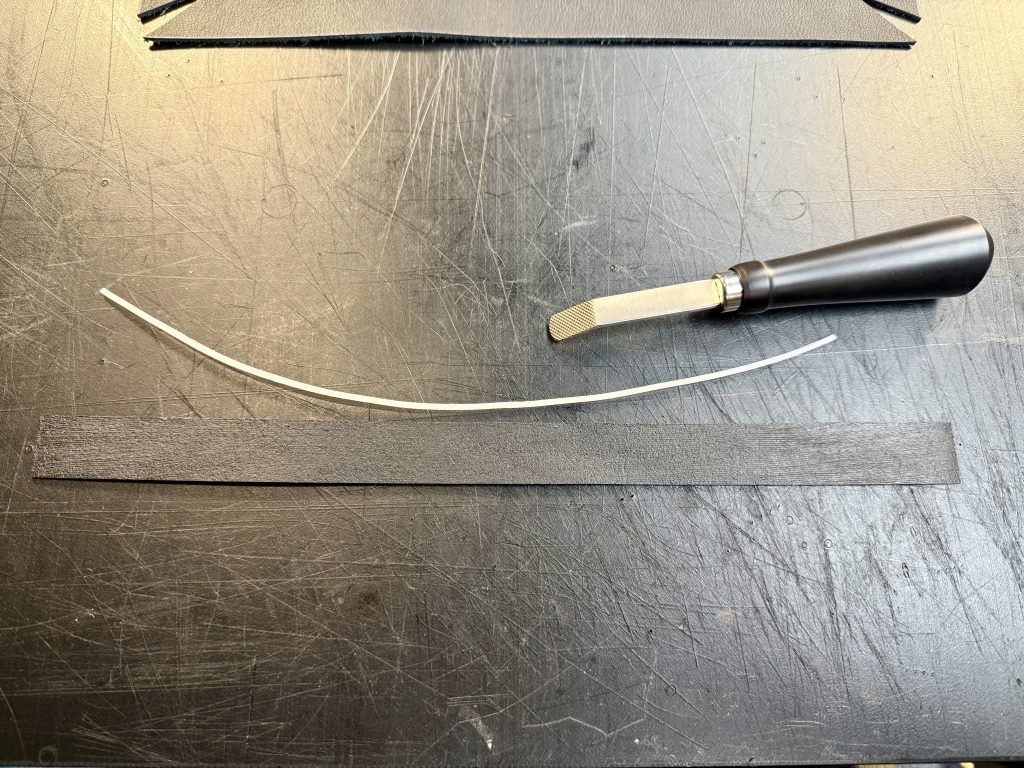
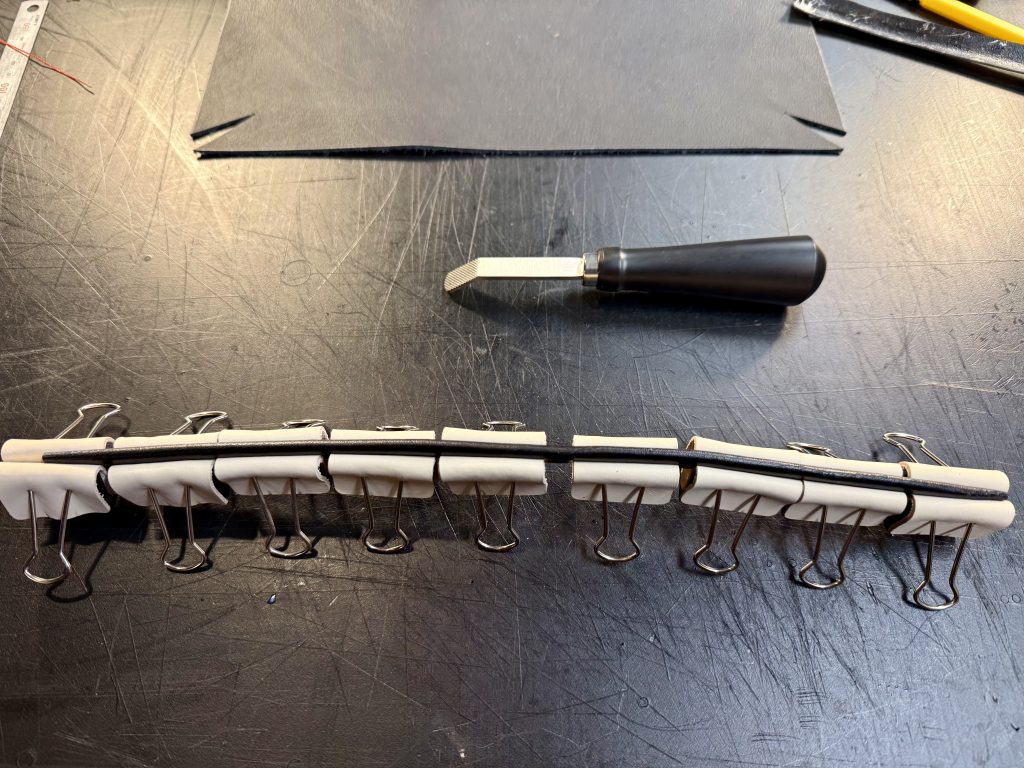
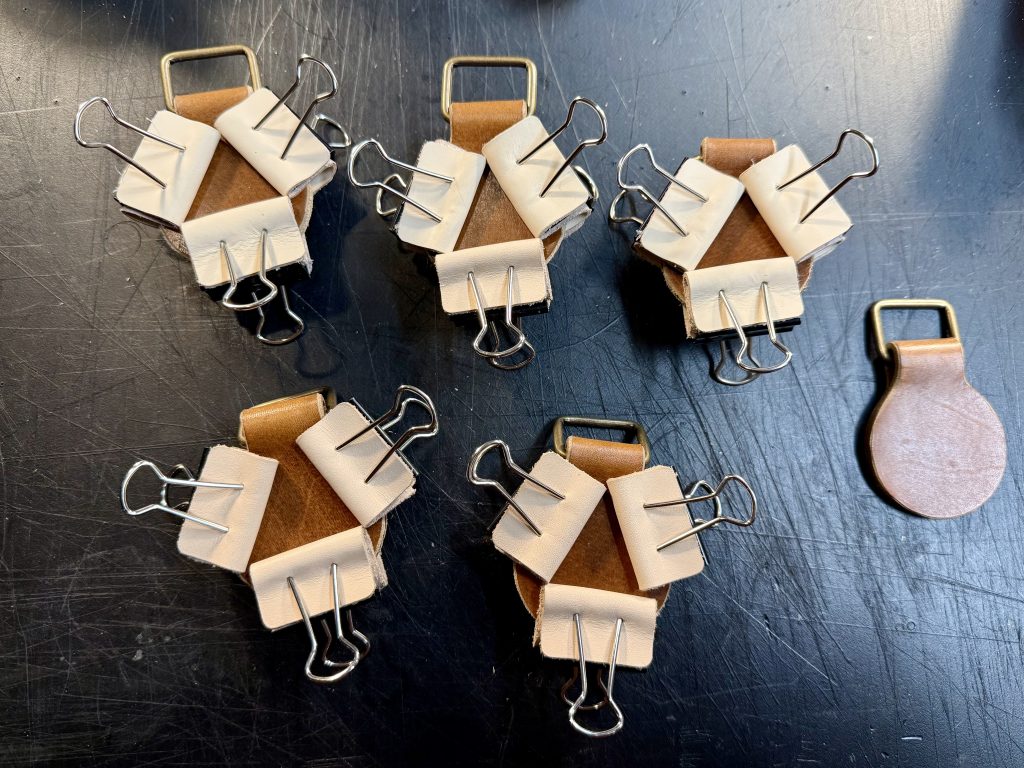
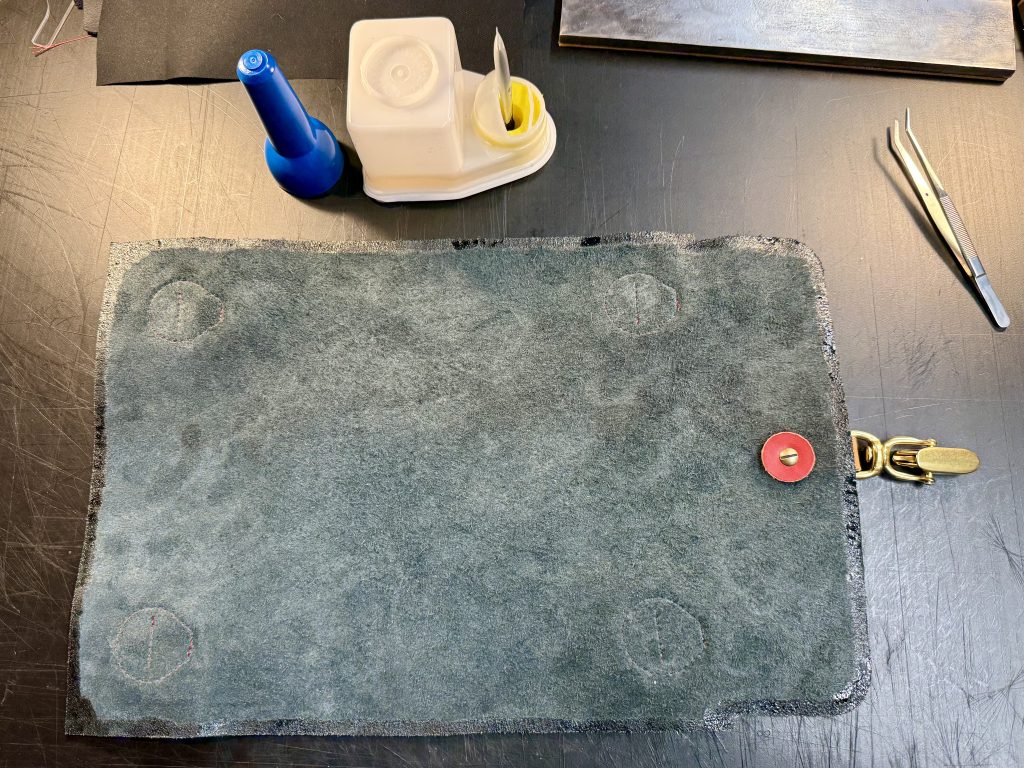
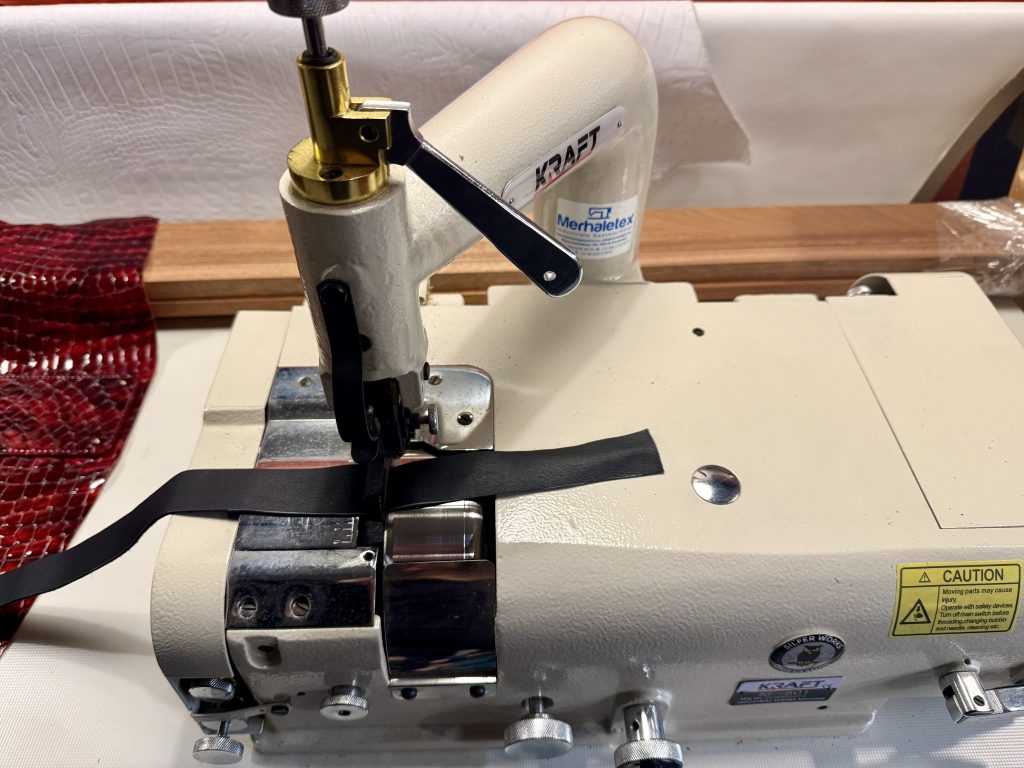
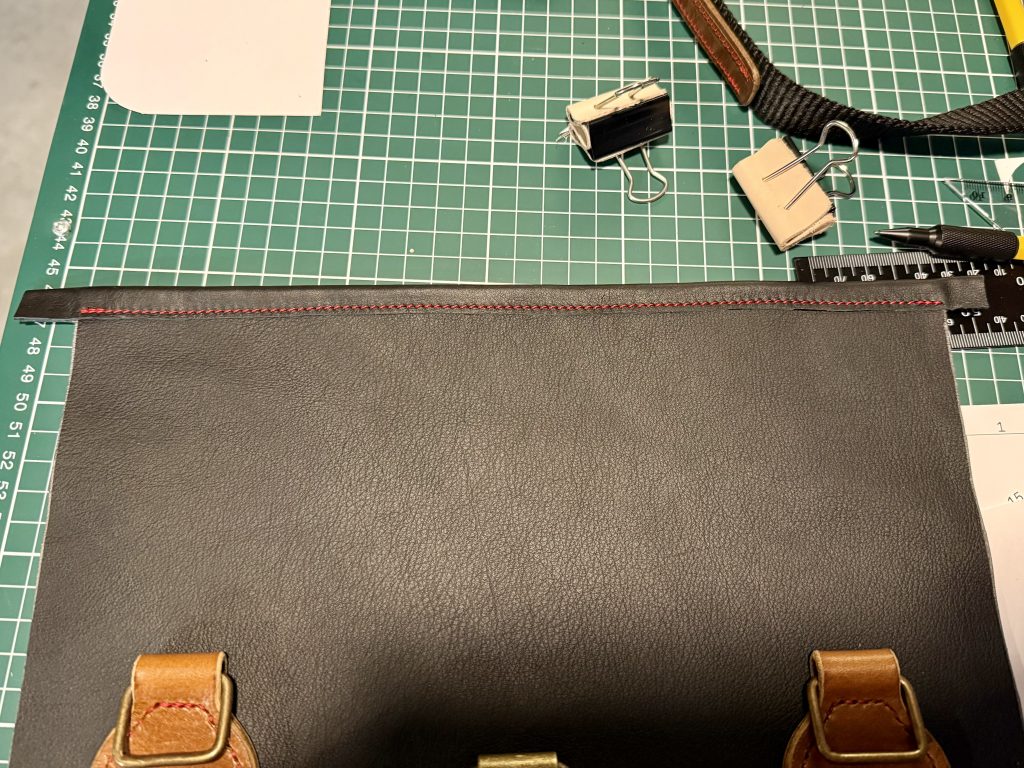
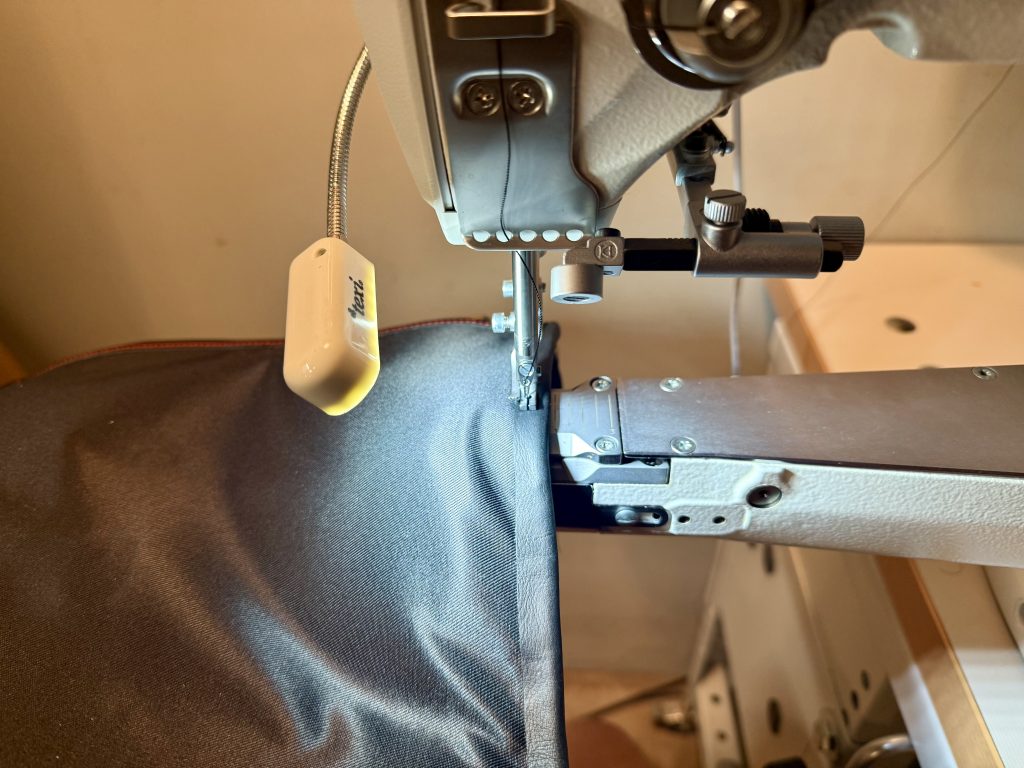
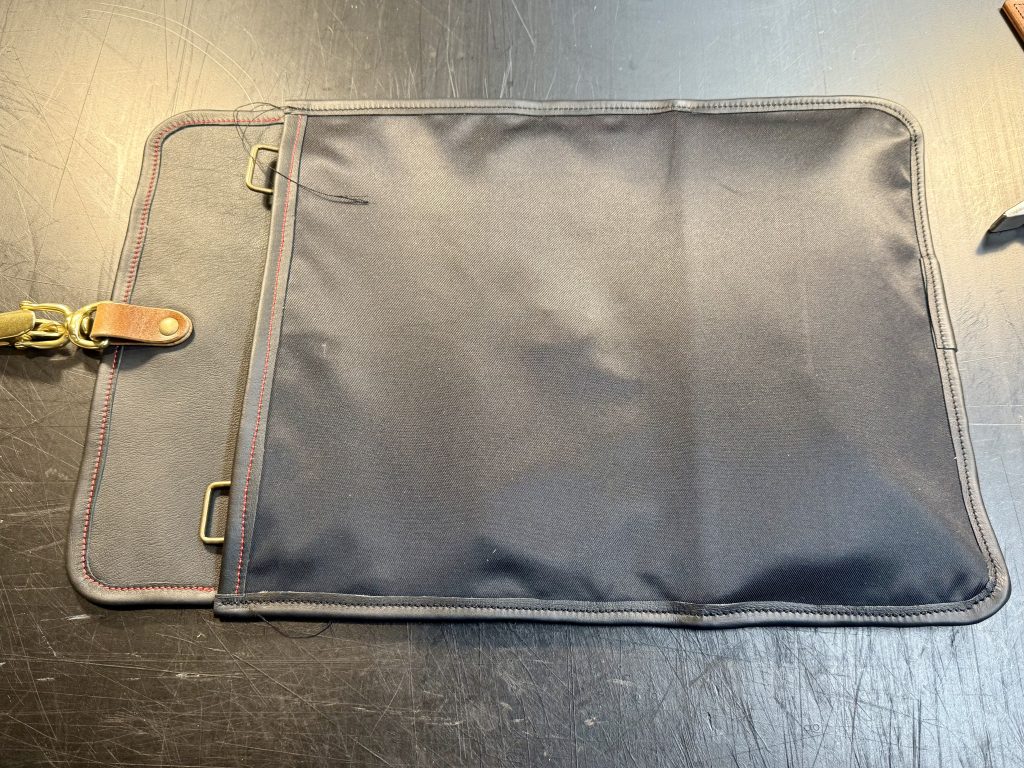
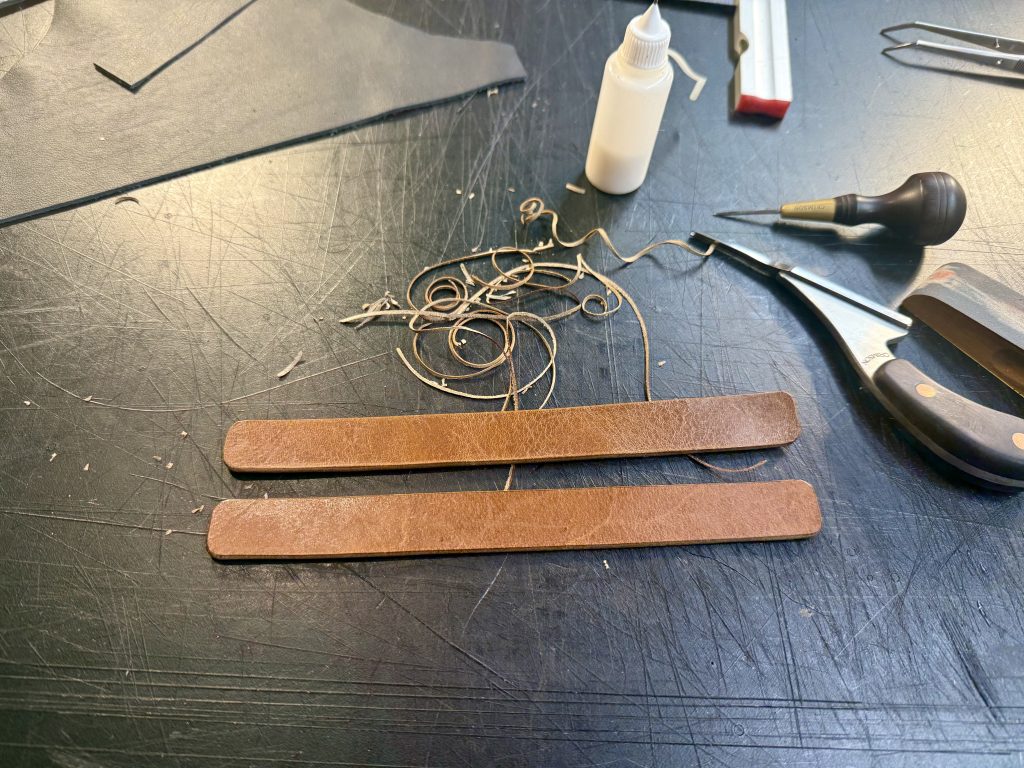
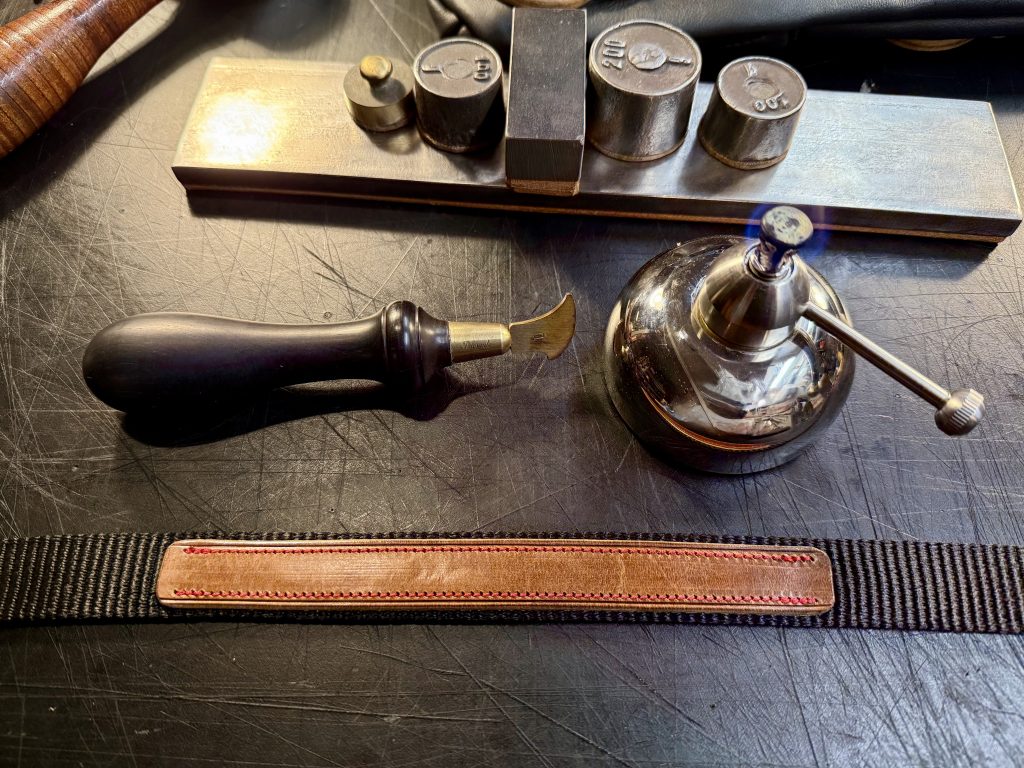
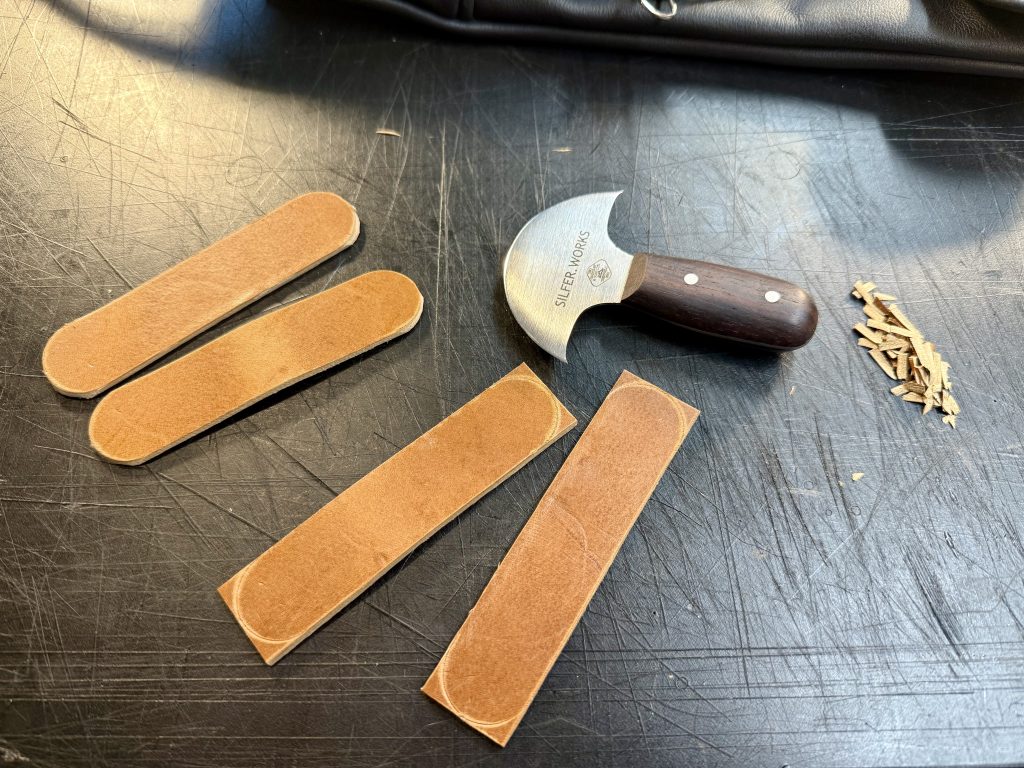
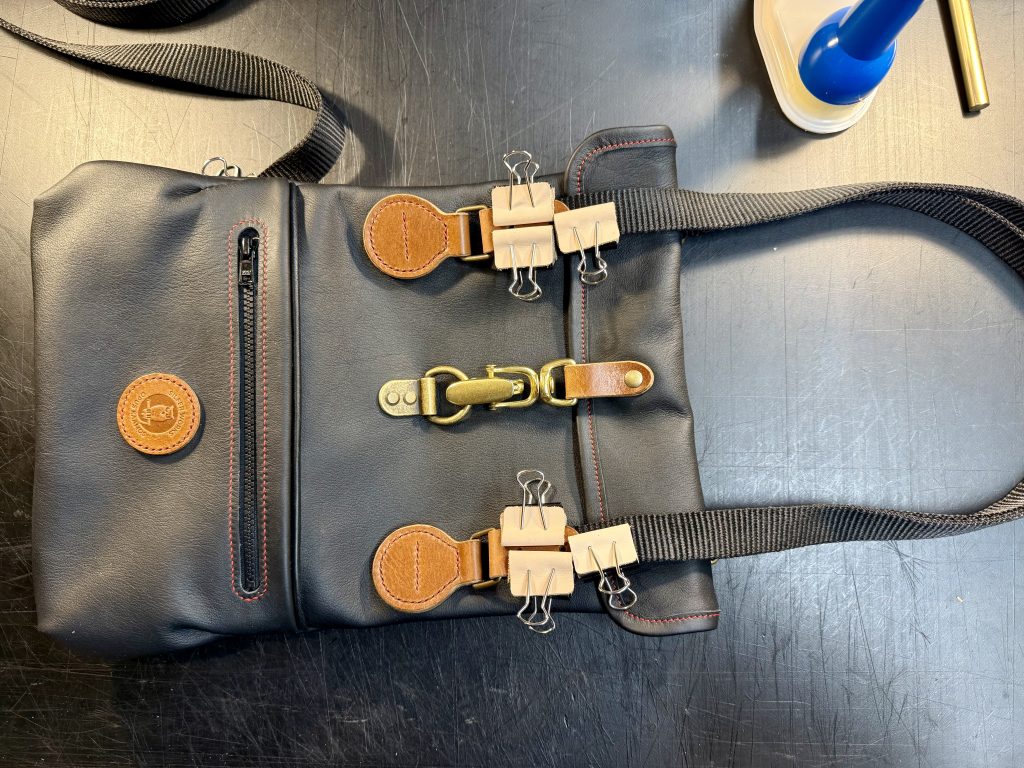
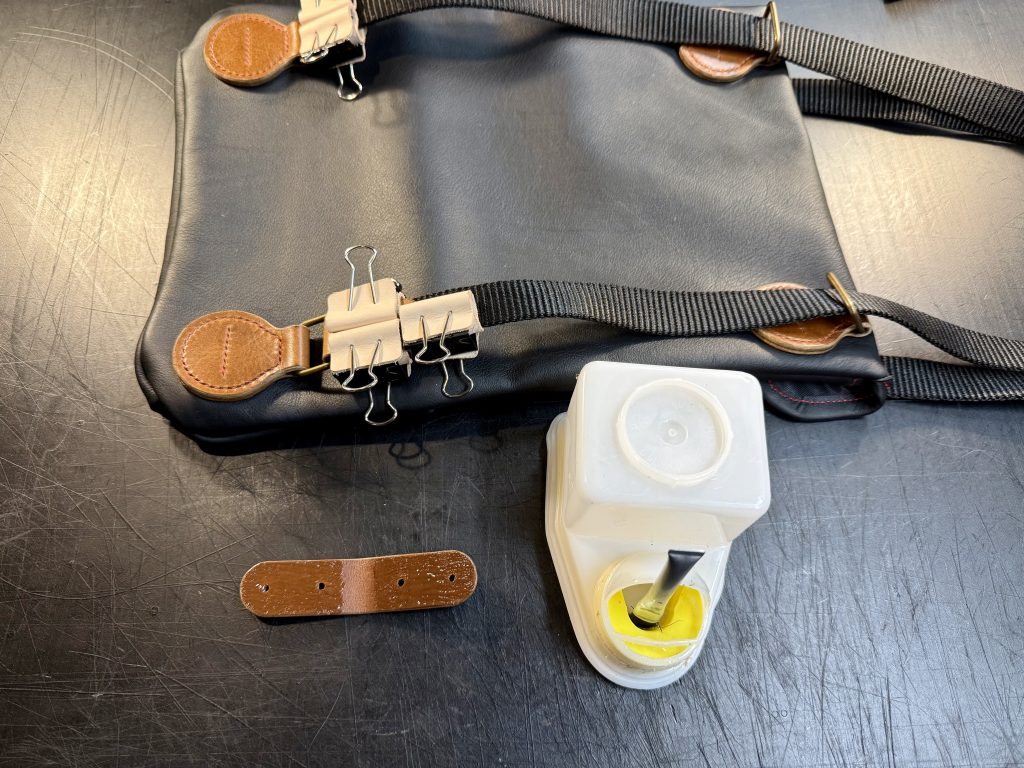
The hardware is backed with rigid vegtan scraps that were leftover from my Top Hat -project. None of this will be visible as it’ll be hidden by the lining.The other side’s hardware got the same treatment, and then I started to prepare to glue down the lining. The lining was glued on, and first then cut into the correct size.New machine! For the wrapping of the opening of the bag, I utilised my new skiver and made some thin strips out of the same chrometan the rest of the bag is made out of.I wrapped the opening and glued it down…… before I sewed it down with the sewing machine. I used the same 3.5mm stitch length that I used for hand-stitching on the other parts.Now comes the tricky part. The two sides and the pocket is glued down before sewing.The sewing machine is a beast and didn’t skip a beat while sewing through both sides of the bag: two or three layers of chrometan, lining x2, piping, and wrapping. It’ll hold. Now I just need to invert the bag…It ended up looking pretty good, and the visible stitches all look good as well.I was going to use 25mm wide 3mm thick black vegtan straps, but decided to revert to thick webbing instead so it is more comfortable to use. As a design feature I added strips of leather on the top of the handles. This is exactly the same width as the distance between the backpack loops, so it’ll give extra rigidity while on that mode and the bag will be less prone to collapsing when the straps are pulling it together. Red stitches and creased edges.The straps are attached with very similar mechanism as I used for my Bandolier bag: strips of chrometan that go through a loop and are riveted together on both sides of the webbing. Simple but effective. The front of the bag was done first…… and then the rear with a lot of focus on making the straps the same length. Done! I’m happy how it turned out, and I don’t think my wife needs to be embarrassed while using it. The tote -mode works really well as well, and makes the bag very versatile. You are not going to be camping with this bag as it has a very thin profile and it’s only supposed to hold a computer and other small things. This is the reason why I called it an “envelope bag”.I don’t know if I dare to say this, but I think I like chrome tanned leather…
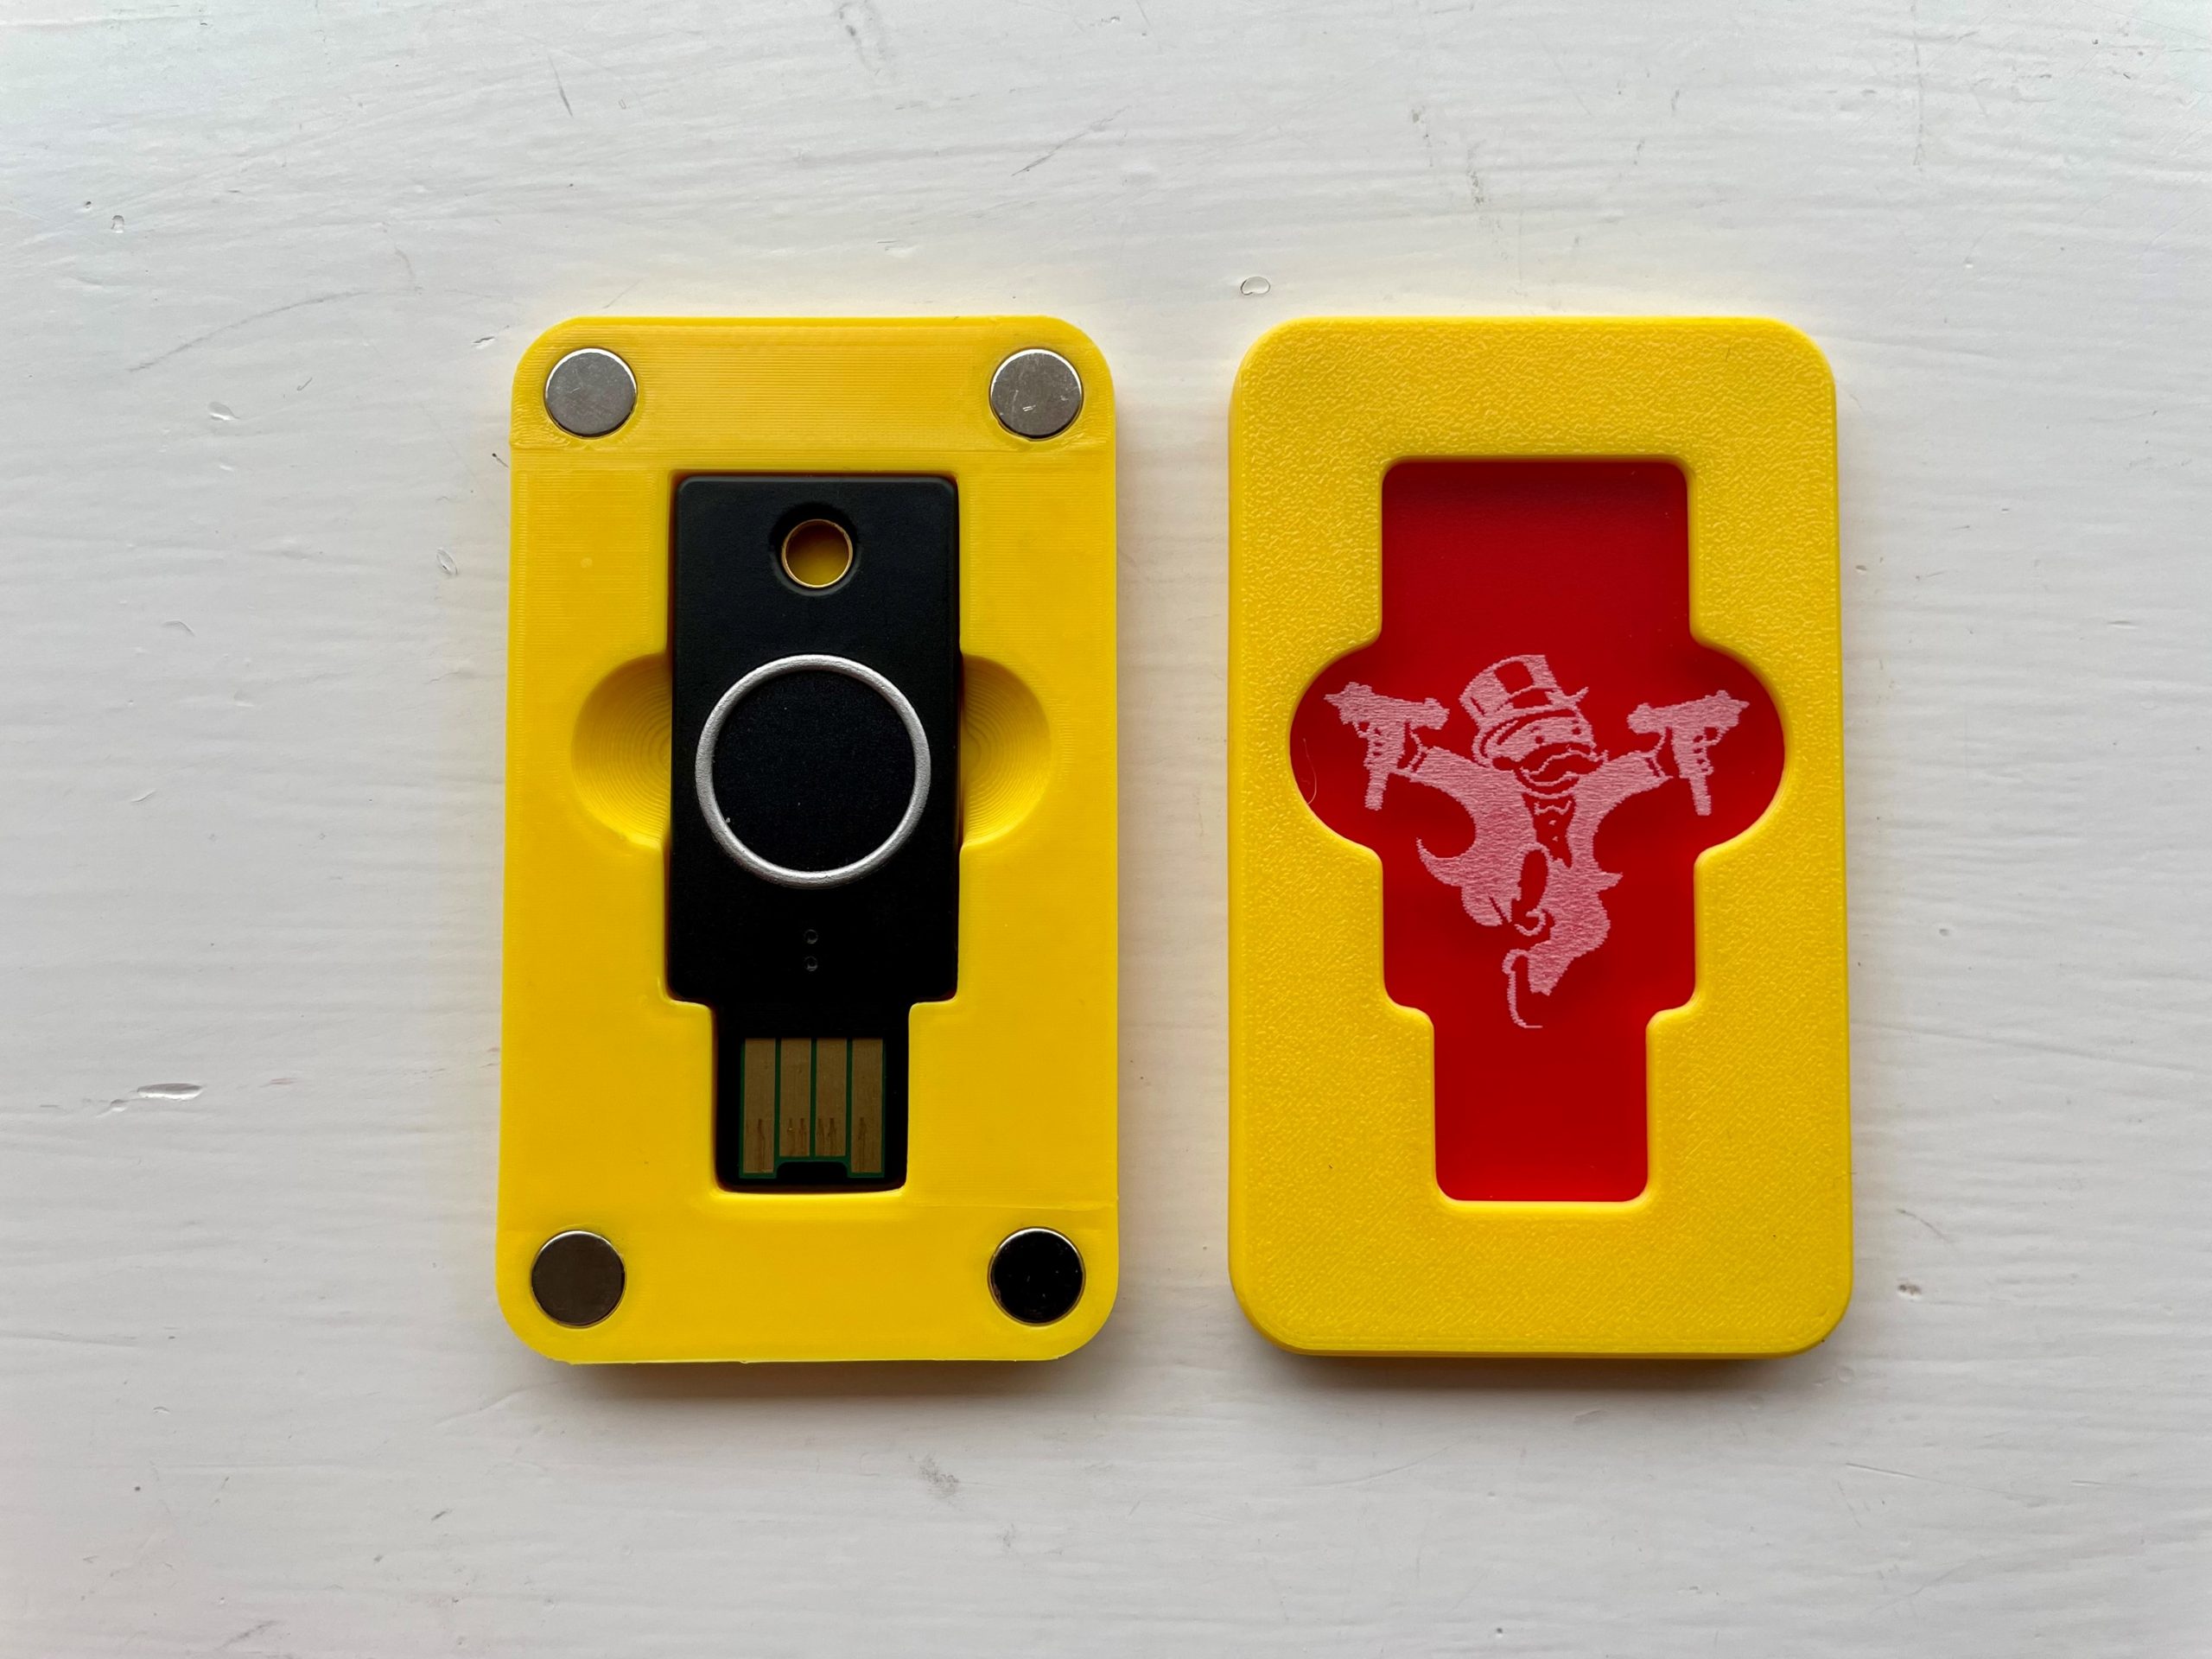
We are using security keys for authentication at work, and I wanted to make cases for the most important keys we have. I laser engraved and cut the window for the case out of acrylic, and embedded it into a 3D printed case. Worked surprisingly well on the first try….
Milwaukee finally released an M12 band file. I had been waiting for it for ages, so I of course bought one straight away when it was available. As I had already made magnetic holders for the M12 angled straight grinder, it was a no-brainer for me to model a nice…
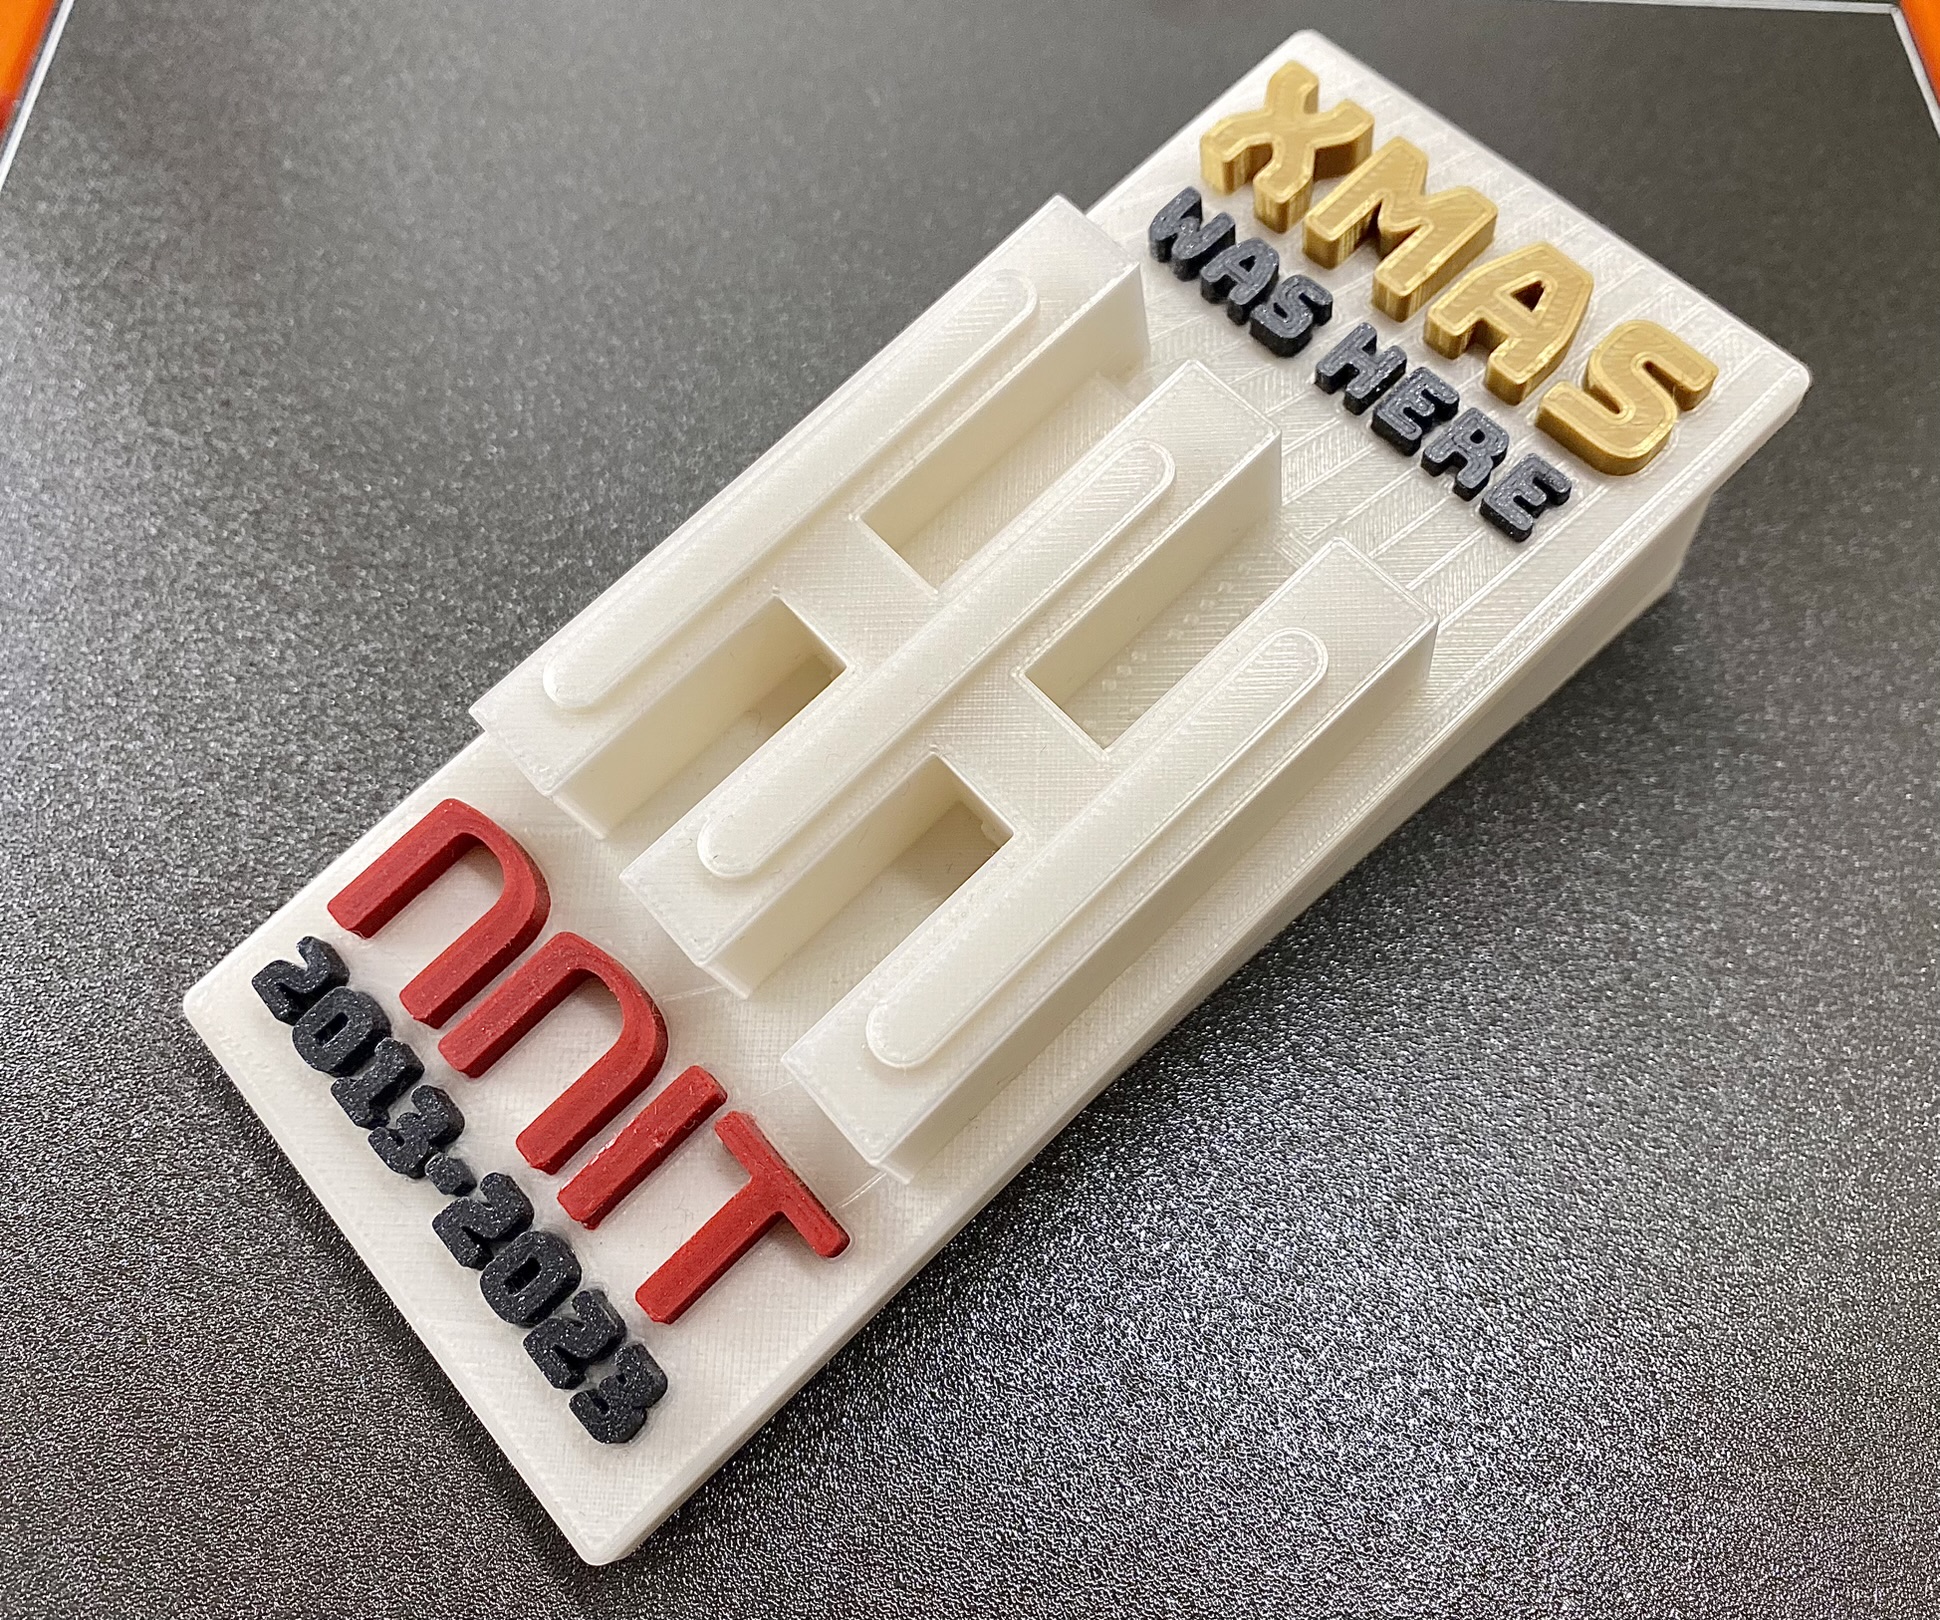
I decided to change my workplace and I thought that it would be fitting to create a miniature monument for people to remember me by. It is a combination of a miniature of the office building I’ve worked for the last decade, my work initials, and of course the years…
This website uses very few cookies, but cookies nevertheless. By continuing to use this site, you accept the use of cookies.